
Ocarina of Time remake bosses: how to beat all 10
All ten Ocarina of Time remake bosses in order, with the item that wins each fight, how to beat them and what changed from the N64 game.
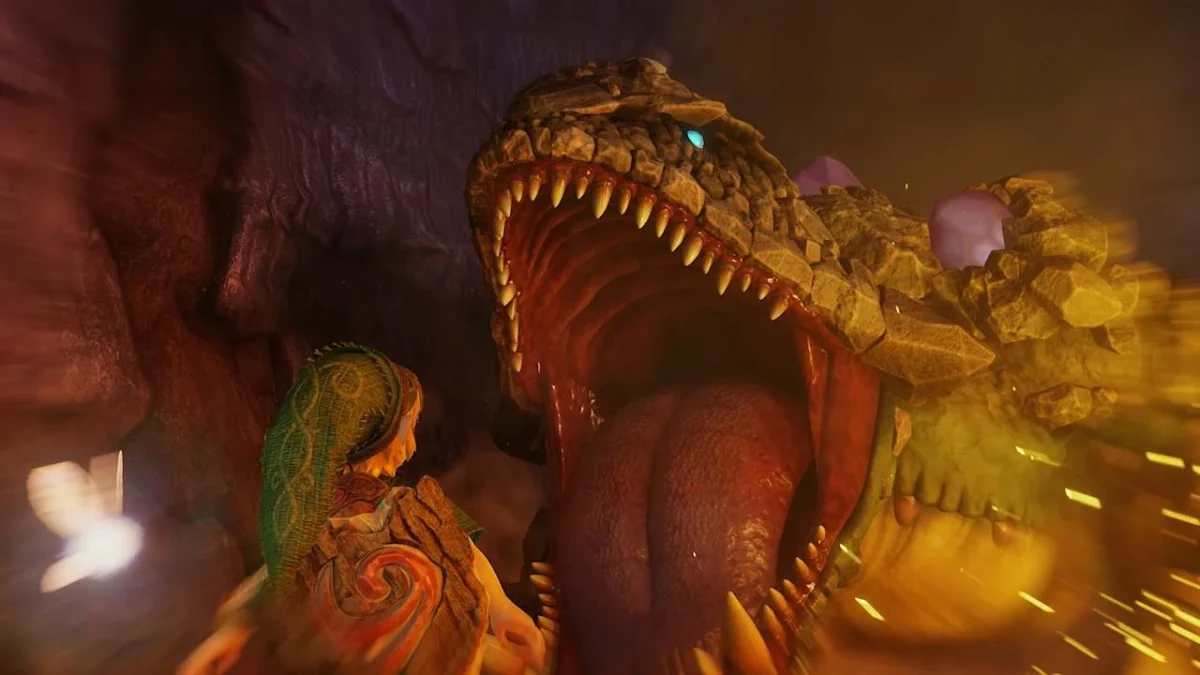
Spoiler warning. This guide names bosses, areas or story moments. Bigger reveals stay hidden in spoiler blocks until you open them.
Quick answer
There are ten bosses, the same ones as the N64 game and in the same order: eight dungeon bosses, then Ganondorf and Ganon. Each dungeon hands you the item that wins its boss fight (Slingshot, Bombs, Boomerang, Fairy Bow, Megaton Hammer, Longshot, Mirror Shield), and the last two fights run on Light Arrows. The remake changes a few of them. Gohma covers its eye while it can’t be hurt, Phantom Ganon’s volleys stay slow, Twinrova hits softer, and Ganon has extra phases once the Master Sword returns to your hand.
The Ocarina of Time remake keeps all ten of the original bosses and leaves them in the same order. Eight guard the dungeons, and Ganondorf and Ganon close the game after the climb through his castle. Nearly every fight tests the item you picked up a few rooms earlier, so most of the work is remembering to use it. A few of them behave differently from the N64 version, though, and the last fight has more to it than you remember.
Every boss in order and the item to bring
| # | Boss | Dungeon | Item that wins it |
|---|---|---|---|
| 1 | Gohma | Deku Tree | Fairy Slingshot |
| 2 | King Dodongo | Dodongo’s Cavern | Bombs |
| 3 | Barinade | Jabu-Jabu’s Belly | Boomerang |
| 4 | Phantom Ganon | Forest Temple | Fairy Bow |
| 5 | Volvagia | Fire Temple | Megaton Hammer |
| 6 | Morpha | Water Temple | Longshot |
| 7 | Bongo Bongo | Shadow Temple | Fairy Bow and Lens of Truth |
| 8 | Twinrova | Spirit Temple | Mirror Shield |
| 9 | Ganondorf | Ganondorf’s Castle | Light Arrows |
| 10 | Ganon | Ganondorf’s Castle | Light Arrows, then the Master Sword |
I’d walk into every boss room with at least one fairy in a bottle, and with a Red Potion as well once you reach the adult dungeons. Volvagia and Morpha in particular hit hard.
What changed in the remake bosses
Bosses are the part of the game that got gentler. Several fights were adjusted from the N64 original. Gohma protects its eye. Phantom Ganon’s volleys stay at one slow pace, where the old ones kept speeding up. Twinrova was toned down too. King Dodongo goes the other way and now calls in a few Baby Dodongos. Some bosses picked up new attacks, but they’re rare, they take a long time to wind up and they’re easy to read. The one fight that grew is Ganon, and the escape from the tower afterwards no longer has a timer.
How to beat Gohma
Gohma is the Deku Tree boss, and you’ll have the Fairy Slingshot by then. Her eye is the weak spot and it glows red when it’s open. The remake adds a clearer signal on top of that. Whenever she can’t be hurt, she holds her front limbs over the eye, so a covered eye means hold your fire.
Back away when she slams her arms at you, then fire a seed at the eye as soon as it opens. That stuns her, so run in and slash with the Kokiri Sword until she gets up. After a few hits she scurries up the wall and across the ceiling to lay eggs. Lock on, aim up and hit the eye while it’s red, and she drops to the floor for another round of sword hits. Any larvae that hatch go down in a hit or two, and it’s easier still to break the eggs before they do.
How to beat King Dodongo
King Dodongo is a bomb check, so go in with a full Bomb Bag. If you run dry, Bomb Flowers grow in the corners. When he inhales to breathe fire, toss a bomb straight into his open mouth. He’s stunned, and you can slash at him (a jump attack hits harder) until he curls up to roll.
The roll takes him about halfway round the ring, and he stops at the next corner. Stand on the slope beside the lava or crouch in a corner behind the Bomb Flowers and he’ll go straight past. Follow him once he has, then feed him another bomb. In the remake he also calls in two Baby Dodongos, sometimes three, once a roll ends, so deal with them first and then go back to the bombs. Otherwise it’s the same loop until he drops.
How to beat Barinade
Barinade hangs from the ceiling of Jabu-Jabu’s Belly by its tentacles, with electric jellyfish called Bari wrapped around it. Lock on to the tentacles and hit them with the Boomerang until it falls to the floor. The Bari then circle it and shock anything that touches them. Throw the Boomerang at the main body to paralyze it, then go in with the sword on either the body or the Bari. A hit on the body wipes out a few Bari close to it as well.
Once they’re all gone, Barinade rises, releases a fresh batch and speeds around the room. Keep throwing the Boomerang at the body until it stuns again. This time, kill the Bari first when you get the chance, because every one you remove leaves a gap in the ring and makes the body easier to reach when the stun ends. Keep that cycle going until it’s finished.
How to beat Phantom Ganon
Phantom Ganon is the Forest Temple boss, and it’s the first fight where the Fairy Bow really matters. It has two phases. In the first, six paintings line the walls and he gallops out of them on his horse. Two of them show him charging at you at once, but one is an illusion that turns back at the last second. The real one jumps into the room and sends lightning across the floor, so stay near a wall or in a corner where the bolts don’t reach. Stand where you can see a couple of paintings at once, and shoot the one that actually comes out with an arrow. Three hits knock him off the horse.
Now he floats around the arena and fires energy balls. Swing your sword just as one reaches you and it flies back at him. He’ll return it, so keep volleying until it lands. He crashes to the floor, and you get a handful of free slashes. In the remake the ball stays at one slow speed, where the old one sped up with every return, and anything you hit goes straight back at him. The only faster return is his last, and that one is slow to wind up. Every so often he dashes straight at you instead, which is worth a sidestep or a shield block.
You’ll play this same sword volley again against Ganondorf, with a much angrier opponent. It’s worth getting the timing down here.
How to beat Volvagia
Volvagia fights you on an octagonal platform with nine lava pits in it. Bring a fairy, because everything it does hurts. It cycles through three attacks. One has it rise to the ceiling and shake burning rocks loose. They fall where you were standing when it took off, and each one shows a shadow before it lands, so keep an eye on the ground and head for the far side of the room. Another is bursting out of a hole and swooping around the arena breathing fire. Stand right beside the hole it came from, since it can’t turn tightly enough to reach you there.
The third is the one you’re waiting for. It pushes its head out of a hole and leans over the edge, and that’s your cue to run over and bring the Megaton Hammer down on it, then slash while it’s stunned. As the fight goes on it starts faking you out from other holes. Expect two false ones before the real one, so wait near the middle of the platform and run to the third.
How to beat Morpha
Morpha is the Water Temple boss, and the Longshot you just picked up is how you hit it. Stay well back from the water and watch for a tentacle. When the nucleus attacks through one, lock on to it, pull it out with the Longshot and slash it a few times. If it grabs you, mash the buttons to break free. After a few hits it sends two tentacles at once, then three, and a corner of the room is the safest place to stand because the tentacles can’t reach it.
If you want to finish it faster, stand near a corner and pull the nucleus toward you with a few Longshot grabs in a row, then turn so you’re between it and the water. Slash it into the corner and it can’t slip back out. That takes some practice, so the safe version is fine.
How to beat Bongo Bongo
Bongo Bongo fights on a huge drum floating over poison, so when a hit throws you off, get back on fast. Bring the Fairy Bow and the Lens of Truth, plus a fairy. While the drum is bouncing you can’t aim the Bow in first person without the Hover Boots on, so wear them while you shoot and take them off before you run in, since they make you slide.
The first job is stunning both hands. Pick a hand and put an arrow in it while you steer clear of the other, then shoot that one too as soon as it settles back into its starting spot. If a hand lands right beside you after a slam, a sword stab works too. Once both are down, wear the Lens of Truth so you can see the body. It opens its eye and rushes you with a hand on each side. Shoot the eye with an arrow to stun it, then slash away. Repeat until it’s done.
How to beat Twinrova
Twinrova starts as two witches. Koume throws fire and Kotake throws ice, and both fly around the arena. Keep the Mirror Shield up and aim it by hand rather than locking on. When one of them fires a beam, catch it and bounce it back at her sister. A few good reflections and they merge into a single, much larger witch.
Once merged, she casts fire and ice at you. Hold the shield up to absorb an element, and catch the same one three times running to charge it. Absorbing the other element in between resets the charge, so dodge the one you don’t want. Release the stored blast at her and she drops, which is when you run in and slash. She hits softer than she did on the N64, so the pattern should feel routine after a try or two.
How to beat Ganondorf
Before you climb the tower, spend a minute on the Great Fairy. With the Golden Gauntlets from the Shadow trial in hand, head back out across the bridge and turn left. Lift the big pillar waiting at the far end of the path. A cave hides the fountain. Step onto the Triforce symbol inside, play Zelda’s Lullaby, and the Great Fairy halves all the damage you take from then on. In the remake she costs 500 Rupees. It’s the best 500 Rupees you’ll spend. A couple of fairies and some potions in your bottles are worth having too.
Light Arrows use magic, and you’ll want them for both Ganondorf and Ganon. Don’t burn through your meter on the way up. Pots and rubble drop magic jars if you run low.
The arena is split into an inner platform and an outer ring, and Ganondorf floats over the middle. Navi won’t lock on to him, so keep your eyes on him yourself. He fires a purple energy ball. Knock it back with your sword over and over until it lands, and the ball speeds up every time it changes hands. Once he’s hit, shoot him in the chest with a Light Arrow. That drops him onto the center platform, where you can run in and slash. If you own the Biggoron Sword, switch to it in the menu before you fire. When your hits are done, run back to a corner of the outer ring. He breaks off more of the floor each round, and the corners are the last parts to go.
After a few rounds he sends out a spread of balls instead. Wait until they’re nearly on you, then spin to knock the whole spread back, which stuns him again and lines up another Light Arrow. A Light Arrow during his wind-up works too. When the arena is down to its corners, he also slams the ground and sends dark waves outward, so stand at the edge of a corner piece to avoid them. Equip the Hover Boots to get across to him once the floor has gone. If your health gets low, drop to the level below. The pots down there refill your hearts, arrows and magic, and the central pillar takes you back up.
Escaping the tower
With Ganondorf down, the tower starts coming apart and you head down it with Zelda. The remake has taken out the timer, so you can take it at your own pace. Partway down you’ll meet two Stalfos. Use the Longshot on the grapple point across the big gap. When Zelda holds off a crowd, switch to the Megaton Hammer and smash the wall that opens the way out. On the bridge full of ReDeads, Zelda freezes them, so walk into the middle and spin.
How to beat Ganon
The fight opens with Ganon knocking the Master Sword out of your hand, so you start with something else. The Biggoron Sword is the best choice and the Megaton Hammer does the job if you never got it. Navi can lock on to him this time. His tail is the weak spot, so the goal is getting behind him. His two big attacks are a long sword thrust and a double slash. Put a Light Arrow in his face and either one stops mid-swing, and you can also roll through his legs between attacks. Break the rubble scattered about when you need hearts, arrows or magic.
Spoiler: the second half of the Ganon fight
Once you’ve done enough damage, the Master Sword comes back to you and Ganon powers up. He calls lightning down from above, slams the ground (stand clear of him or it hurts) and drags a sword along the floor in front of him. That last move is the one to wait for. His arm stays low afterwards, which gives you a few quick hits on the weak points that light up on each forearm before he recovers. Back off as soon as your window closes.
Break both arms and he becomes enraged and can’t be hurt. Zelda says she’ll help, but you have to buy her time, so run and keep your distance until the scene plays. She then exposes a weak spot on his forehead. Shoot it with Light Arrows right after one of his slams, while he’s frozen in place. About four make him let go of his swords and drop to his knees. Run in and slash, and press Y when the prompt appears to finish him.
Ocarina of Time mini-bosses
Two mini-bosses are worth a mention. Dark Link in the Water Temple mirrors your sword moves, so use the Megaton Hammer or Din’s Fire instead. He teleports behind you after a hit, so turn around and swing. Big Octo, the mini-boss you meet in Jabu-Jabu’s Belly, is much calmer now. The spinning spikes in the middle of its arena are gone, and it doesn’t spin around randomly any more. The Boomerang is still the tool for the job.
Boss rematches in the Hall of Fallen Foes
Once you’ve beaten a boss you can fight it again in the Hall of Fallen Foes, which opens up fairly early in the game. Each boss you beat gets a statue there, and inspecting it starts the rematch. You reach the hall by resting on the glowing green carpets around Hyrule, and since it’s all a dream, nothing you use up carries over. Every fight is timed and some of them run as a boss rush. The rewards are knick-knacks for the shelf in Link’s bedroom. There are no leaderboards and no modifiers, so the rematches are mostly for beating your own times.
Did this guide help?
Something wrong or out of date? Tell us
Guide by
Sunny
Sunny’s favourite game is Stardew Valley, and she has told herself “one more day” about four thousand times. The rest of her time goes on dying in a basement in The Binding of Isaac and planning her whole week around who she’s hanging out with in Persona.
Popular right now
-
GuidesMidgame
-
GuidesEarly game
-
GuidesMidgame
-
GuidesMidgame

Squad chat
Be the first