
Castlevania Belmont’s Curse War and Famine: Notre-Dame organ puzzle solution
The Notre-Dame zodiac organ order, where the candle clues are, and what the War and Famine dual swords do once you have them.
Quick answer
Count the candles under each zodiac window in the Stained Glass Gallery, then step on the organ keys from one candle up. The order is Libra, Scorpio, Sagittarius, Pisces, Virgo, Sun and Moon, Leo, Cancer, Aries. You need Aerial Rush for the two end keys. When the last key registers, drop through the opened floor under the stairs and take War and Famine from the end of the passage.
Light spoilers. I name areas, one ability and two bosses. Nothing about the story.
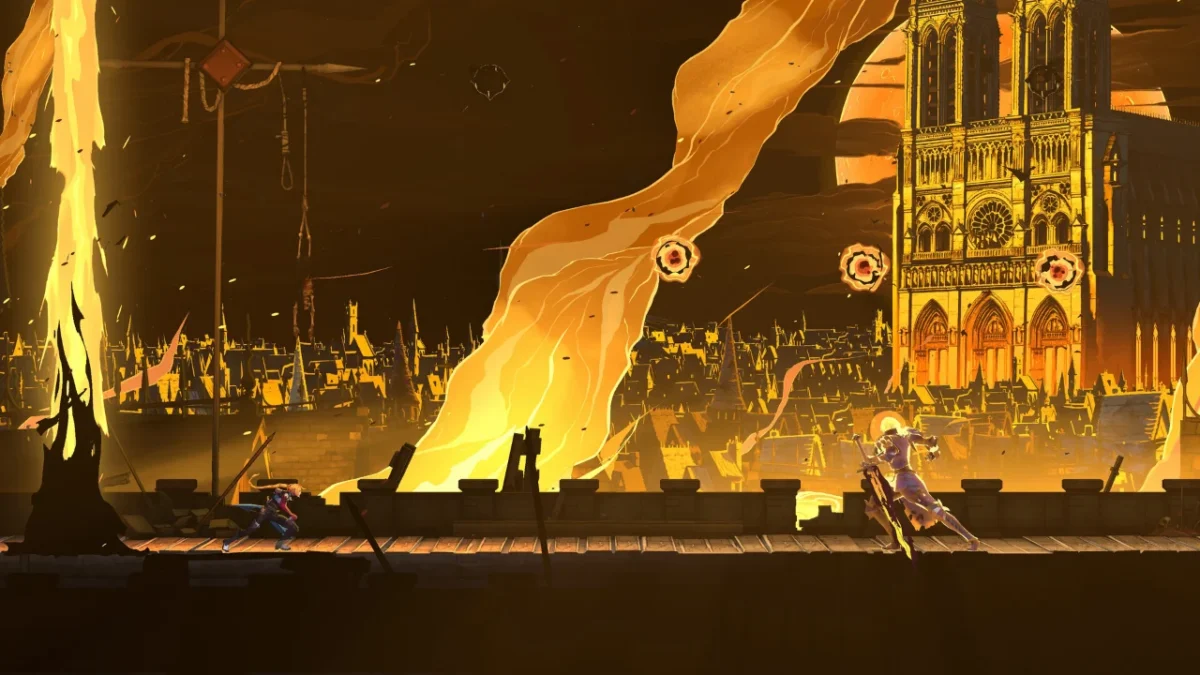
War and Famine are the best dual swords in Belmont’s Curse, and they sit in a vault under the Notre-Dame organ where most people never look. There is no marker for it. The game gives you one line on a plaque and a hall of stained glass, and you have to put them together yourself. Once you know the order it takes a few minutes.
Where the War and Famine vault is
The vault is in Notre-Dame, under the stairs by the Great Organ Room. Next to those stairs is a vertical corridor with a gold plaque above a passage you can’t enter. Interact with the plaque and it says that beneath these stairs lies the order’s greatest sin. That is the hint, and the passage under it stays shut until the organ puzzle is done. Remember where it is, because you come back here at the end.
Stained Glass Gallery candle clues
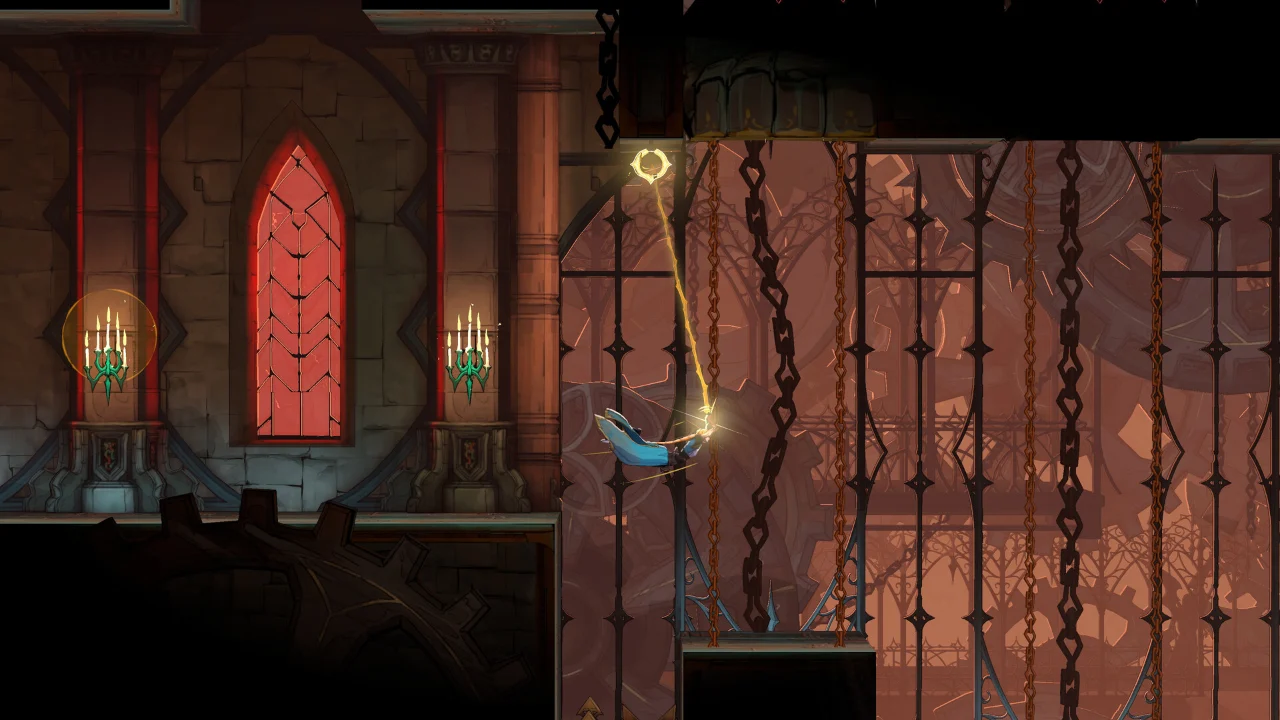
The order comes from the Stained Glass Gallery, which is part of the Sealed Scriptorium area. If you start from the Ferryman’s Wharf checkpoint, head southeast. Every window has a zodiac sign at the top and a group of candles at the bottom. Count the candles under each sign. One candle is the first key you step on, two is the second, and so on up to nine.
| Candles | Sign |
|---|---|
| 1 | Libra |
| 2 | Scorpio |
| 3 | Sagittarius |
| 4 | Pisces |
| 5 | Virgo |
| 6 | Sun and Moon |
| 7 | Leo |
| 8 | Cancer |
| 9 | Aries |
That is what the windows show. The organ only checks the order of your keys, not whether you visited the gallery, so you can use the table as it is. If you want to be sure, count the candles yourself before you start.
Zodiac organ solution
Go to the Great Organ Room. The keys are in a long row on the floor, and the outer ones are too far apart to reach on foot, so you need Aerial Rush first. Step on the keys in this order.
| Step | Sign | Candles | Where on the organ |
|---|---|---|---|
| 1 | Libra | 1 | First key right of centre |
| 2 | Scorpio | 2 | Second key right of centre |
| 3 | Sagittarius | 3 | Third key right of centre |
| 4 | Pisces | 4 | Far right end, needs Aerial Rush |
| 5 | Virgo | 5 | First key left of centre |
| 6 | Sun and Moon | 6 | Centre |
| 7 | Leo | 7 | Second key left of centre |
| 8 | Cancer | 8 | Third key left of centre |
| 9 | Aries | 9 | Far left end, needs Aerial Rush |

The keys are narrow. Land in the middle of each one, because clipping the next key along counts as a wrong note. A wrong note ruins the whole run, so step back onto Libra and start again from step 1. There is no timer, so take it slowly.
When the ninth key registers you get a green flash on the left side of the screen. That means the floor is open, and it stays open.
How to get Aerial Rush
Aerial Rush is the air dash. Carmilla gives it to you after her fight in the Library’s Observation Tower, and Notre-Dame comes after the Library, so you should have it by the time you get here. Jump, then press the dash button in the air, and hold left or right to dash sideways. You need it for Pisces and Aries, the two keys at the ends. If you already have Double Jump, it makes landing on the keys easier.
How to get War and Famine
Leave the Great Organ Room by the left side and go back to the plaque. The floor under the stairs is open now. Drop through, follow the passage straight on, and pick the swords up at the end. It is an optional reward and nothing in the main route depends on it.
War and Famine stats and moves
| Stat | Value |
|---|---|
| Type | Dual swords |
| Tier | Legendary |
| Base ATK | 100 |
| Attack power | 33 |
| Mana per hit | 2 |
Press attack again as each hit connects and the combo carries on. The finisher is Blade Flurry, a fast string of hits that moves Rose a long way forward, so look for spikes and drops before you use it. The last hit of a combo also leaves a patch on the ground, and your damage goes up while you stand in it. Fight inside the patch.
The Masterpiece pair, Almace and Hauteclaire, are 75 ATK. War and Famine are 100, which is the top of the scale for any weapon in the game, and you get them early.
Main organ puzzle or the secret
Notre-Dame has two organ puzzles and they are easy to mix up. The main one is the story route. It uses melody sheets and clears the three laser barriers that block the way to Death. This guide is the other one, the optional one, and it gives you a weapon. If you are stuck on the lasers, this is not the puzzle you want.
Everything we have for the game is on the Castlevania: Belmont’s Curse hub.
Something wrong or out of date? Tell us
Guide by
George
George grew up on Dark Souls and Call of Duty, and he still has strong opinions about both. He also plays Arma, where he walks a very long way to get shot by someone he never saw. He says it’s part of the experience.
Up next in Castlevania: Belmont's Curse
Keep playing
-
GuidesEarly game
-
GuidesMidgame
-
GuidesMidgame
-
GuidesEarly game



Squad chat
Be the first