
Hellraiser: Revival Pain Pillars and Suffering Pillars locations
Where to find all 5 Pain Pillars and 5 Suffering Pillars in Hellraiser: Revival, in story order, with the puzzle solutions and a running count so you know if you missed one.
Spoiler warning. This guide covers story beats and late-game content. Spoiler blocks stay hidden until you open them.
Quick answer
There are 10 pillars in Hellraiser: Revival, 5 Pain Pillars and 5 Suffering Pillars. Pain Pillars raise your max health. Suffering Pillars raise the size of the blue Suffering gauge at the bottom left, which is the energy your Configuration Cube runs on. Walk up to each one and interact to claim it. There is no chapter select, so a pillar you skip stays skipped until you start a new run. The table below gives you the Pain and Suffering count you should have after every pillar.
I walked straight past a Pain Pillar on my first run. The room looked like a dead end, and I’d had my fill of dead ends by then. You only find out when the trophy list refuses to pop three hours later, and by then the game has moved on without you. So here are all ten in the order the game hands them over, with the puzzles worked out and a running count, so you know the second you’ve missed one.
What Pain and Suffering Pillars do
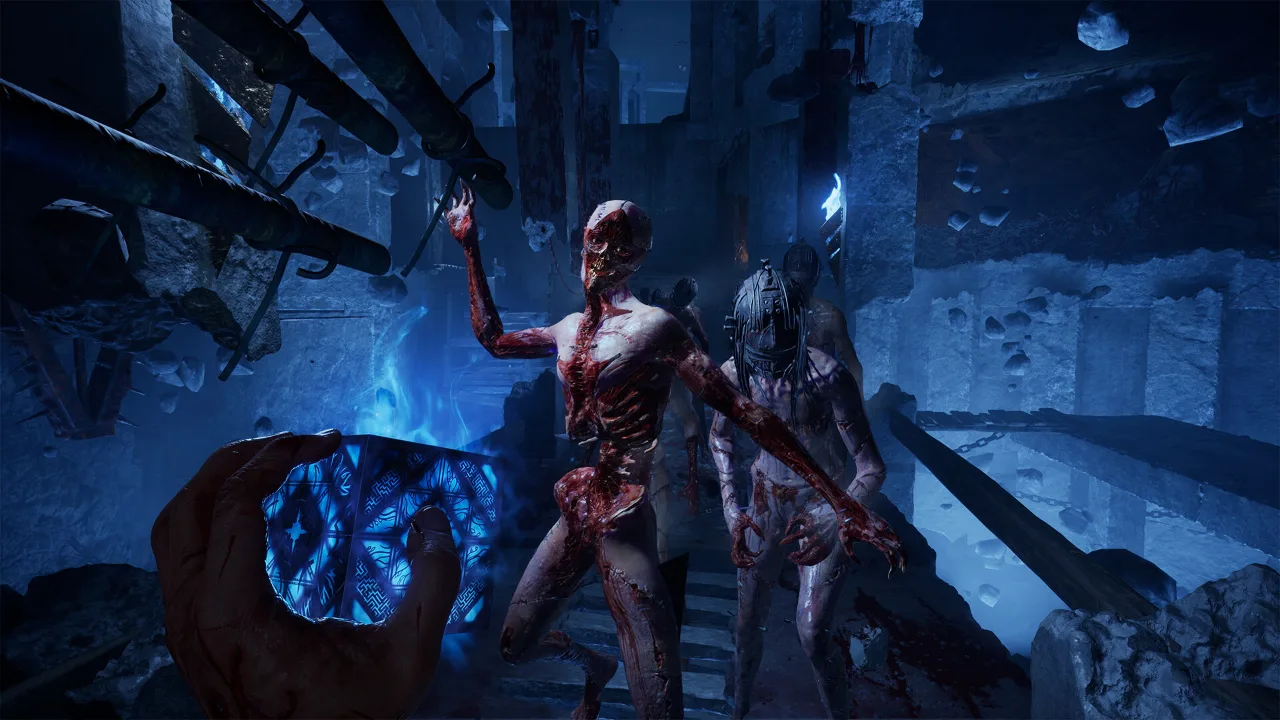
Pain Pillars are max health, and you want all five, because Aidan is not a durable man. Suffering Pillars stretch the Suffering gauge on the Configuration Cube. A bigger gauge means more cube tricks before you’re standing around waiting for it to refill. Neither type has a price or a catch. You find it, you touch it, you’re better off.
Three trophies hang off them:
- The Further Regions of Experience: claim your first Pain Pillar
- There Are No Limits: claim all five Pain Pillars
- Pain And Pleasure, Indivisible: claim all five Suffering Pillars
All 10 pillars in story order
Every pillar sits inside one story objective, and you can’t go back to an old chapter, so this is the order you’ll meet them. The last column is what your tally should read right after you grab that one.
| Pillar | Where you are | Pain / Suffering after |
|---|---|---|
| Pain Pillar 1 | Free Sunny’s Soul | 1 / 0 |
| Suffering Pillar 1 | Free Sunny’s Soul | 1 / 1 |
| Suffering Pillar 2 | Free Sunny’s Soul, after the cell fight | 1 / 2 |
| Suffering Pillar 3 | Give Charlotte’s Heart to Sunny | 1 / 3 |
| Pain Pillar 2 | Give Charlotte’s Heart to Sunny | 2 / 3 |
| Suffering Pillar 4 | Hunt Marlowe, Exit the Labyrinth | 2 / 4 |
| Pain Pillar 3 | Hunt Marlowe, Exit the Labyrinth | 3 / 4 |
| Pain Pillar 4 | Give Sister of Mercy’s Heart to Sunny | 4 / 4 |
| Suffering Pillar 5 | Hunt Marlowe | 4 / 5 |
| Pain Pillar 5 | Hunt Marlowe, late game | 5 / 5 |
Pain Pillar 1 location
This is the first one you can get, and it comes within minutes of Pinhead’s first proper chat. He explains what Cenobites are for, wanders off and leaves you in a dead-end room. There’s one way out, behind you. Follow it until you see Sunny’s shadow pressed against a glass wall. I walked up to her anyway, and a spiked pyramid shot out and chased me back along its rail, so learn from that and turn around the moment you see it.
Keep going until you hit the snake-like pins in the wall that you have to crouch under. The pillar route starts on the far side of those. A side path opens on your right with another pyramid sliding up and down it. Let it come to you, then slip into the small recess on the right as it passes, which is the one spot on that rail where it can’t touch you. When it has gone by, carry on forward. At the end of the rail turn right and you’ll see a cracked wall with something red like a flower behind it. Turn right once more and the pillar is at the end of the corridor.
Suffering Pillar 1 location
Still inside Free Sunny’s Soul. The next time Pinhead drops you off, it’s in a field of souls, and you head down a spiral staircase full of small traps. You come out in a corridor that finishes at a cracked wall with a bright red glow behind it. Turn left and there’s the pillar, in the middle of a room, with two spiked pyramids circling it on rails.
Let one pyramid roll past, then stay right on its tail. A gap into the middle opens on your left. Go straight through it and don’t stop to admire the pillar from outside (I did, and the second pyramid did what second pyramids do).
Suffering Pillar 2 location
This one comes right after the fight in the prison cell, where you batter a bald man and the Cenobite that walks after you starts hunting you again. Eventually the narrow corridors open out into a misty field of broken pillars and rubble. The mist is the problem. You won’t see the pillar until you’re nearly on it, so don’t look for the pillar, look at the ground.
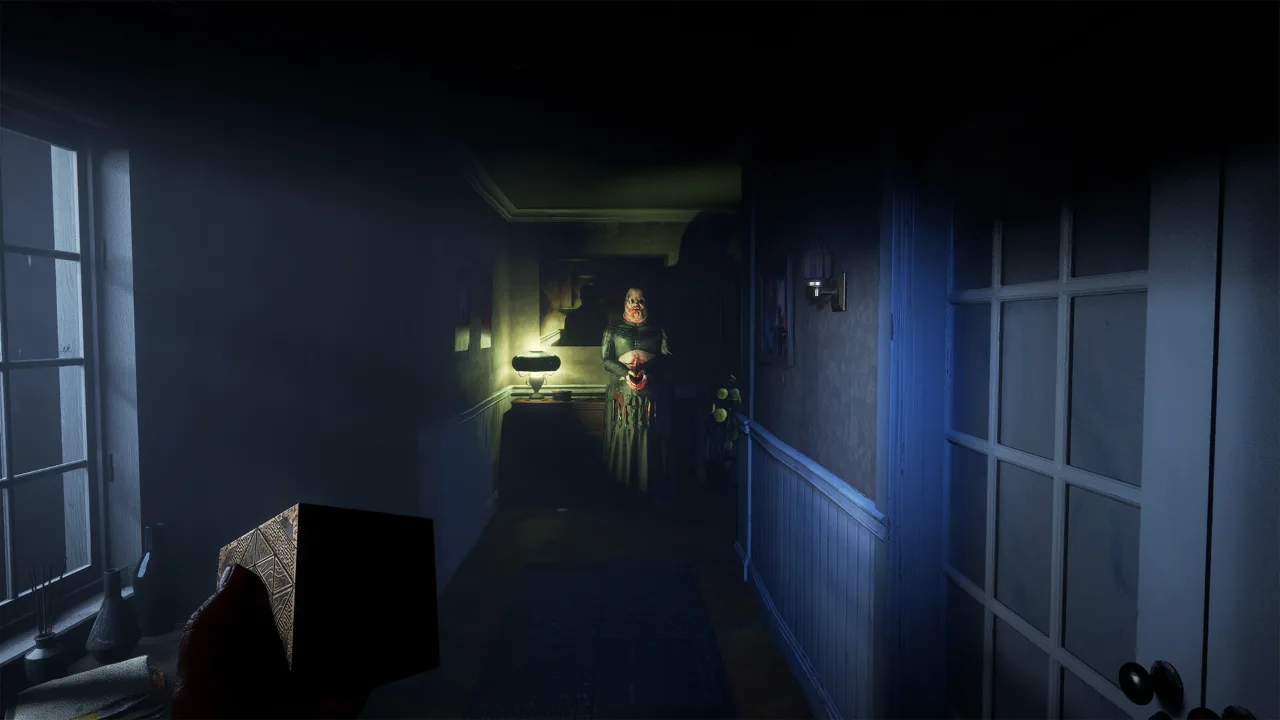
There’s a splash of blood on the floor every five to ten metres, and they lead you the right way. Follow them to the end of the field. The last one is a long smear pointing at a lit torch on a pillar, and the Suffering Pillar is right beside that torch on your right.
Suffering Pillar 3 location
Give Charlotte’s Heart to Sunny. Beat Charlotte, take her heart, and a staircase rises out of the ground. Go down it. The pillar is on the route, which makes this the one the game basically hands you. If you somehow miss it, you weren’t trying.
Pain Pillar 2 location
Same objective, and you don’t have to go anywhere, because it’s the next stretch past Suffering Pillar 3. Keep following the path left until you spot a torch on the wall. After that comes a red room with spikes jabbing out of the walls on a loop. Watch the one nearest you go through a cycle, then run through once it has done its thing.
Turn right at the end and keep to the single path until you’re in a long hallway with chains dangling overhead and a bright white glow at the far end. Walk straight down it and watch for another spike trap on the way. At the end go left, then follow the path round to the right. As you start to cross a bridge, it rotates and sends you back the way you came, right to that same spike trap, which is rude. Get past the trap again and take the first right. It leads to a small room, and the Pain Pillar is in there.
Suffering Pillar 4 location
Hunt Marlowe, Exit the Labyrinth. After you escape from the Sister of Mercy you’re back in the Labyrinth, and the Configuration Cube keeps drifting out of reach whenever you get close. Push through some narrow trap corridors until you can finally pick it up, then open the door to a new room built from three rotating walls.
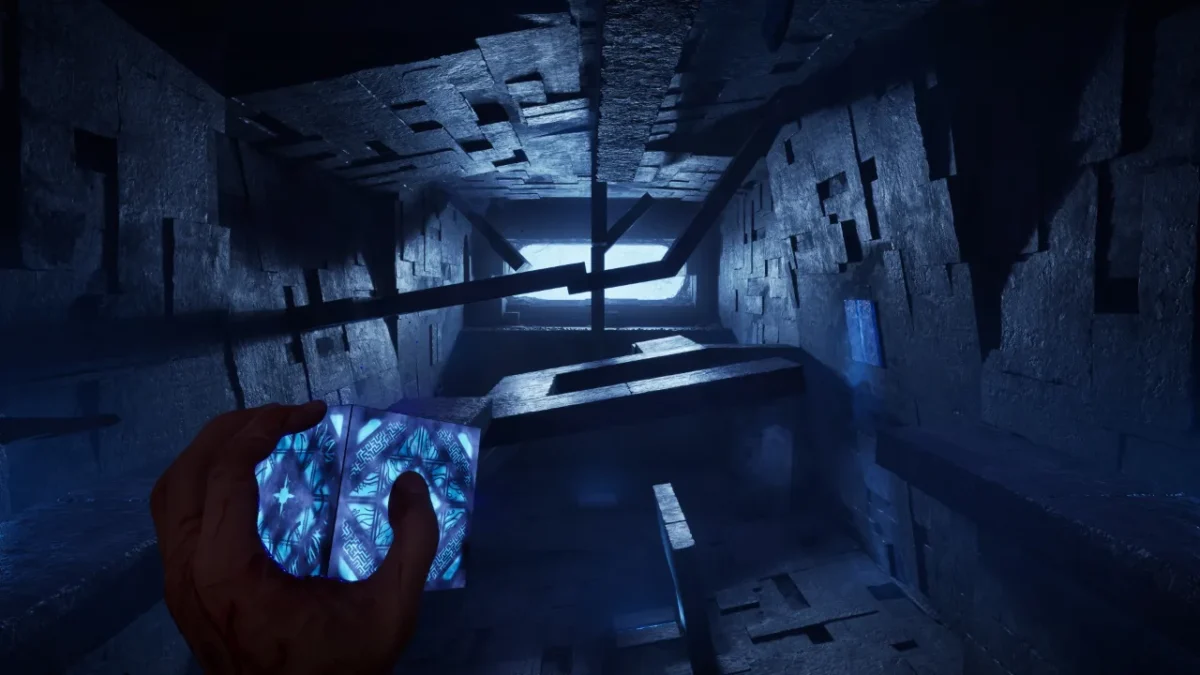
Use the cube to turn the walls. Every rotation opens a different path, and the whole job is lining them up so one unbroken route runs from where you stand to the pillar on the farthest wall. Start with the farthest wall, because turning it is what brings the pillar into view. Then turn the middle wall until its path meets the far one, and walk across. I can’t give you magic numbers of turns, because you can see the path form as you go and it takes about a minute of fiddling. Once the pillar is yours and the cube is upgraded, you aren’t done: spin the walls again to build a route to the opposite end of the room so you can leave.
Pain Pillar 3 location
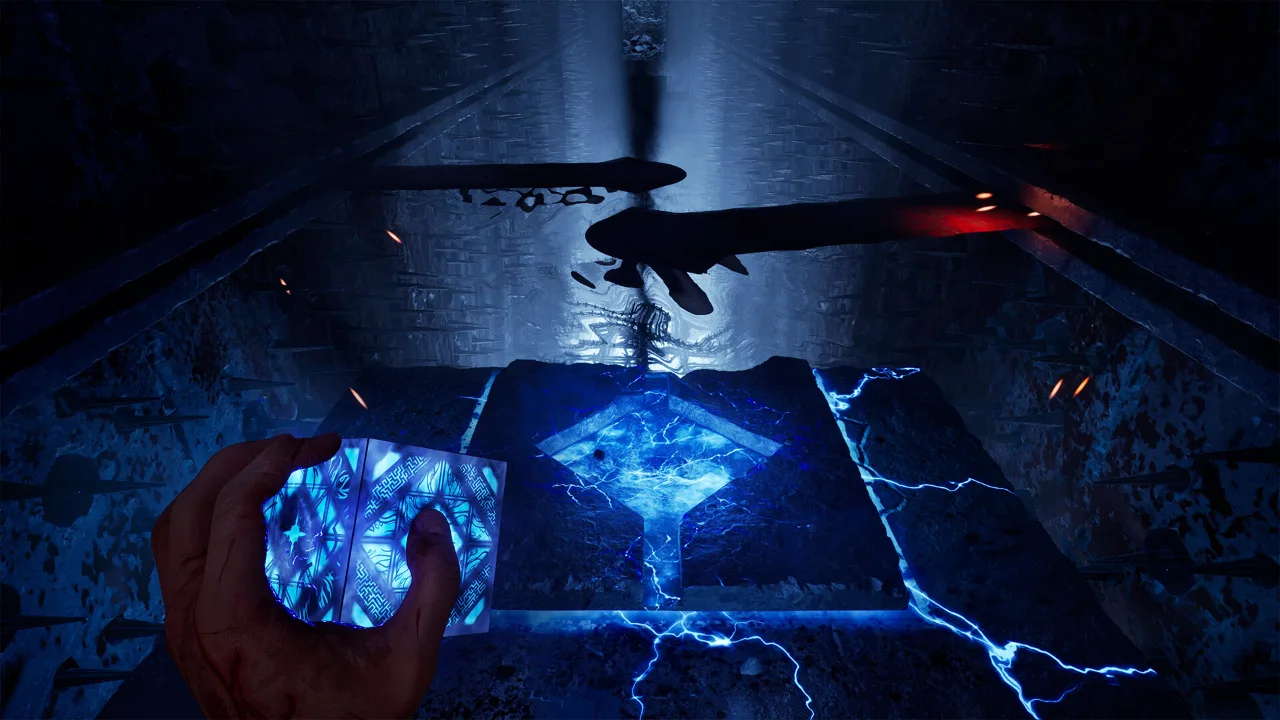
Still in the same objective, right after Suffering Pillar 4. You wake up slumped beside an armchair, climb a ladder into a new Labyrinth room, and if you look up and to the left you can see the Pain Pillar sitting there, taunting you. Getting to it is a puzzle.
Walk to the stairs and let them rotate, then climb. Do the same at the second staircase. At the top, hook right, then left, and plant yourself on the bloodstain on the floor. Two blue blocks sit to your left. Slide them next to each other, level, so they form a bridge across to the pillar. Now drag the charge out of the last block you moved and fling it at the rectangular Labyrinth pillar on your right (not the Pain Pillar, a different one). That opens a red corridor in the corner of the room. Walk through it, turn left as you come out, and you’re standing on the bridge you built.
Pain Pillar 4 location
Give Sister of Mercy’s Heart to Sunny. Beat the Sister of Mercy and take her heart. Then climb the big staircase with the white screens at the top. A Labyrinth corridor runs off the top of it, and the Pain Pillar is down there. That’s the whole puzzle. It’s the easiest pillar in the game, so enjoy it while you can.
Suffering Pillar 5 location
Hunt Marlowe. When you hand over the Sister of Mercy’s heart you end up in an open field, and a black beam of shadow sweeps across it looking for you. The pillar isn’t hard. The beam is. Save by hand before you walk in, because getting caught and finding out how far back the last checkpoint is isn’t a fun way to spend ten minutes.
Use the cube to raise pillars out of the ground, then hide behind those and the concrete blocks. Don’t run, because the beam spots running quickly. Wait for it to swing away from you, crouch, and creep to the next cover.
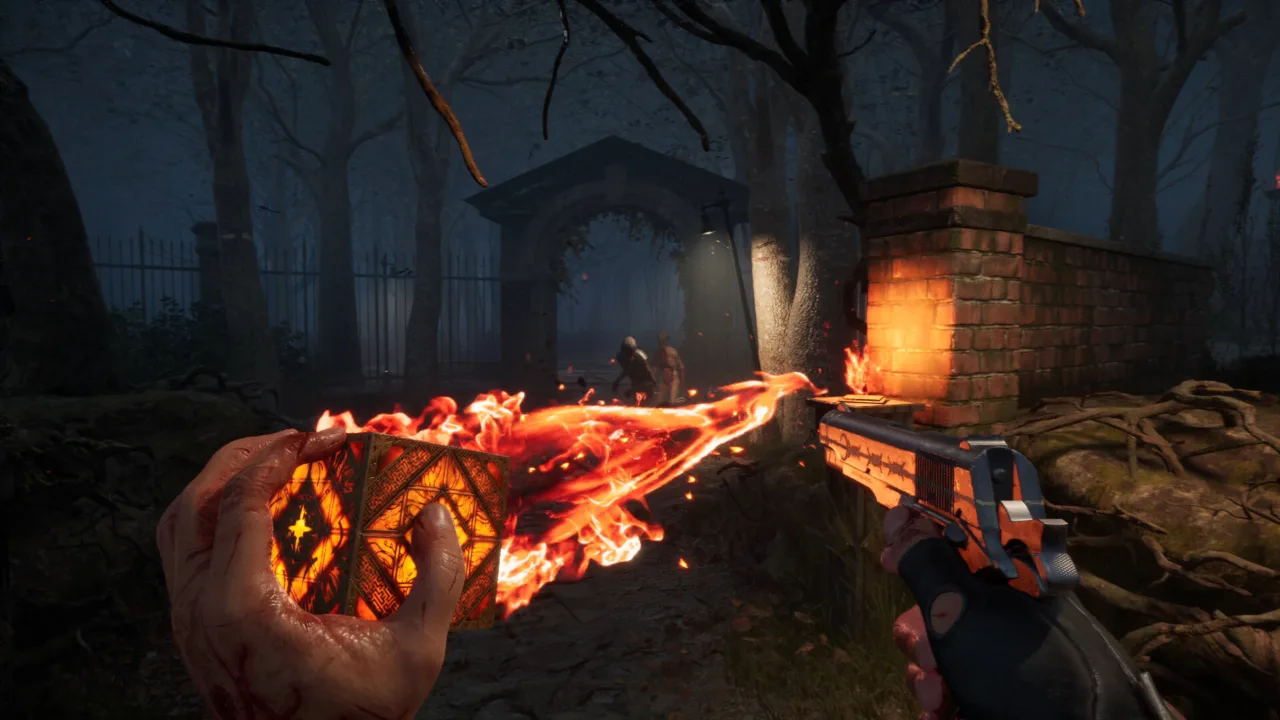
Keep moving until you spot a skinny pillar giving off a blue glow. Pull the charge out of it and fling it at the block off to the right, sitting behind a cracked wall. You can spot it easily once you’re carrying the charge. Then walk back to the cracked wall, where an entrance leads in to the block you just powered up, and the pillar is beyond it. That is the final Suffering Pillar in the game.
Pain Pillar 5 location
Late in the game, you reach a locked door in the narrow alleys that needs a missing bell. Find the bell, solve its puzzle and the door opens onto a corridor of paintings, then a room with a TV. There’s a cyan door beside the TV. Go through it and wait for the spiked pyramid to pass.
The puzzle is the painting on the wall. It has five moving parts, three heads and two hands, and you turn them until they match the pattern the picture is showing you. Get it right and the door slides open on its own, and the last Pain Pillar is on the other side.
If you missed a pillar
Check the tally in the table against the number of pillars you’ve actually claimed. If you’re short, you missed one in the objective you just finished, and the table tells you which. Load a manual save from before that objective if you have one. If you don’t, that’s a fresh run, because the game has no chapter select and won’t let you walk back to old areas.
Which is why I now save by hand at the start of every objective, like someone who’s learned absolutely nothing about trusting autosave.
Something wrong or out of date? Tell us
Guide by
Josh
Josh plays a lot of Arc Raiders and yells “friendly!” into proximity chat more than he should. He gets shot anyway. He’s also a horror fan who has quit more games at the first jump scare than he’ll admit, and he runs a Supermarket Simulator shop he’s weirdly proud of.
Up next in Hellraiser: Revival
Keep playing
-
GuidesEarly game
-
GuidesMidgame
-
GuidesMidgame
-
GuidesMidgame


Squad chat
Be the first