
Hellraiser Revival achievements: all trophies and missables
Every Hellraiser: Revival trophy explained, with the 20 missables flagged, a clean order to earn them, and fixes for the buggy ones.
Quick answer
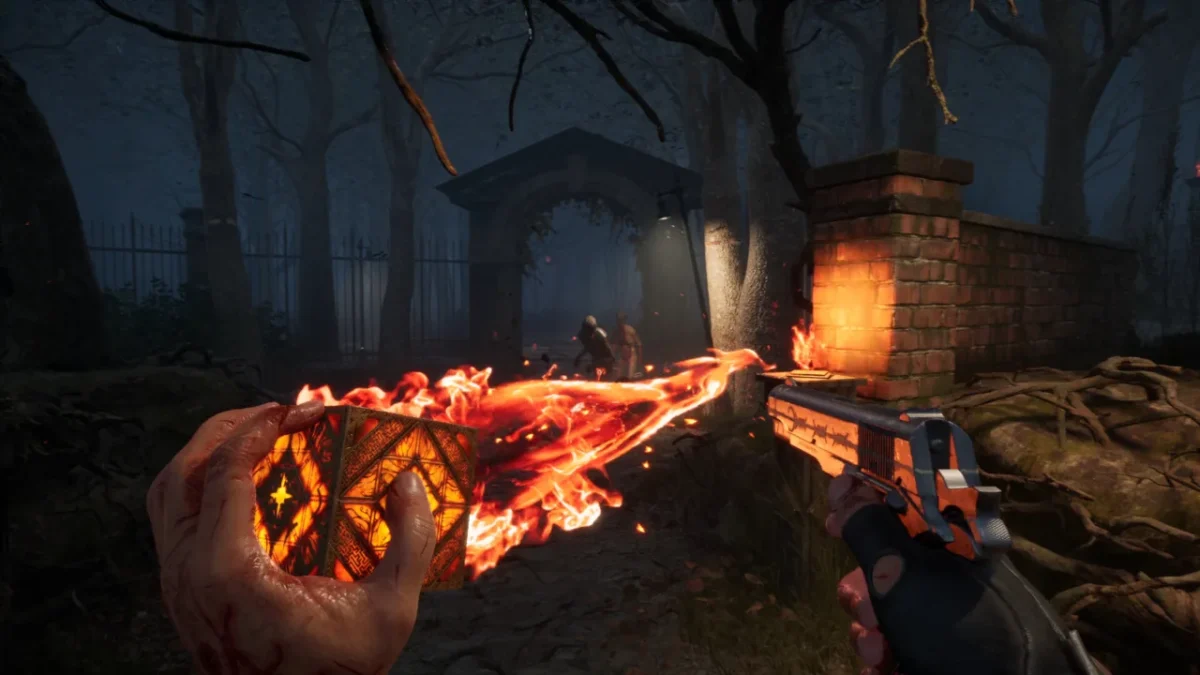
The PlayStation 5 list has 45 trophies including the platinum, and a single playthrough is enough to collect every one. Difficulty setting doesn’t matter, so go easy on yourself. Budget 8 to 10 hours. Twenty of the trophies can slip away for good if you move on too early, which means manual saves are your best friend. The ones that trip people up are A Quiet Place in the graveyard, the two shop trophies, and the two endings.
Light spoilers. Trophy names and a few boss names appear below. I keep the story out of it, though the endings section does tell you there are two ways to finish.
Hellraiser: Revival throws you into the Labyrinth as Aidan, a biker trying to pull his girlfriend Sunny out of a nightmare, and the trophy list follows that trip pretty closely. Roughly half of it unlocks as the story moves along. The other half is a pile of side goals that the game never mentions, and nothing tracks them for you. This guide sorts all of it into something you can follow without a second screen.
One note on names. The titles below are the PS5 ones. Steam has a longer list, which I cover near the end.
The list at a glance
| Thing | Answer |
|---|---|
| Total trophies | 45 (1 platinum, 3 gold, 9 silver, 32 bronze) |
| Missable trophies | 20 |
| Playthroughs needed | 1 |
| Does difficulty matter? | No |
| Time to platinum | Around 8 to 10 hours |
| Chapter select or New Game+ | Neither. Going back means loading an old manual save. |
| Online trophies | None |
That last point about going back is the whole game, really. Once you leave an area it’s gone, so the habit to build is saving by hand before every shop, before anything locked or hidden, and right before the finale.
The order I’d follow
- Play the story normally, and grab every item you see the moment you see it. Skipping a pickup is how most of the missables get lost.
- Save by hand before you reach Zora’s first shop and knock out both shop trophies there (details below).
- Start collecting stealth kills as soon as you have a knife. Ten of them are needed for Wetwork and they cost you no weapon durability.
- Treat the graveyard as its own small project. Save at the church first, then go for A Quiet Place.
- Pick up the firearms, recipes and pillars as you pass them. Keep a running list of what you’ve crafted, because the game won’t.
- Save before the final stretch. The two ending trophies share one choice, so the last autosave lets you see both.
Story trophies
These can’t be missed. Just play the game and they’ll show up, and a few of them need a specific boss or chase to be finished. The table is here so you can see roughly when each one is due.
| Trophy | What triggers it |
|---|---|
| What’s in the Box?! | Solve your first puzzle with the Genesis Configuration |
| Puzzle Me This | Finish three Labyrinth puzzles |
| Not Leaving Us so Soon, Are You? | Get out of the Labyrinth at the end of the opening section, at the bed under the Leviathan |
| The Box. You Opened it. We Came | Get through the prologue |
| A Waste of Good Suffering | Break free of the chair in the first section |
| No Time for Argument | Survive the Chatterer’s first chase |
| Only Nightmares Last Forever! | Escape Charlotte as the Scarlet Church section wraps up |
| With Great Power | Gain Telekinesis after leaving the sewer for the woods |
| Burn? Oh, Such a Limited Imagination! | Shoot the lantern at the graveyard exit so Charlotte goes up in flames |
| Run, Aidan, Run! | Escape the Chatterer a second time, which ends at the Field of Souls |
| Demons to Some, Angels to Others… | Talk to a Cenobite after the cutscene that follows the graveyard |
| Welcome to Oblivion | Make it to the Field of Souls |
| Every Drop of Blood You Spill… (silver) | Bring Sunny back and leave the Labyrinth after using her pillar |
| Puts More Flesh on My Bones | Trigger the cutscene as you leave the Field of Souls |
| Come to Daddy (silver) | Win the first Bruno fight, down in the mansion basement |
| We Have Such Sights to Show You | Go into the Labyrinth for the first time |
| Heart on Fire (silver) | Defeat Charlotte |
| I Can Do This All Day (silver) | Escape the Chatterer a third time |
| So Much for the Cat and Mouse Shtick | Get by the Sister of Mercy without being caught |
| Unlimited Power! | Unlock Hellchains |
| No Mercy (silver) | Defeat the Sister of Mercy |
| Come Here, Damn You, I Want to Touch You (gold) | Beat Bruno a second time, late in the story |
| Go to Hell! (gold) | Defeat Marlowe, the final boss |
| Tear Your Soul Apart (gold) | Finish the Ritual of Rebirth, the last Labyrinth section |
The missable trophies, one by one
What’re Ya Buyin? and What’re Ya Sellin?
Both are lifetime totals across Zora’s shops in a single playthrough. You need to spend 666 coins in total and bring in 999 coins from sales. Players have reported the counters stalling after the first shop visit, with one person stuck on 120 out of 999 for the selling one. The safest plan is to do the whole thing at the first shop, about an hour in. Make a manual save next to it, sell what you’re carrying, buy from her stock, and repeat until both numbers are reached. Another reader said buying only counted when the item came off her shelf, so buying back your own sold gear may not do it. I couldn’t confirm whether a patch has fixed any of this, so if the counters misbehave on your copy, expect to reload and try again.
A Quiet Place
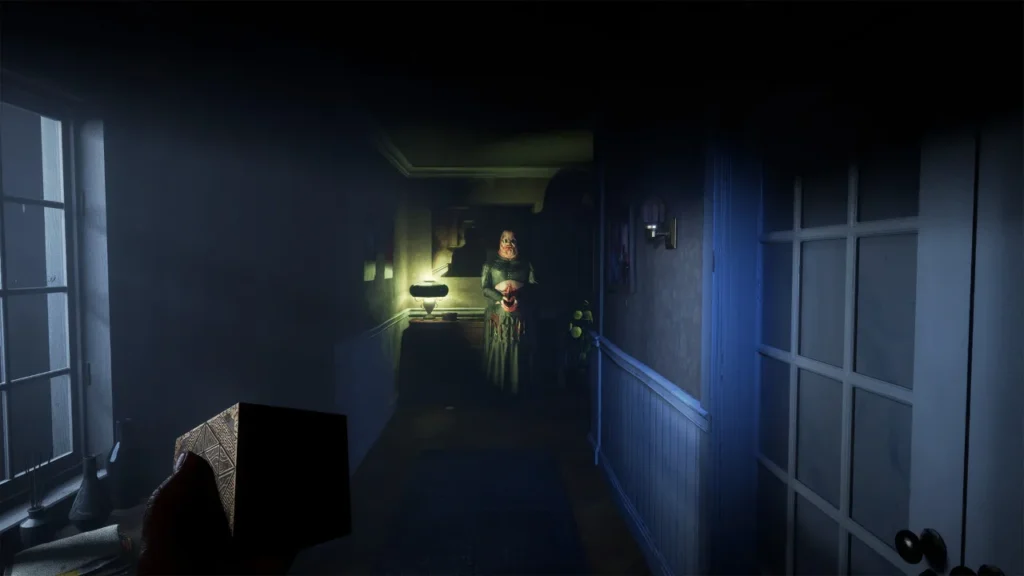
This is the hardest one on the list. You have to cross the graveyard without being spotted and without throwing anything, which also means leaving the bottles and stones alone. Save at the church before you go in and kill nobody. Watch your footing around broken glass, since the noise counts. The game can be fussy about what it considers being seen. Some players got the trophy after taking a different route through the bushes, and another got it after reloading even though Charlotte had noticed them earlier. If one attempt fails, reload and try a new line rather than the same one. The team at PowerPyx did the hard work of testing this section and their trophy roadmap is where I’d go if you’re stuck, so credit to them.
Sticks and Stones
Kill a normal enemy with a thrown stone. There’s a stone to be picked up in the area east of the mansion, so carry one from there and throw it at a regular zombie.
Red Dead Damnation
At the docks shooting range, hit all nine bottles. Do it before you pull the boat, because that is what brings enemies in. Bring at least nine bullets. If you leave the area the bottles come back, so you can try again, but you’ll want the ammo for it.
Codebreaker
Open any five numpad locks. Some of the codes can only be found before the second Bruno fight, so don’t put this one off. All the codes and where to find them are in our Hellraiser: Revival codes guide.
Guns, Lots of Guns and Lord of War
The first asks for all five firearms, which are listed in the collectibles section below. Lord of War wants every one of the five attachment slots filled on a single gun, and the SMG is the usual pick. The first upgrade is at Zora’s hideout and the second comes out of the safe in the graveyard house. Buy the other three at the next shop. If the trophy doesn’t pop after the last attachment, take one off and put it back on.
In the Land of the Pig, the Butcher is King
Kill 69 enemies with Hellchains in one playthrough. It sounds like a lot, and the trick is the Hellchains room itself. Use the chains, reload the autosave, and the enemies are back. Repeat it until the counter finishes.
Librarian and Artificer
Librarian is for collecting all 12 crafting recipes and Artificer is for crafting every one of them at least once. Crafting materials can’t be bought and don’t regrow, so spend them with care. The game doesn’t tell you which recipes you’ve already made, so jot it down as you go. The full recipe list is further down.
Wetwork
Kill ten cultists without any of them noticing. A knife is the tool for it, since it doesn’t wear out the way other melee weapons do. You can pick one up early on, and another sits near a hooded victim after the Chatterer chase. Crouch behind the target and finish it quietly. Nobody has pinned down exactly when the window shuts, so start stealth-killing as soon as you have the knife and count as you go.
Electro-Shock Therapy
You have to die from electric shock while standing in electrified water. Dying on purpose is the whole point, so do it right after a save or an autosave and you’ll lose nothing.
Portable Guillotine
Behead three enemies using one melee weapon without it breaking. Pick a sturdy blade and use it only for this, since broken weapons can’t be repaired.
Trickshot
Kill two enemies with a single shot. The bathroom area is the spot the guides point to. The assault rifle loaded with armor-piercing rounds is the dependable choice, though one player says a shotgun worked for them. If it goes wrong, reloading the autosave resets the area, including the items you picked up.
Pillars: The Further Regions of Experience, There Are No Limits, Pain And Pleasure, Indivisible
Touch your first Pain or Suffering pillar for the first, all five Pain pillars for the second, and all five Suffering pillars for the third. The Labyrinth walls close behind you, so there is no walking back. If you miss one, you’re loading a save. The locations are in the next section.
The endings
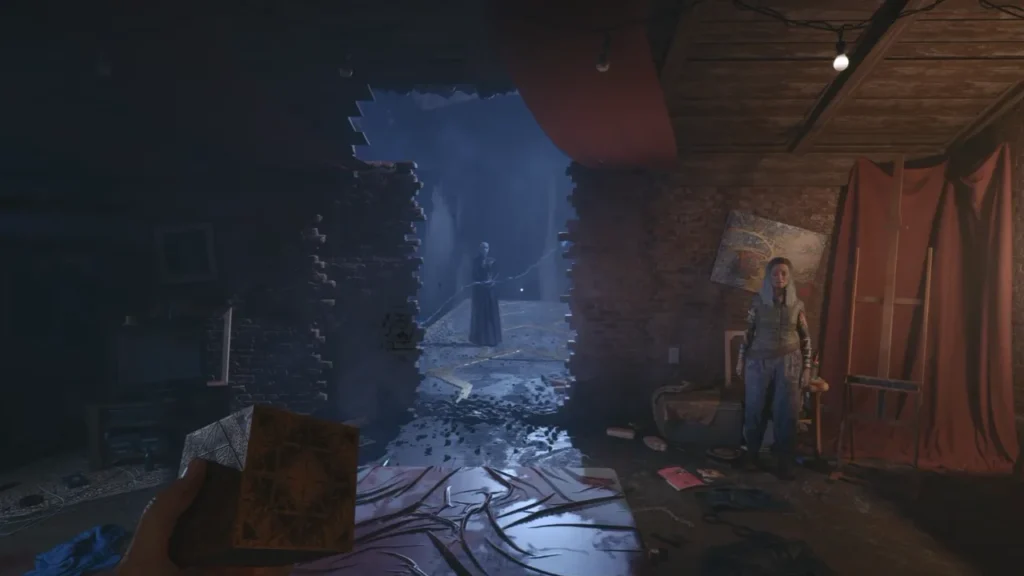
Experience Beyond Limits is for ending the story by walking through the hole in the wall behind the Cenobites. Human After All is for staying in the apartment until that hole closes. They both ask for the same final decision, so save right before it. Reload that last autosave and take the other path once you’ve got the first.
Collectibles for the trophies
The five firearms
| Weapon | How you get it |
|---|---|
| Pistol | Picked up automatically during the Chatterer chase, once you restore power and open the metal door |
| Shotgun | Lies by a body near where you land after falling into the graveyard |
| SMG | Inside the large safe on the mansion’s upper floor, opened by spinning its discs |
| Revolver | Bought from Zora at the second shop for 300 coins |
| Assault rifle | Bought from Zora at the third shop for 450 coins |
The twelve recipes
| Recipe | Where it comes from |
|---|---|
| Bandage | Available from the start |
| Pistol ammo | Unlocks with the pistol |
| Medkit, Lockpick, Basic Repair Kit | Zora, first shop |
| Advanced Repair Kit, 12-gauge ammo pack | Zora, second shop |
| 9mm ammo pack | Zora, second shop |
| Bear Trap, Fuel Can | Zora, second shop, after you get the statue’s tongue |
| .357 ammo pack | Zora, third shop |
| 7.62 ammo pack | Zora, third shop, after you come back from the Labyrinth |
Shops don’t offer refunds, so buy the recipes when you can afford them instead of putting it off.
Pain pillars
These raise your health. Each is tied to an objective in the Labyrinth.
| # | Objective | Where it is |
|---|---|---|
| 1 | Free Sunny’s Soul | Past the spinning diamond obstacle, turn right at the bloody hole in the wall. The pillar is in a room beyond four similar holes. |
| 2 | Give Charlotte’s Heart to Sunny | After the wall spikes there is a left turn that dead-ends. Come back through the spikes and take the right instead. |
| 3 | Exit the Labyrinth | Climb the ladder, then burn the pillar in the room with the moving staircases and loop around to reach it. |
| 4 | Give the Sister of Mercy’s Heart to Sunny | Right after her fight, on the main path into the Labyrinth. |
| 5 | Reclaim the Genesis Configuration from Bruno | Go through the painted door and flip the spots on the wall until the picture is complete. |
Suffering pillars
| # | Objective | Where it is |
|---|---|---|
| 1 | Free Sunny’s Soul | After the spiked walls and the descending roof, turn left at the red light. It sits among rotating traps. |
| 2 | Free Sunny’s Soul | Where the Leviathan shows up in the distance, stop at the arches and turn around. If you reach the blue-flame arch you went too far. |
| 3 | Give Charlotte’s Heart to Sunny | Straight ahead after the save point, once you enter the Labyrinth after beating Charlotte. |
| 4 | Exit the Labyrinth | In the octagonal room it is on the third section. Rotate the second and third sections to open a path. |
| 5 | Hunt Marlowe | In the Leviathan beam area, use fire to hit a block, move the block in a side area, then shoot the fire back at the pillar. |
Dying in the beam area sends you back to your last manual save, so save before you walk in.
What changes on Steam and Xbox
Steam has 69 achievements, which is well above the 45 trophies on PS5. Xbox and PS5 dropped several of the Steam extras. I haven’t lined up every Steam name against the trophies above, so I won’t pretend the two lists match one to one. Two of the extras players mention are one tied to the Leviathan’s beam and one for reusing enemy bear traps.
Common questions
Do I need more than one playthrough?
No. The two endings can both be seen in the same run by reloading the last autosave, and difficulty has no effect on trophies.
What is the hardest trophy?
A Quiet Place. The shop ones are more annoying if your counters bug out, but the graveyard stealth is the one that takes the most attempts.
Is there a platinum?
Yes. To Hell and Back unlocks once you have every other trophy.
Can I go back for something I missed?
Only through a manual save. The game has no chapter select and no New Game+, so saving often is what keeps a missed trophy from costing you a whole run.
Something wrong or out of date? Tell us
Guide by
George
George grew up on Dark Souls and Call of Duty, and he still has strong opinions about both. He also plays Arma, where he walks a very long way to get shot by someone he never saw. He says it’s part of the experience.
Up next in Hellraiser: Revival
Keep playing
-
GuidesEarly game
-
GuidesMidgame
-
GuidesMidgame
-
GuidesMidgame


Squad chat
Be the first