Hellraiser Revival codes: all 10 keypads, safes and lockers
Every keypad code in Hellraiser: Revival, where the locks are and how each clue works, plus the Genesis Configuration gate shapes.
Quick answer
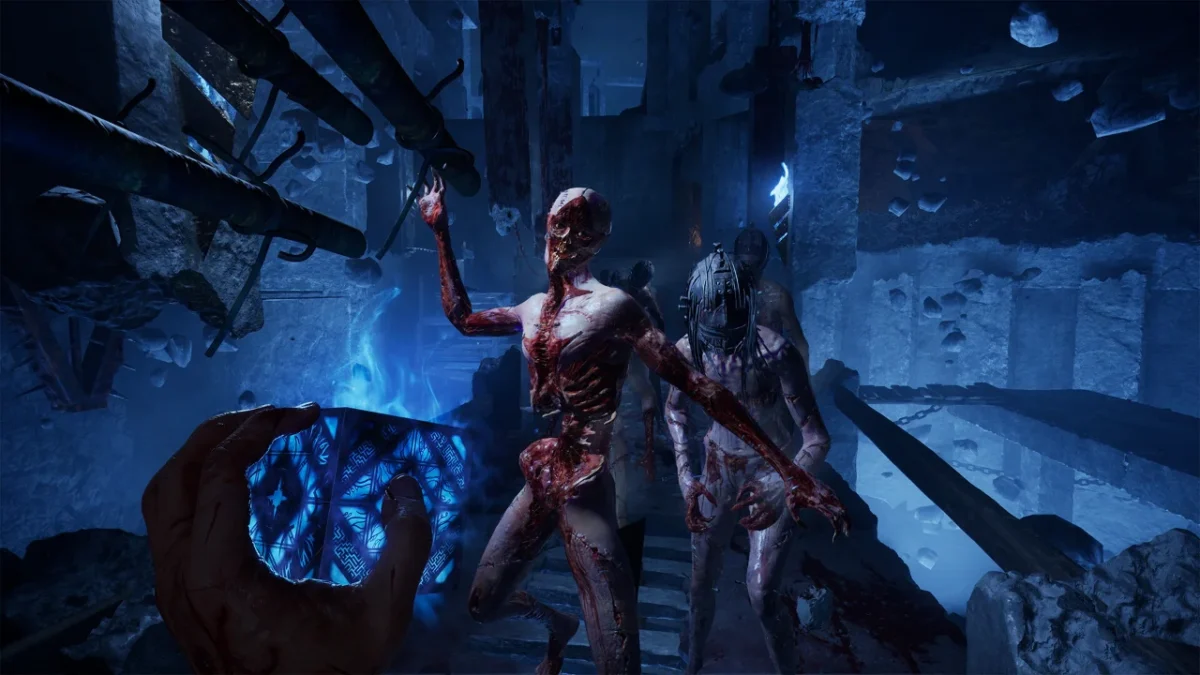
There are 10 keypad codes in Hellraiser: Revival: 9901, 9891, 9606, 1966, 1952, 1923, 1362, 8571, 2342 and 1512. They’re listed in the order you’ll hit them, with where each lock is and what its clue looks like. Open any five and you get the Codebreaker achievement.
Light spoilers. I name rooms, objectives and a couple of mid-game moments. Nothing about how the story ends.
Hellraiser: Revival never hands you a code. You read it off a painting plaque, a corpse, a pair of VHS tapes or a sewer wall, and the lock is almost always in the same room or the one next door. Most of them belong to the Scarlet Church, so a lot of this is you going through a cult’s cupboards while Bruno and Marlowe are somewhere close.
There are ten keypads. Here’s the full list, then how each clue works.
All 10 Hellraiser Revival codes
| Lock | Code | Where |
|---|---|---|
| Hallway cabinet | 9901 | Painted hallway past Bruno’s operating theatre |
| Medical room locker | 9891 | Medical room with the bathtub |
| Graveyard house safe | 9606 | Kitchen of the house on the east side of the graveyard |
| Bruno’s music room cabinet | 1966 | Upstairs in Bruno’s house |
| Snake room cabinet | 1952 | Snake Room in the club |
| Private Rooms bathroom cabinet | 1923 | Door on your right after the Private Rooms door puzzle |
| Factory blue door | 1362 | Outside the factory, on the Use the Elevator objective |
| Laundry room locker | 8571 | South-east of the library |
| Break room locker | 2342 | Break room with the ladder and the TV |
| Sewer lever room locker | 1512 | Up from the sewer during Hunt Marlowe |
These are keypads only. Cabinets that open with the lockpick minigame are a separate thing, and you can’t pick a keypad.
How each code works
Hallway cabinet: 9901
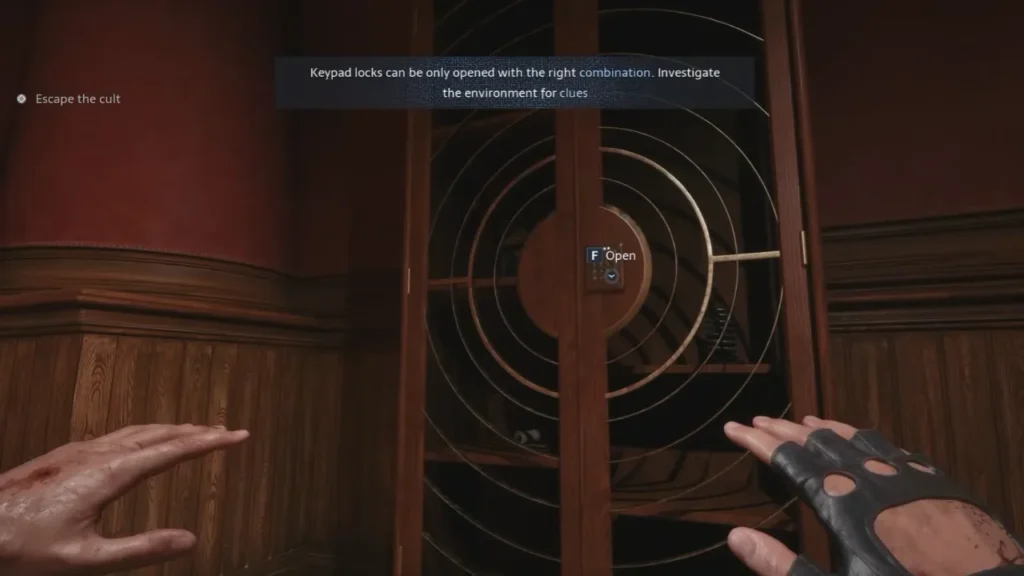
Your first one. Grab Bruno’s keycard from the cart next to the operating chair, sneak out through the security door and you’re in a hallway full of oil paintings. The cabinet is on the left. The paintings have dated plaques, and two of them read 99 and 01. Put them together in the order you pass them. Some lists print it as 0199, but 9901 is what the pad takes. You get a bandage, coils and gunpowder.
Medical room locker: 9891
The medical room is the one with the bloody bathtub, and you reach it once you’ve got the knife. The body in the tub has the code tattooed on its back. Look at it, walk to the locker, type it in. Inside there’s ammo and a weapon upgrade.
Graveyard house safe: 9606
Once Charlotte has chased you out of the woods, head for the house on the far east side of the graveyard. The shed key is on a nightstand in the back bedroom, and you need it anyway for the cemetery gate. The safe is in the kitchen, under the vinyl print. Half the code is on the back of a picture and the other half is in the note about the shed key. It holds a reload speed upgrade for the pistol.
Bruno’s music room cabinet: 1966
Upstairs in Bruno’s house, at the back on the right. A note by the cabinet says the code is 300 plus the date on the painting in Bruno’s office. That painting says 1666, so you’re typing 1966.
Snake room cabinet: 1952
The cabinet is in the club’s Snake Room, near where you pick up the Voyeur ticket. The number is on a duplicate photo in the peep show locker rooms.
Private Rooms bathroom cabinet: 1923
Finish the Private Rooms door puzzle and take the doorway on your right. The cabinet is in that bathroom. Next door there’s a photo of businessmen with a number over each of them, and two of them wear Leviathan pins. Their numbers are your code.
Factory blue door: 1362
This one gets skipped a lot. On the Use the Elevator objective, find the hole in the wall outside the factory, to the right of the vendor. The blue door is through there. Two small statues in the area look like set dressing, but the back and the bottom of each one carry digits, and together they make the code.
Laundry room locker: 8571
From the library, go through the room to the south and take the door on the east side. There are two VHS players in two different rooms. The tape in the TV by the door shows 85 and the one in the next room shows 71. The locker is near the last health upgrade pillar.
Break room locker: 2342
Marlowe punches through a few walls in this stretch, and there are numbers painted on what’s behind them. Enter them from the farthest wall to the nearest, not left to right. The locker is in the break room with the ladder and the TV, and it’s a good one for ammo. A few guides call it the operating room cabinet.
Sewer lever room locker: 1512
Some lists stop at nine codes and miss this one. During Hunt Marlowe, go up from the sewer to the room with the bridge that needs a lever. The locker is in there. The clue is graffiti in the big electrified room, low on the wall of the cylinder structure, where someone brags about beating a high score.
Codebreaker achievement
Open any five keypads and Codebreaker unlocks. If you go in the order above, the first five get you there. None of the codes are needed to finish the game, but the loot helps, and a few of the upgrades can be missed for good. There’s no chapter select after the credits, so keep a manual save if you’re chasing every trophy.
Genesis Configuration gate shapes
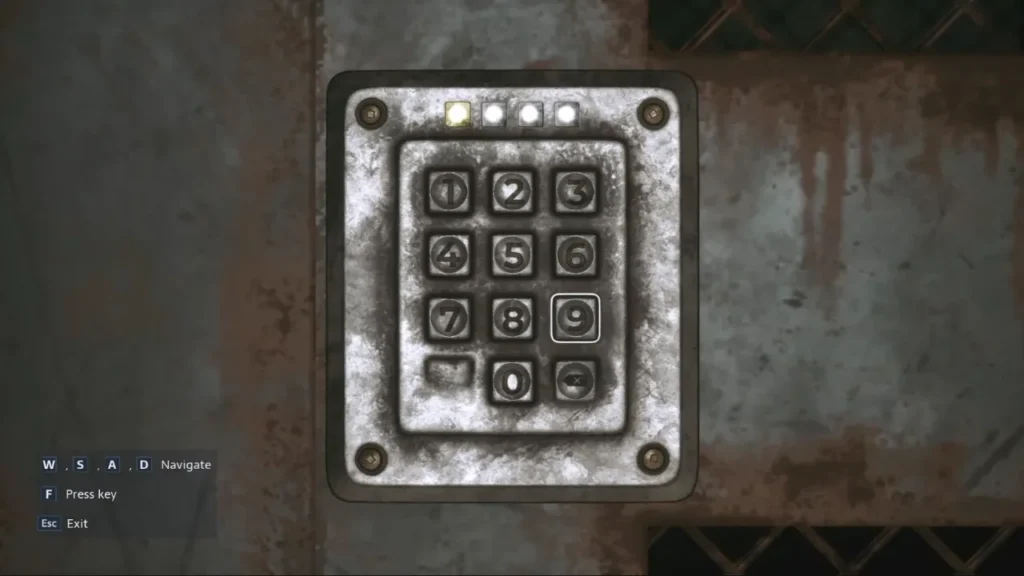
Five story gates want the Genesis Configuration set to one exact shape. The box has two faces. Set one, flip it, set the other, then confirm.
| Gate | Face 1 | Face 2 |
|---|---|---|
| Sunny’s pillar | Square turned onto a corner, so it looks like a diamond | Two parallel bridge shapes, one left and one right, legs pointing inward |
| Hand statue | Two flat-bottomed, domed boulder shapes, one above the other | The same pair turned a quarter turn, one left and one right |
| Head statue | Plain square, upright | Frame shape with a star-shaped gap in the middle, openings left and right |
| Tongue statue | Square turned into a diamond | Four petal-like blocks, one in each corner |
| Factory shrine | Square turned into a diamond | Same star-gap frame as the Head statue, openings left and right |
Sunny’s pillar is the Free Sunny’s Soul objective, out past the labyrinth ruins in the Field of Souls. The short version there is one end rotated once and the other end changed twice.
Where the statue pieces are
- Hand: in Bruno’s mansion. Taking it sets off the security system. In the gas room, match each statue to the painting: one interaction on the scale statue, two on the statue left of the door, and leave the mask statue alone.
- Head: on an armchair inside the cabin along the path.
- Tongue: past the well block puzzle in the Head statue area. Raise the first highlighted block with the Configuration, then go straight to the next one before the structure drops.
- Factory shrine: on the shrine inside the factory, where the elevator down to Marlowe and Bruno is.
Bell door and other puzzles
Bell door. It’s in an alley near the finale. You start with four bells and the fifth is in the red music box in the metal-cube room opposite the door, past the shooting range. Taking it starts a boss fight. Then set the bells left to right: crowned human, mask, ripped chest, Configuration cube, Pinhead and his followers.
Private Rooms door. The sex positions puzzle changes every playthrough, so there’s no fixed answer. The solution is in the artwork on the wall in the room. Read that and you’re done.
Leviathan statuette. Rotate the pieces until every line connects.
Something wrong or out of date? Tell us
Guide by
George
George grew up on Dark Souls and Call of Duty, and he still has strong opinions about both. He also plays Arma, where he walks a very long way to get shot by someone he never saw. He says it’s part of the experience.
Up next in Hellraiser: Revival
Keep playing
-
GuidesEarly game
-
GuidesMidgame
-
GuidesMidgame
-
GuidesMidgame

Squad chat
Be the first