
Modern Warfare 4 YOLO mode: how to unlock it, the rules and how to survive
How MW4 YOLO mode works: the unlock steps, what ends a run, the Calling Card reward and a mission-by-mission look at the fights that wreck most attempts.

Spoiler warning. This guide names bosses, areas or story moments. Bigger reveals stay hidden in spoiler blocks until you open them.
Quick answer
Finish the MW4 campaign on any difficulty to unlock Realism, then clear it again on Realism to open YOLO. YOLO is Realism with one life for all 16 missions. Dying or failing an objective sends you back to Mayhem, with no checkpoint reload and no mission select. The only reward is the animated YOLO Completer Calling Card.
YOLO is the hardest campaign setting in MW4 and the least rewarding one. You get a single life for the whole story, and the prize is a Calling Card. That sounds like a bad deal because it mostly is, but plenty of people want it anyway. The rules are strict, and a handful of fights end most runs.
Treat it as a long project. A normal clear takes around 6 to 8 hours. Budget about 40 hours across three attempts, with the winning run alone taking roughly 20.
How to unlock YOLO mode in MW4
- Clear the story on any setting. Recruit counts. This opens Realism and gives you the Hold the Line trophy.
- Clear it again on Realism. This opens YOLO and gives you Was it worth it?
- Start a New Game and pick YOLO. You can’t choose a mission. Each attempt starts on the first mission, Mayhem.
That is two full clears before your first attempt. Do the first one on a difficulty where the other trophies are easy, because several of them need a specific setting. The achievements guide lists which difficulty each one wants.
MW4 YOLO mode rules
YOLO is Realism with the safety net taken away. Enemies are Veteran strength, the HUD is gone, so no minimap, ammo count, crosshair or teammate markers, and friendly fire is on. The difference is what a mistake costs.
| Setting | Realism | YOLO |
|---|---|---|
| Enemies | Veteran strength | Veteran strength |
| HUD | None | None |
| Friendly fire | On | On |
| Lives | Checkpoints, as many tries as you like | One for the whole campaign |
| Mission select | Open for missions you have played | Closed. New Game only |
| After a failure | Reload the last checkpoint | Back to Mayhem |
| Reward | Was it worth it? trophy | YOLO Completer Calling Card |
Dying ends the run, obviously. So does failing an objective, and a few missions fail you for things that feel harmless. Shooting an ally is a fail in Losing Ground and again in the underground part of Decapitation, and a civilian hit in Traffic forces a restart. Wandering too far from your squad can fail a section as well, so don’t go scouting on your own.
Can you pause, quit or restart in YOLO
Checkpoints still save, but you can’t load one from the pause menu. If your health is low enough that the screen has gone red, quitting to the main menu throws up a warning that the run resets to the first mission.
A few tricks went round in launch week. Restarting the current mission from the pause menu just before the death screen was the popular one, and I’d recommend not building an attempt on it because it looks like a bug that gets patched, even though no update has mentioned it yet. Force-closing the game right after dying doesn’t save you either. Nobody agrees on whether quitting mid-mission keeps your progress, so finish the sitting you start instead of testing it on a good run.
YOLO mode reward
Beating YOLO gives you the YOLO Completer Calling Card, and it’s animated. Activision lists it under Elite Campaign Mastery. There is no trophy or achievement for it, and no weapons, operator skins or XP.
The campaign gear you might want doesn’t need YOLO. Every mission reward is identical on every difficulty, which covers the eight base operators and the Double XP tokens. The two Double Weapon XP tokens come from Defection and Escape, and the level-up guide shows where to spend them.
Before you start a YOLO run
- Campaign cleared on any setting
- Campaign cleared on Realism
- Every checkpoint you needed more than twice replayed on Realism until it feels boring
- Melee fights practiced on their own, since a failed block ends the run
- Sensitivity and ADS settings sorted. The sensitivity and ADS guide has settings worth starting from
- Trophy runs done elsewhere, including Pacifist and Revenge in Assassins, which can’t share an attempt
- A few uninterrupted hours blocked out
MW4 YOLO mode tips
Let your allies do the shooting. The safest way through most gunfights is the slow one. Sit behind a wall while the AI squad whittles the enemy down, then deal with whoever is left. Waiting a few minutes costs you nothing, and a hurried peek can cost you the run.
Peek once, shoot once, go back. Veteran enemies are accurate, throw plenty of grenades and kill you fast. Take out one target, drop behind cover and repeat. Standing in the open to finish a second enemy is how most runs die.
Know who you’re aiming at. Realism removes the markers over teammates, so you have to recognise allies and civilians by sight. Look first and fire second, especially in crowds. I learned that the hard way by accidentally turning a civilian into swiss cheese on one level, and on this difficulty that is the end of the run.
Keep explosives away from crowds. A flashbang is useful against a bunched enemy group that is clear of allies and civilians. In a crowded street, both flashbangs and grenades can hit the wrong people and end the run.
Grab plates and grenades when you see them. Armor breaking at the wrong time is behind a lot of close calls. In Hired Gun, stock up before you enter the maintenance building.
Use the input you aim best with. I’d recommend mouse and keyboard if you have the choice, especially when enemies are far away, but there is no wrong answer if it keeps your shots accurate.
Hardest parts of the MW4 campaign on YOLO
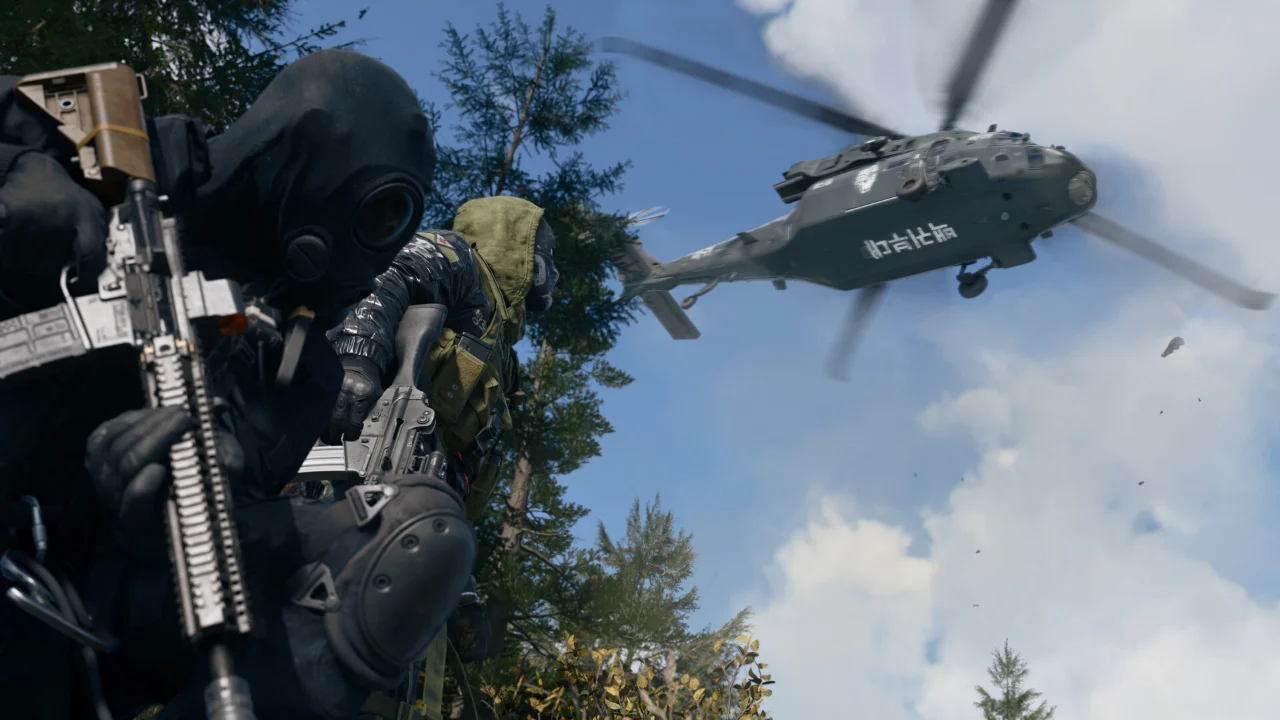
The gunfights are hard, but the sections I’d dread are the melee fights, the chases and the QTE prompts, because you can’t hide behind a wall in any of them. Here is where the pressure sits, mission by mission.
| Mission or section | What ends runs | Plan |
|---|---|---|
| Out in the Cold | A scripted knife sequence, then the Makarov alley fistfight | Parry, punish twice, reset. Details below |
| Hired Gun | An enemy helicopter with an RPG, then the Graves helicopter takedown | Stay out of the RPG’s sight. Keep your distance from the Graves helicopter, flash it, fire, repeat, and take Valeria’s resupply |
| Hajin night retreat | Night gunfire while civilians and friendly soldiers cross your line of fire | No grenades, no flashbangs. Identify first and shoot second |
| Losing Ground | Shooting an ally fails the mission | Don’t fire at anything you haven’t identified |
| Traffic | The Seine chase, a helicopter pursuit and civilians in the way | A civilian hit sends you back, so only shoot what you’ve identified |
| Gone Dark | A rooftop and drainpipe chase, then the Ghost knife duel | Duel details below |
| Assassins | Patrols, a garden sniper and a ledge shimmy | Learn the route and door codes on Realism so none of it is new |
| Stranded | An attack helicopter at the jamming station and the reinforcements at the SAM Site | The reinforcement trucks and tank all come across the same bridge, so watch it |
| Defection | A quiet night infiltration that turns into armor and mortars | Hard cover, and don’t peek while mortars are landing |
| Counter Attack | Two mortar teams on rooftops, a tank and snipers | The first team is on the roof above the tank to your left, the second on the roof left of that after the sniper |
| Escape | The gas room and the furnace room | Details below |
| Entrenched | Artillery, snow-camo enemies, an RPG by the BMP and a collapsing walkway, plus a parkour prompt | Watch the snow for movement and keep up with your squad on the climb |
| Decapitation | Shooting an ally down in the tunnels, then the night vision stretch | Same rule as everywhere. Identify before you fire |
| Price against two former allies | A melee fight with no cover and no grenades | Rehearse the block and counter timing on Realism |
| Greater Good | The blizzard chase and the melee with the Archer on the ice | A death here sends you back to Mayhem like any other |
Makarov fight in Out in the Cold
This is the first real test, and it’s two fights in one. First comes a scripted knife sequence where the on-screen prompts tell you when to block and counter. After that is an open fistfight in the alley, with Makarov choosing when to attack.
Block is L2 on PlayStation and LT on Xbox, and you let go a split second before the blow connects. Let him throw first. Block slightly later than feels natural, since reacting the moment his swing starts is too early. Throw a punch or two and step back to neutral. Three or more hits in a row lets him raise his guard. Midway through there is a takedown prompt that triggers a cutscene, and he charges almost straight after it.
In a normal run that cutscene also saves a checkpoint, which does nothing for you on YOLO. If you’re after Can’t touch this, it needs a hit-free fight on Veteran or higher, and doing it on a normal run is good practice for the real attempt.
Ghost knife fight in Gone Dark
Gone Dark has a knife duel against Ghost, and the same rule applies as with Makarov. Block the swing, hit back, reset. It’s survivable once the timing clicks, and a few bad attempts on Realism will tell you a lot about your odds. I’d rehearse it alongside the two-on-one Price fight.
Fistfights also sometimes don’t register a block or counter, so you get chained by the opponent. On a normal run that is an annoyance. On YOLO it ends the attempt, which is the main reason I’d practice the melee sections more than any gunfight.
Escape gas room and furnace room
Two sections in Escape get named more than any others. The first is the gas room, where three heavily armored soldiers will take you down in two hits. The second is the red-lit furnace room, where two soldiers come at you one after the other. One is already inside and the other arrives through the door, so you’re already fighting the second while you recover from the first.
For the gas room, use the plan that works everywhere else. Stay behind cover, let your squad draw fire, take one peek at a time and flash them when they bunch up. Veteran accuracy doesn’t leave you a third peek.
How to practice YOLO before you commit
I’d recommend treating your Realism clear as the rehearsal, because it is the best one you will get, with the same enemies and the same missing HUD. Note every spot where you used a checkpoint more than twice. Go back to mission select and rerun any finished mission on any setting except YOLO, and run those sections until they stop worrying you.
You can also change difficulty between Recruit and Veteran during a normal run from the pause menu. That makes it easy to drop to Veteran for a single trophy fight and go back afterwards.
Is MW4 YOLO mode worth it
Only if you want the card. There is no trophy, nothing that helps in multiplayer, and a clear costs around 40 hours across three tries. The mode also punishes things that have nothing to do with skill, like fists that don’t register a block and enemies that find you behind cover, and that is my main gripe with it.
If you like the campaign and want a real challenge, Realism gets you the trophy and most of the pain. If you do go for YOLO, that’s the lot. Rehearse the melee fights first, because at least the gunfights let you hide behind a wall.
Did this guide help?
Something wrong or out of date? Tell us
Guide by
Josh
Josh plays a lot of Arc Raiders and yells “friendly!” into proximity chat more than he should. He gets shot anyway. He’s also a horror fan who has quit more games at the first jump scare than he’ll admit, and he runs a Supermarket Simulator shop he’s weirdly proud of.
Up next in Call of Duty: Modern Warfare 4
Popular right now
-
GuidesMidgame
-
GuidesEarly game
-
GuidesMidgame
-
GuidesMidgame



Squad chat
Be the first