
Over the Hill upgrades: what to buy first and how tool slots work
Every Over the Hill upgrade with exact costs and numbers, how to get more tool slots and what to buy first. Everything is bought per vehicle.

Updated . Checked after the 16 October update. Prices and numbers are the current ones.
Quick answer
Buy the second tool slot first (25 Pebbles), then winch range, then tires. Everything is bought per vehicle, tool slots included, so pick the one you actually want to drive before you spend anything. Protection goes last and the engine sits near the bottom. The Mechanic, Crazy Günther, is in every area, and you can reach the first one shortly after the tutorial.
You start Over the Hill with seven tools and room for exactly one of them, which is like being handed a toolbox with the lid welded shut. My first proper outing was a portable winch, a nice drive and a rollover about ten minutes later, at which point I found out the Jack was still on the Mechanic’s list and I was very much not. The fix costs a handful of Pebbles, and the game is oddly shy about telling you that.
Where to upgrade
Everything is bought from the Mechanic, a bloke called Crazy Günther, and there’s one in each of the five areas. Find the first one on your map shortly after the tutorial and follow the marker. The first visit to each of them pays 10 Pebbles, so say hello to all five. His menu has Vehicle (swap between the cars you own), Upgrade, Cosmetics, Livery, Tools and a Modded Liveries tab for community stuff. He’s also a respawn point, which you set by picking his icon on the area map, and turning up at his place cleans and fully repairs your vehicle.
Tool slots
Every vehicle starts with one tool slot and can have four. Slot two costs 25 Pebbles, slot three costs 50 and slot four costs 75, so 150 Pebbles to max out one car.
| Slot | Price | Spent so far |
|---|---|---|
| Second slot | 25 | 25 |
| Third slot | 50 | 75 |
| Fourth slot | 75 | 150 |
The catch is that it’s all per vehicle. Switch to another car and you’re back on one slot, and doing slots on all 21 would cost 3,150 Pebbles by itself. Everything lying around the whole map only pays about 3,240 once, so you are never going to build every car. Pick the one you want to live in and spend on that.
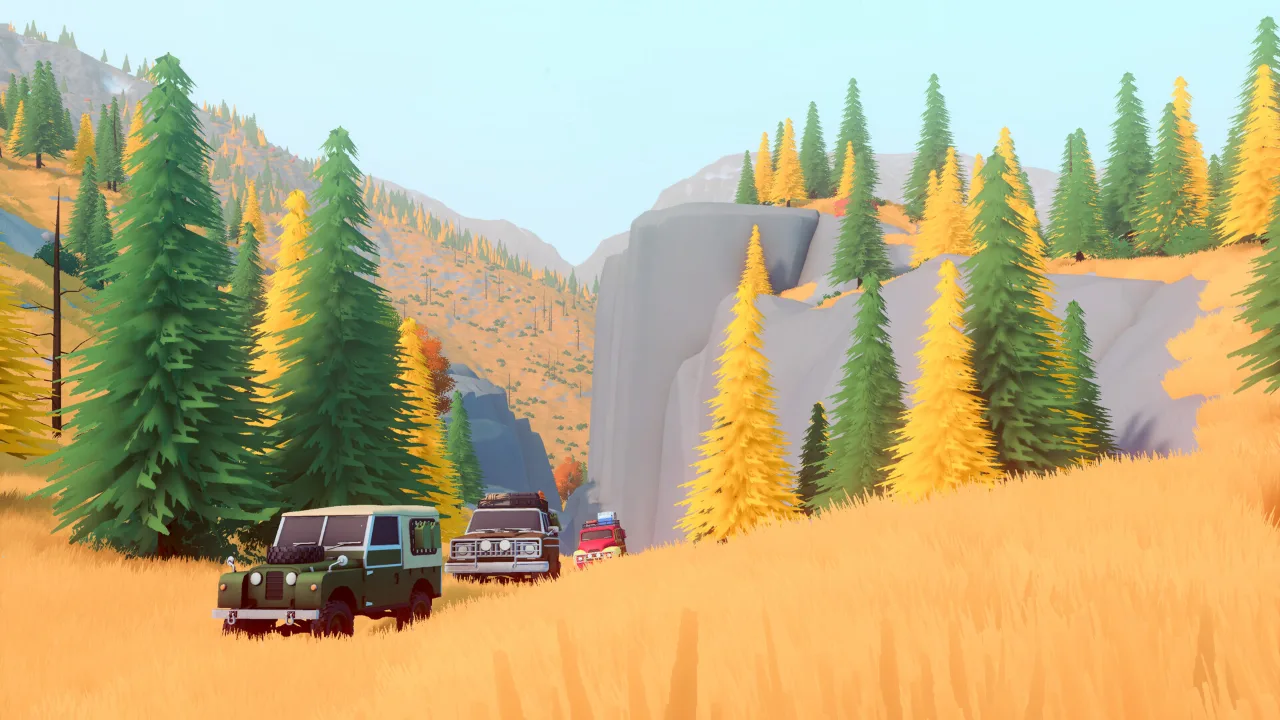
Tools
There are seven tools, you start with all of them, and you choose which ones go in your slots from the Mechanic’s Tools menu. Out on the map you use them from the radial menu. The numbers below are how many of each you start with.
| Tool | Start with | What it does |
|---|---|---|
| Portable winch | 3 | Drops an anchor so you can winch where there is no tree |
| Jack | 1 | Flips you back onto your wheels and moves you to a nearby spot |
| Planks | 3 | Lays two wooden planks around the vehicle |
| Repair kit | 3 | Repairs the vehicle |
| Meteorite Radar | 3 | Points your compass at the nearest fallen meteorite |
| Camp tool | 1 | Sets up camp once everyone is together, and time runs 50 times faster while you camp |
| Cloud Clearing Bell | 1 | Sets the weather to clear |
Cabins restore the tools you’ve got equipped, so a cabin is also a refill. That’s the real argument for slots. A tool left on the Mechanic’s list isn’t getting refilled, and it’s no help to you when you’re on your roof in a ditch.
Which tools to carry
This is just what I’d carry, so take it or leave it.
| Slots | Carry | Why |
|---|---|---|
| One | Portable winch | Being stuck with no tree in reach is the one problem nothing else fixes. |
| Two | Add the Jack | Covers the other way of ruining a trip, which is the roof. |
| Three | Add the Planks | For gaps and awkward lips you can’t crawl over. |
| Four | Add the Repair kit | Useful when the nearest cabin is a long way off. Swap it for the Radar on a meteorite run. |
| Achievement runs | Swap in the Camp tool | Skips time for sunrise, sunset and night. Leave the Bell at home if you want rain. |
Upgrade effects
There are seven kinds of upgrade and 16 stages in total, and each stage needs the one before it on that vehicle. Doing everything on one car costs 675 Pebbles.
| Upgrade | Stages | Cost per vehicle | What you get |
|---|---|---|---|
| Tool slot | 3 | 150 | 1 slot up to 4 |
| Winch | 3 | 150 | Range goes from 10 m to 11.5 m, 13 m, then 15 m |
| Tires | 2 | 75 | Grip of +0.08, then +0.16 (the stages do not stack) |
| Suspension | 2 | 75 | 0.08 m, then 0.16 m of extra travel |
| Water resistance | 2 | 75 | Engine floods after 10 s underwater, then 12 s (8 s with nothing) |
| Protection | 2 | 75 | Damage taken multiplied by 0.85, then 0.7 |
| Engine | 2 | 75 | More torque and a higher speed limit (table below) |
Winch range is five extra metres for 150 Pebbles, which sounds like nothing until the only tree is 12 m away and you’re axle deep in mud.
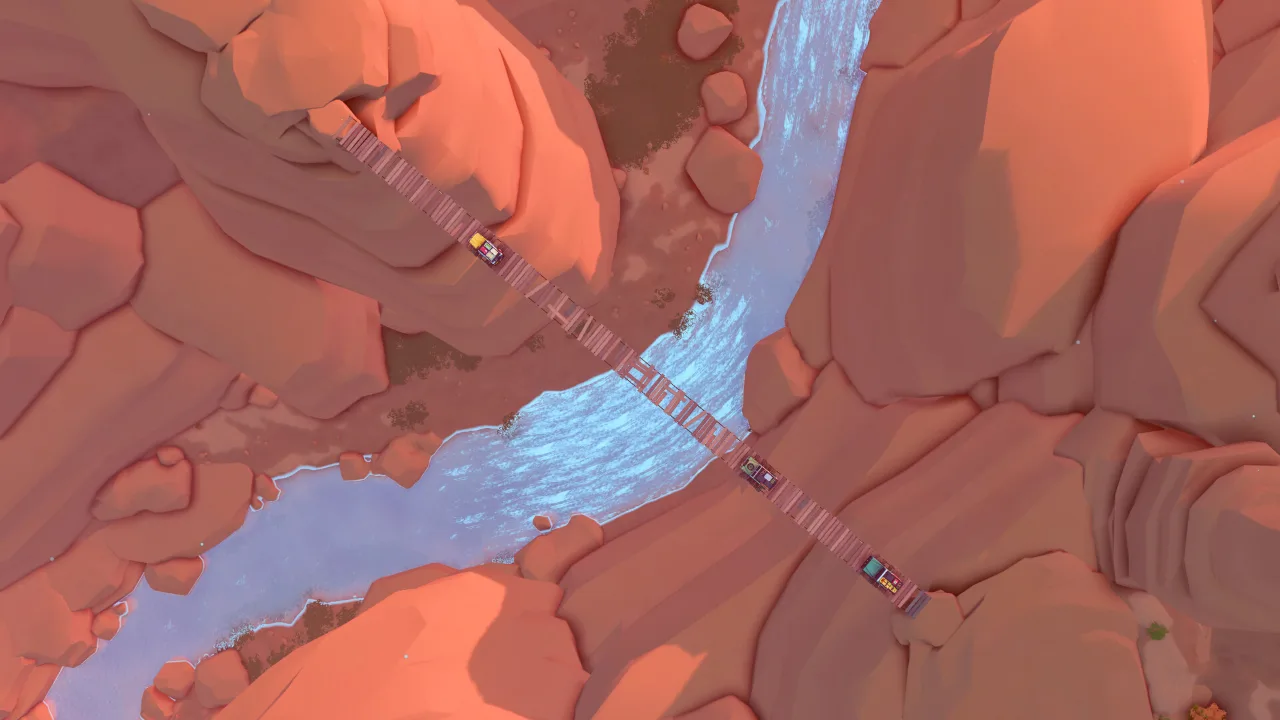
Tires add their grip on top of whatever the ground already gives you, capped at a grip of 1. The starting tires are loose, and 75 Pebbles for both stages is the cheapest sensible thing in the shop. Suspension is 16 cm of extra travel at best, so it’s a nice-to-have.
Water resistance is about the engine’s air intake, not the whole car. While the intake is underwater a timer counts up and the engine floods at 8 seconds, or 10 and then 12 with the upgrades. Once the intake is back in the air the timer drains, and a flooded engine comes back after 12 seconds. It’s more of an annoyance than a disaster.
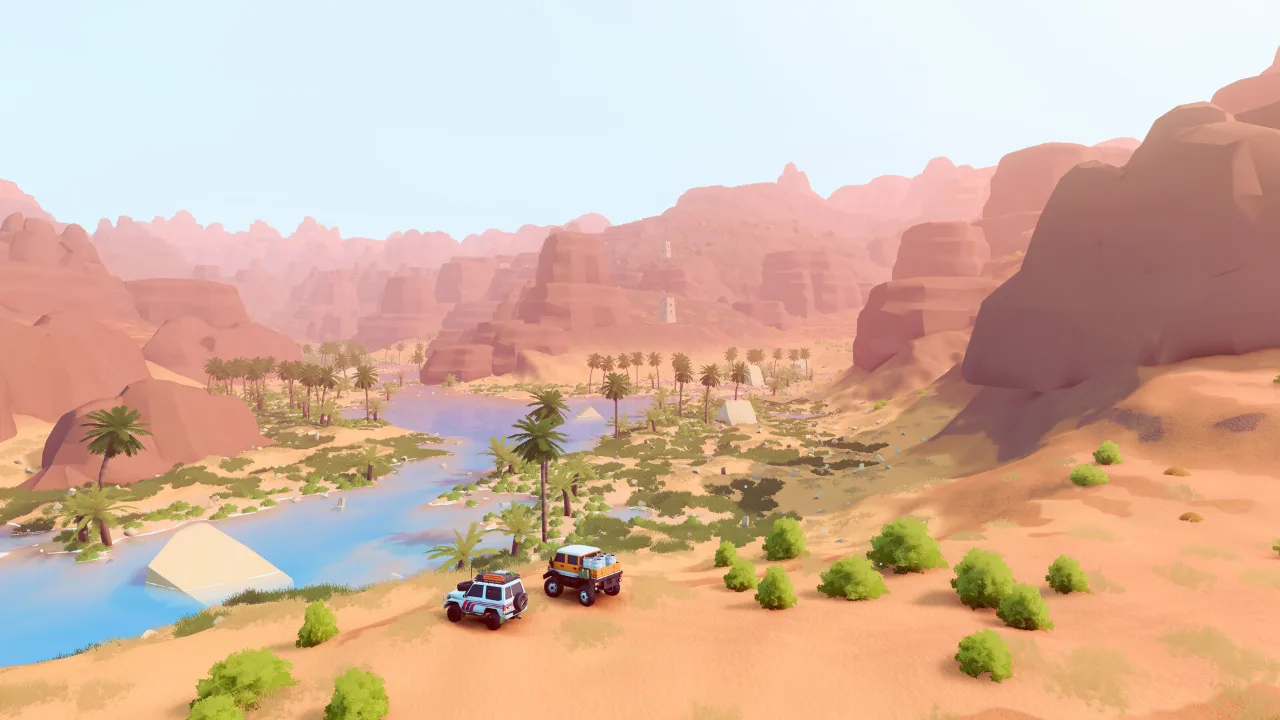
Protection is in the same boat. Damage only starts slowing you at 70%, and even at full damage you’re still at half your speed limit and 80% of your torque. Cabins and the Mechanic repair you for free anyway.
| Engine type | Vehicles | Top speed, fitted | Top speed, maxed | Torque, fitted | Torque, maxed |
|---|---|---|---|---|---|
| Trail | 9 | 27 km/h | 34.2 km/h | 100 Nm | 112 Nm |
| Wagon | 5 | 28.8 km/h | 36 km/h | 125 Nm | 151 Nm |
| Workhorse | 5 | 21.6 km/h | 28.8 km/h | 175 Nm | 207 Nm |
| Expedition | 2 | 19.8 km/h | 27 km/h | 200 Nm | 256 Nm |
Every type gains exactly 7.2 km/h at the top, which is the speed limit moving, so the engine is basically a bit faster and a bit stronger. The slow, heavy ones get the biggest jump, because they start slowest, but you’re still not going anywhere in a hurry.
What to buy first
This is the order I’d go in for your first car.
| Order | Buy | Cost | Spent so far |
|---|---|---|---|
| 1 | Second tool slot | 25 | 25 |
| 2 | Winch, first upgrade | 25 | 50 |
| 3 | Tires, first upgrade | 25 | 75 |
| 4 | Third tool slot | 50 | 125 |
| 5 | Winch, second upgrade | 50 | 175 |
| 6 | Tires, second upgrade | 50 | 225 |
| 7 | Suspension, first upgrade | 25 | 250 |
| 8 | Fourth tool slot | 75 | 325 |
| 9 | Winch, third upgrade | 75 | 400 |
| 10 | Engine, both stages | 75 | 475 |
| 11 | Suspension, second upgrade | 50 | 525 |
| 12 | Water resistance, both stages | 75 | 600 |
| 13 | Protection, both stages | 75 | 675 |
The first three rows are 75 Pebbles and change the game more than anything after them. The slot gets you through the first hour, the winch gets you out of the first bog and the tires stop you skating around in it.
What to skip
Protection goes last, and water resistance only matters if you keep sinking. Don’t spend a penny on a car you’re about to stop driving, either. You own three to start with and the other 18 are trail rewards, one trail each, so you’ll be tempted to upgrade the first one and then get a better one two hours later (I did exactly this, and I’d like it noted that I knew better).
Buy the slot first. Everything after that is taste, and the slot isn’t.
Something wrong or out of date? Tell us
Guide by
Josh
Josh plays a lot of Arc Raiders and yells “friendly!” into proximity chat more than he should. He gets shot anyway. He’s also a horror fan who has quit more games at the first jump scare than he’ll admit, and he runs a Supermarket Simulator shop he’s weirdly proud of.
Up next in Over the Hill
Keep playing
-
GuidesEarly game
-
GuidesMidgame
-
GuidesMidgame
-
GuidesMidgame


Squad chat
Be the first