ARC Raiders Bully: weak points, loadouts and where to farm Fragmenters
Where the Bully roams in Pendola Pass, which parts to shoot, what to bring and how to farm Bully Fragmenters in ARC Raiders.
Quick answer
Shoot the four yellow knee joints and ignore the rest of the body. Roll sideways out of its charge, then punish the turn. Bring a Hullcracker and something that stalls it, like a Showstopper. Bullies roam Pendola Pass and drop about one Bully Fragmenter each.
The Bully is an ARC you walk up to with a plan or not at all. It showed up with Frozen Trail, it can hurt you from any distance, and it turns fighting in the open into a bad life choice. I’ve watched squads empty a whole magazine into its chest plate. It’s like trying to beat up a fridge. The fridge wins.
The fix is simple once you know it. Break the knees, stay near cover and make it come to you. Everything below is built around that, plus where to find Bullies and how to squeeze the most out of the Bully Fragmenter.
The Bully at a glance
| What | Details |
|---|---|
| Where | Pendola Pass |
| Weak points | The four yellow knee joints, then the cannon once its armor is gone |
| Attacks | Cluster grenades, a close-range shotgun salvo and a charge |
| Best tools | Hullcracker, Showstopper, Tether Launcher, Snap Blast |
| Main drop | Bully Fragmenter (Epic) |
| Other loot | Mechanical Components, ARC Alloy, shotgun shells, grenade launcher ammo |
Where to find the Bully
For now the Bully lives on Pendola Pass and nowhere else. Three spots are worth checking:
- North of Railroad Junction, around the train
- Both sides of the Commissary Supermarket
- East of the Fallen Emperor
It wanders instead of sitting on one spot, so treat those as a route and not a promise. Bullies often turn up in pairs, and all that noise drags in other ARC and other Raiders. Bring friends or bring a short temper.
What it does to you
Three attacks to respect.
- Cluster grenades. They land, split and go off a couple of seconds later. Keep moving and you walk out of most of the damage.
- Shotgun salvo. This is the one that deletes your health bar. It fires from a turret that spins a full 360 degrees, so circling behind it does nothing. I wish it did.
- The charge. It runs at you, fires, runs past and comes back around. The more you hurt it, the more erratic it gets.
The whole thing is hit and run. Stand still in the open and you lose.
Where to shoot it
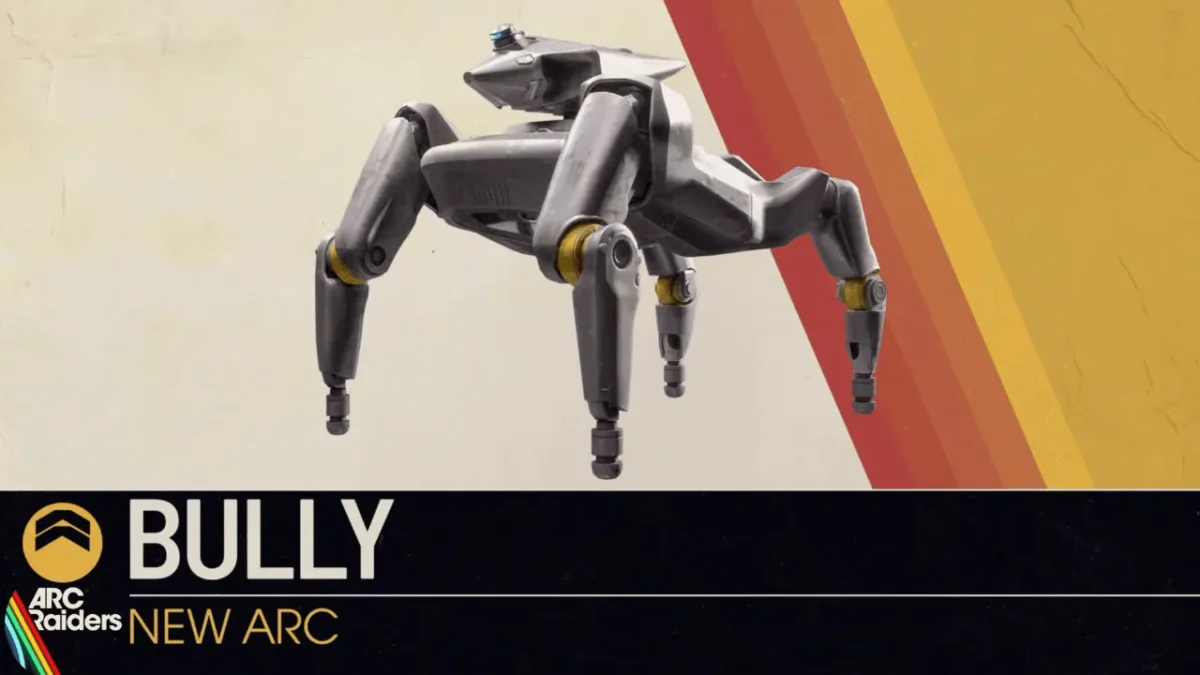
Look at the yellow joints in the picture at the top. Those are the knees, one on each leg, and they’re what you’re here for. The armor on the torso and upper body soaks up shots, so every bullet you put there is a bullet you’ll miss later.
The knees are small and never stop moving, which is why you need a way to make it stand still. Break the legs and it slows down. Strip the armor over the main cannon and a yellow spot shows up there too. Destroy it and the Bully loses its gun. Legs first, cannon second, and the rest of it can stay shiny for all I care.
What to bring
Heavy, accurate hits beat volume. Light ammo guns like the Stiletto and the Bantam spread their damage over the armor and barely scratch it. They feel great. They do nothing.
Weapons
- Hullcracker. My pick, and it isn’t close. It’s built for exactly this job.
- Anvil, Aphelion, Bettina and Jupiter. Solid heavy hitters if you don’t own a Hullcracker yet.
- Rascal. Works well from higher ground.
Gadgets and explosives
- Showstopper grenade. Briefly stalls it, which is exactly the window you need on the knees.
- Tether Launcher. Locks one leg down for a short while. Save it for right before your big damage, not the start of the fight. The Bully can still shoot while tethered, so don’t get cocky.
- Snap Blast grenade. Stick it on the Bully itself or drop it in the lane where it charges.
- Deadline mine. It can work, but placing one on a moving target is a mood.
- Wolfpack grenades. Around four per Bully, which gets expensive fast.
How to take one down
- Listen for it and get to hard cover early. Don’t wait until it’s on top of you.
- Fight in tight spaces if you can. Indoors and narrow gaps limit its speed and give the grenades less room.
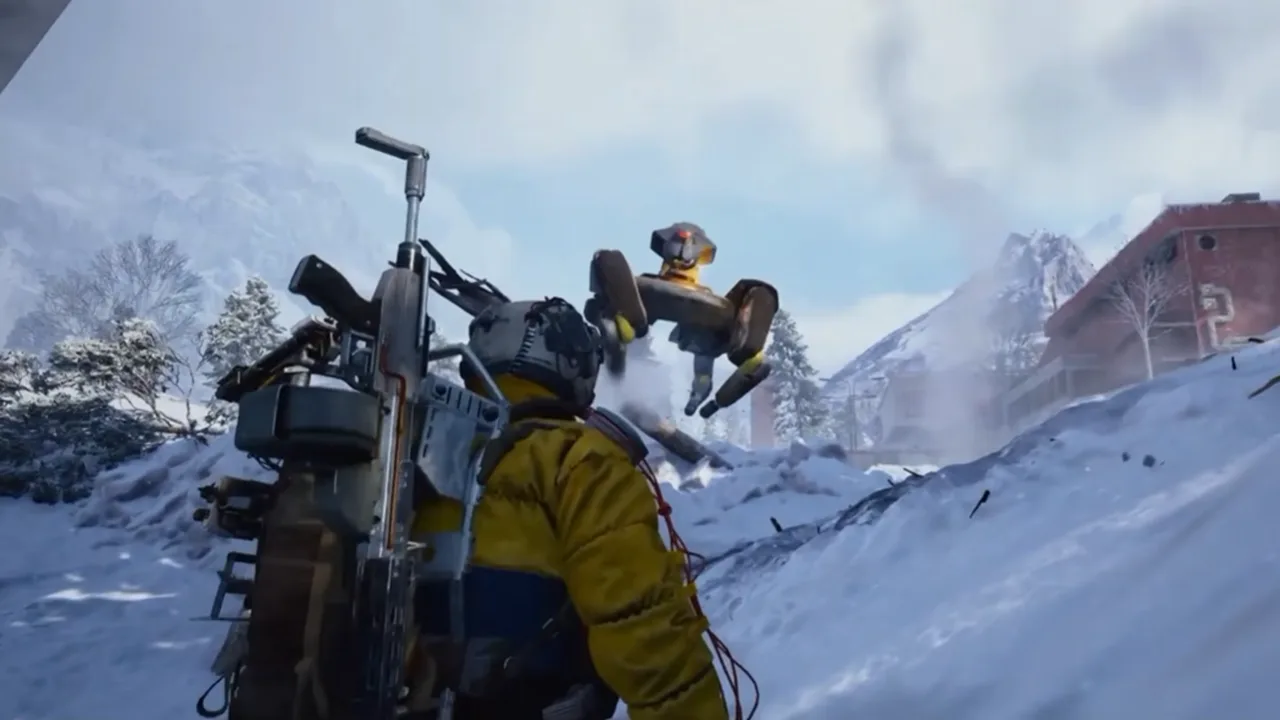
- When it charges, roll sideways. It overshoots and needs roughly four seconds to turn around.
- Use that gap on the knees, or drop a Snap Blast in the lane it just ran down.
- Stall it with a Showstopper or pin a leg with the Tether Launcher, then dump your burst damage right away.
- Once the legs are gone, go for the cannon so it can’t shoot back.
- Loot fast and think about leaving. Other Raiders will come for the drop.
In a squad
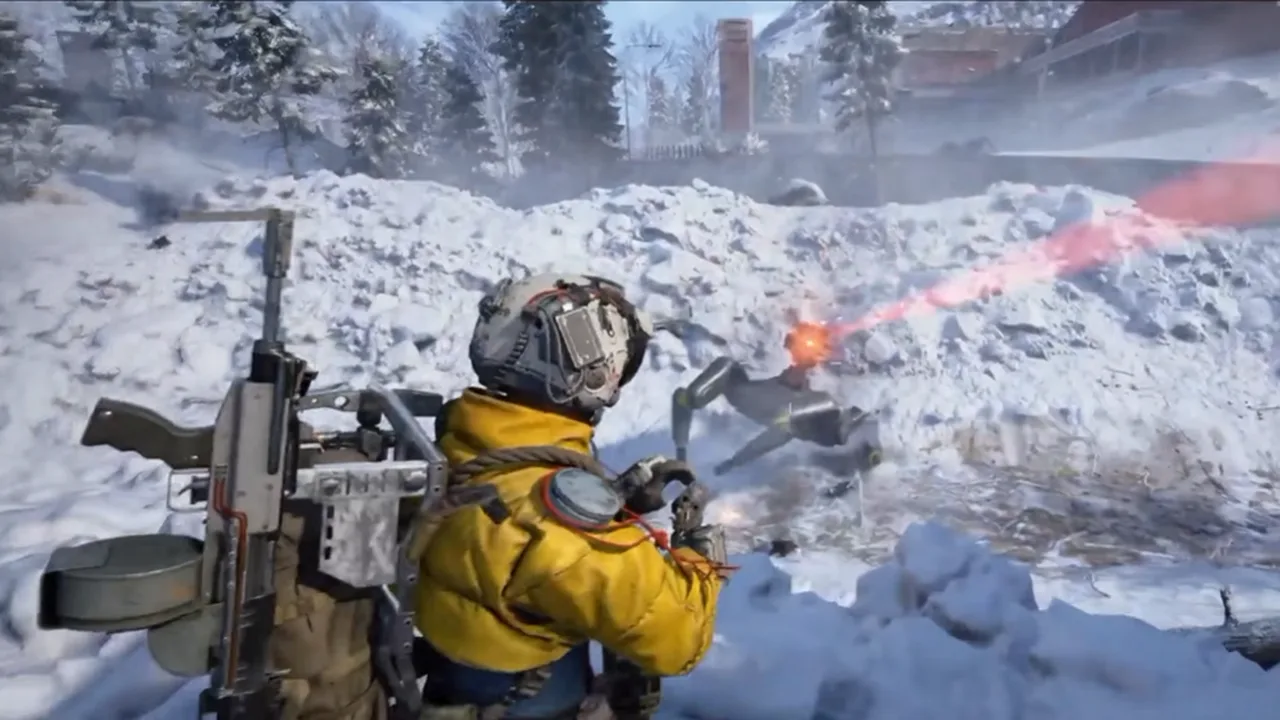
Pick one player to be the bait while the others hit the legs from different angles. When it switches targets, the bait takes cover and someone else steps in. Keep one person watching your back for Skulkers and anyone else who shows up. Being the bait is a dangerous job, so rotate it and be nice to whoever takes the first turn.
The Bully Fragmenter
Most people hunt Bullies for one item. It’s an Epic recyclable grenade, basically the Bully’s own cluster grenade that you finally get to throw back. Thrown, it splits into eight blasts of 40 damage each inside a 5 meter radius.
That tells you how to use it. It shines indoors, in small rooms and in the spot under a Bastion where everything is packed together. Throw it in an open field and most of those blasts hit nothing, which is a very expensive way to scare a bird.
Where it drops
The main body and the cannon are your best shot at it. Expect roughly one Fragmenter per Bully, so more Fragmenters means more kills. The rest of the wreck is worth a look too. The limbs give Mechanical Components and ARC Alloy, and the body can hold shotgun shells and grenade launcher ammo.
Should you throw it or keep it
Keep some. Apollo’s Bait, Fetch, Blast quest wants a Fragmenter handed over after you destroy a Bully, its head or four of its legs, and it pays out a Fragmenter back, a Wolfpack and 10,000 XP. The level 3 Research Table upgrade needs them too, and more uses are likely as the season goes on. Drop rates and recipes are still being tested, so treat the exact numbers as a snapshot that can change with a patch.
A simple farming loop
- Run Pendola Pass and check the train, the Commissary Supermarket and the Fallen Emperor area.
- Bring a Hullcracker and a few Showstoppers.
- Break the legs, kill the cannon, then search the body and the debris.
- Extract once you’ve got what you came for. Don’t stay for a second Bully while a third squad closes in.
While you’re on Pendola Pass, the new Frigate is the other big thing worth your time.
Mistakes that cost you the fight
- Shooting the torso like it owes you money
- Fighting in the open
- Running past cover while it chases you
- Bringing a fast-firing gun with light ammo
- Staying at the corpse too long
Common questions
Can you solo the Bully?
Yes, and the trick is to treat it like a boss. Use walls and enclosed spaces, shoot from a safe distance and don’t chase it.
Where does the Bully spawn?
Pendola Pass is the only map it shows up on so far. The three areas above are where it keeps turning up, but it roams.
How many Bully Fragmenters do you get?
About one per kill, mostly from the body and the cannon.
What if I don’t have a Hullcracker?
Use another heavy hitter like an Anvil and lean on a Showstopper or a Tether Launcher to keep the knees in your sights.
Something wrong or out of date? Tell us
Guide by
Josh
Josh plays a lot of Arc Raiders and yells “friendly!” into proximity chat more than he should. He gets shot anyway. He’s also a horror fan who has quit more games at the first jump scare than he’ll admit, and he runs a Supermarket Simulator shop he’s weirdly proud of.
Up next in ARC Raiders
Keep playing
-
GuidesEarly game
-
GuidesMidgame
-
GuidesMidgame
-
GuidesMidgame

Squad chat
Be the first