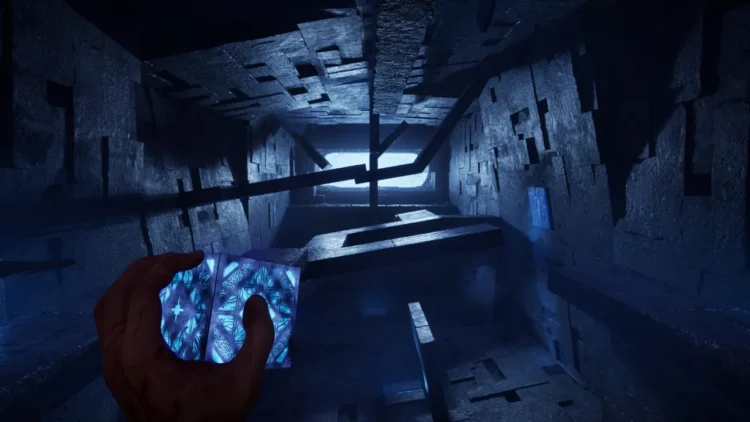
ARC Raiders amplified weapons: how to unlock them, step by step
Everything between level 18 and your first amplified weapon: the Outpost, Research Station IV, Gunsmith IV, the Emperor Modulator and the right module.

Quick answer
Reach level 18, finish the Sheltered Retreat project to get your Outpost, then take the Outpost, the Research Station and the Gunsmith all to level 4. The Gunsmith needs an Emperor Modulator from inside the Fallen Emperor on Pendola Pass. After that, each amplification uses one Amplification Module matching the gun’s original rarity (Mk. I for Common up to Mk. V for Legendary), and the gun has to be Tier IV already.
Amplification is the fifth upgrade tier for 15 weapons, and the game hides it behind the most scattered chain of chores in ARC Raiders. Nothing shows you the whole route. You find out the Gunsmith wants an Emperor Modulator once you’ve built half a base, then you find out the Modulator is behind a door that needs a key, then you find out the key needs a map condition. Lovely. (You’ll also recycle the ARC Alloy the Outpost project asks for. Everybody does.)
Here’s the lot as a checklist. It remembers what you’ve ticked, so you can shut the tab and come back after a few raids. The details for each step are underneath.
The route in one list
Route to your first amplified gun
0 of 16 done
Unlock the Outpost
The Outpost stays locked until you hit level 18. After that there's an Outpost tab at the top of the Speranza menu with a project called Sheltered Retreat, three stages, and you can read all three before you start. Do that. It means you can stash the stage two materials while you're still on stage one.
Stage 1, the photo. Take a camera to Blue Gate and photograph one of the farm houses around Ruined Homestead. You have to actually take the picture, standing next to a house does nothing, but any angle works and you don't need to go inside. Shani sells cameras, you can craft one at the Workbench, or you'll find one lying about in a raid. Put it in a Safe Pocket so a bad fight doesn't eat it before you've used it.
Stage 2, the materials. 3 Planks, 5 Sheet Metal, 10 ARC Alloy and 3 Advanced Electrical Components, taken straight from your stash. ARC Alloy drops off the ARC machines you destroy, and Celeste will sell you Planks and Sheet Metal for Assorted Seeds if you'd rather not go looting for them. Don't recycle any of it before you've handed it in. The Advanced Electrical Components are the slow ones to replace.
Stage 3, the damage. Deal 800 damage to flying ARC and 300 to Bullies. It's damage dealt, not kills, so nothing has to die. Wasps and Hornets count as flying ARC, and Bullies live on Pendola Pass, which is where you'll be spending most of this guide anyway. A Hullcracker makes both jobs easy. If everything is done and the stage still hasn't moved, open the Outpost tab and look for a Complete button before you go and do it all again. Claim stage 3 and the Outpost is yours for good.
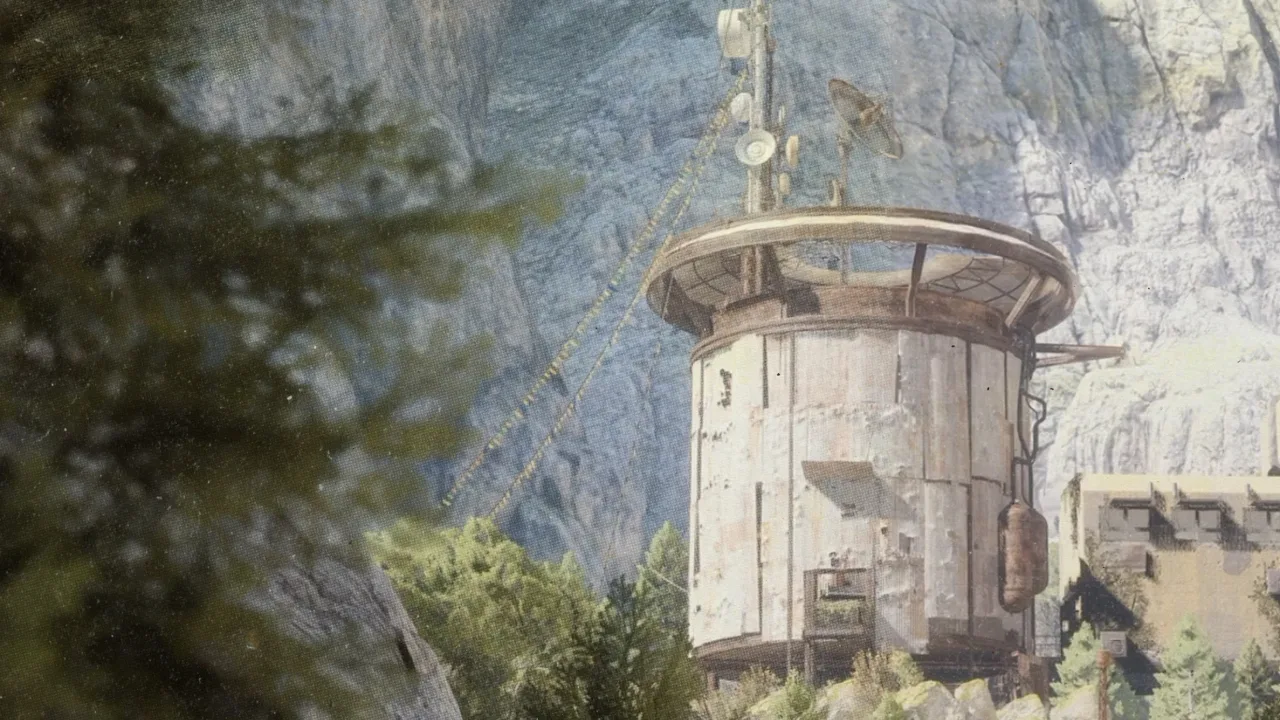
Upgrade the Outpost to level 4
Every Outpost level adds a room, and every Research Station level needs a matching number of rooms. So this is a loop: Outpost up, Station up, three times.
| Outpost level | What it needs | What it opens |
|---|---|---|
| Level 2 | 3 Steel Cable, 20 Sheet Metal, 3 Cable Strippers | Research Station II, a new room |
| Level 3 | 3 Epoxy Buckets, 35 Planks, 3 Hand Drills | Research Station III, a new room |
| Level 4 | 40 Sheet Metal, 3 Laser Levels, 3 Insulation Rolls | Research Station IV, Gunsmith IV, a new room |
You pick a room each time. The price depends on which slot it is, not which design you choose, so go with the one you like the look of, because you can't move or swap it afterwards.
Planks and Sheet Metal are the bulk of the bill. Across the whole route you hand over 73 Planks and 65 Sheet Metal, which is a lot of shed, and is why Celeste and her seed trades matter. She sells Steel Cable as well, and Steel Cable is the first part that properly stalls people, so buy it if you can. The rest sits on shelves, desks and train seats on Pendola Pass. The Observatory covers Epoxy Buckets and Hand Drills, and the Railyard and the supermarket have Cable Strippers. Laser Levels and Insulation Rolls are the rare ones, and storm shelters on Pendola Pass during a blizzard are where they turn up most.
Upgrade the Research Station
The Station is where the actual amplification research happens, and it has to reach level IV. Level I goes in as soon as the Outpost is unlocked, and each level after that needs the matching Outpost level.
| Station level | What it needs | Where to look |
|---|---|---|
| I | 3 Mini Pumps, 35 Planks, 5 Battered Paperbacks | Mini Pumps in the Observatory, Battered Paperbacks in Old Town houses |
| II (Outpost 2) | 3 Calculators, 3 Raider Logbooks, 5 Skulker Targeters | Calculators in the Observatory, Raider Logbooks in Old Town houses, Targeters from the gun half of a dead Skulker |
| III (Outpost 3) | 3 Differential Microphones, 3 Exodus Technical Handbooks, 6 Bully Fragmenters | Microphones and Handbooks in the Observatory, Fragmenters off Bullies on Pendola Pass |
| IV (Outpost 4) | 3 Thermal Shakers, 3 ARC Data Modules, 1 Frigate Inductor | Data Modules and the Inductor from the Frigate, Thermal Shakers from storm shelters |
Bully Fragmenters are easy to miss. Loot the smaller piece a Bully leaves behind as well as the big chassis, and the Bully guide has the weak points if you want it dead quickly. Station IV is the one that sends you to the Frigate, and the Frigate guide covers getting on, getting loot and getting off again.
Emperor Modulator and Gunsmith IV
This is the slow bit. The Gunsmith goes from III to IV for 3 Radial Presses, 3 Magnetic Accelerators and 1 Emperor Modulator, and the Modulator is the one part you can't buy or craft. It drops at random from pods inside the Fallen Emperor on Pendola Pass, and the way in needs a key.
The key is the Emperor Gateway Conduit. You craft it at Workbench I from its blueprint plus one ARC Conductive Coupler, one ARC Insulated Coupler and one ARC Plated Coupler, and all of that comes from the Redirection map condition on Pendola Pass:
- Queue Pendola Pass while Redirection is active. It shows under the map before you deploy.
- Find a lit Damaged Emperor Relay (it has a red beam) and search it for an Emperor Beacon.
- Drop the beacon in an open spot and move away from where the payload is going to land.
- Loot the Harvester Payloads that come down, especially the big central one. That's where the couplers are, and where the Conduit blueprint can turn up.
- Extract, learn the blueprint and craft the Conduit at Workbench I back in Speranza. You can't craft it during a raid.
- Go back to Pendola Pass with the Conduit, walk to the base of the Fallen Emperor and use it on the hatch. The prompt reads Unlock 0/1 Emperor Gateway Conduit.
- Search the pods and containers inside for the Modulator.
The couplers are random, so one payload might not give you all three, which is a pain in the arse, and you should expect a few Redirection runs. A Conduit opens the Emperor once, so treat it as a one-way ticket. The beacon beam is visible across the whole map, which means company, and Redirection isn't offered with the PvE toggle either (that test runs until 20 October), so those lobbies have other Raiders in them.
Inside, the layout changes and the Modulator isn't guaranteed, so search every pod and container on the way instead of sprinting for the end. The final chamber has wall capsules that open when you shoot the yellow targets, but that wakes the ARC up, so be ready for it. A Snap Hook helps with the climbing and a Hullcracker with the ARC. The moment you find a Modulator, put it in a Safe Pocket. You only need one.
Then take it home with the presses and accelerators and upgrade the Gunsmith. You need Gunsmith III and Outpost level 4 first.
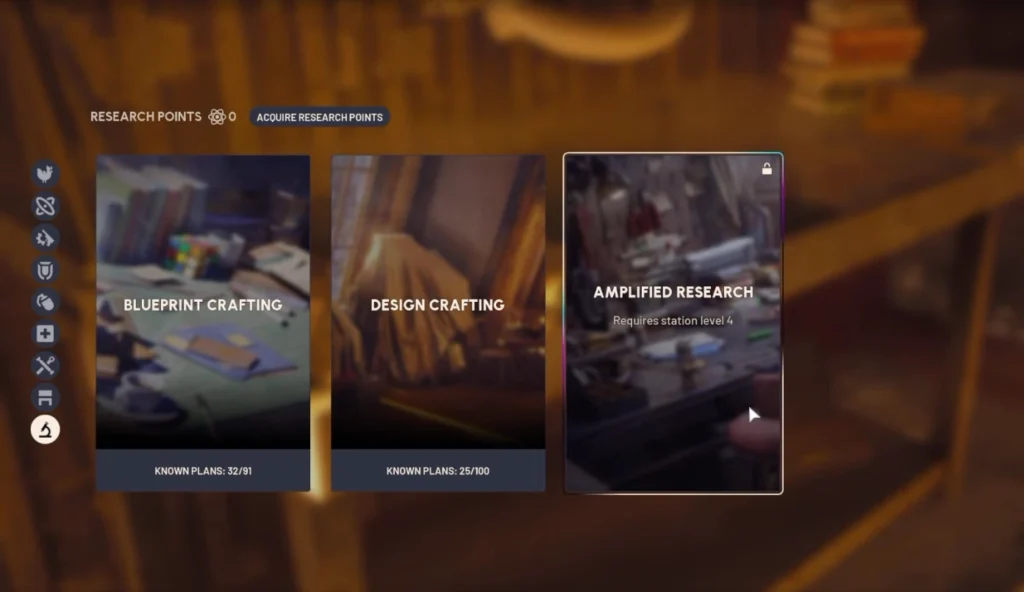
Amplification Modules
Modules come from two places only, the Frigate and the Fallen Emperor, and every Mk drops at the same rate. The Mk number is the gun's original rarity, not how hard the module is to find, and you can't swap a higher one in.
| Module | Rarity | Guns it works on |
|---|---|---|
| Mk. I | Common | Hairpin, Kettle, Rattler |
| Mk. II | Uncommon | Burletta, Il Toro |
| Mk. III | Rare | Anvil, Canto, Osprey, Rascal, Renegade |
| Mk. IV | Epic | Bettina, Hullcracker |
| Mk. V | Legendary | Aphelion, Equalizer, Jupiter |
Anvil sits on Mk. III because Frozen Trail bumped it up to Rare. Keep every module you find, even for guns you haven't got yet, because a Common gun still needs a Mk. I and it's a pain to go back for one. The Stiletto and the Bantam can't be amplified yet.
Amplify a weapon
- Get the gun to Tier IV through its normal upgrades. The Amplify option doesn't show up below that.
- Go to the Gunsmith, open the Weapon Upgrades tab and pick the weapon.
- Amplify it. That uses up one module of the right Mk.
- Pick a perk branch. Perks are permanent on that gun, and some of them don't combine.
- Research the perk at the Research Station and pay for it, which is the next section.
Look at the whole tree before you commit, because there's no undo. If you aren't sure which branch is worth it, the tier list ranks every build for PvE and PvP.
Research and perks
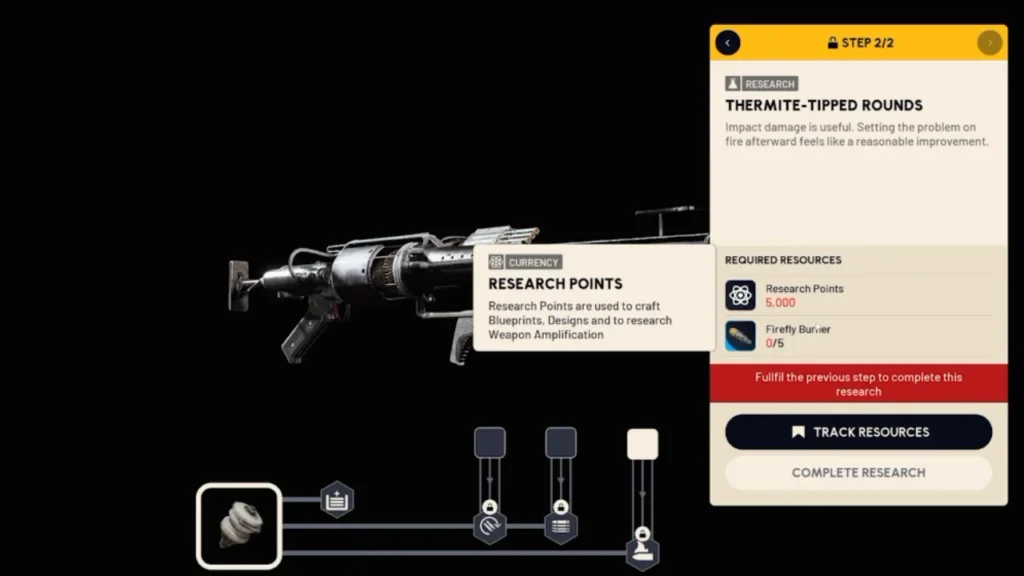
Each perk is a project in the Amplified Research tab of a level IV Station, and every project costs 5,000 Research Points, a specific ARC part and a challenge. The challenge is usually damage with a particular weapon. The Equalizer perk Beam Resonance Tech wants 2 Queen Reactors and 1,500 damage to Vaporizers in a single round, and the Kettle perk Shield Stress Testing wants 2 Matriarch Reactors and 700 damage to other Raiders.
Some projects cover several guns, so check before you grind. Mobile-Fire Grip Fittings is shared by the Burletta, Canto, Hairpin and Rascal, and Thermite-Tipped Rounds by the Aphelion, Canto, Hairpin and Rattler. 5,000 Research Points is a lot, and the Research Points guide covers where they come from. The short version is that a Frigate Diagnostic Node is worth 1,000. Applying a perk also takes Pneumatic Actuators and Pressure Regulators, and Emperor Payloads during Redirection are where those drop.
Durability and repair
Amplified guns don't repair like normal ones. They use Amplified Fragments, and how many depends on the gun and how knackered it is. Old Anvil Splitter mods recycle into Fragments, and spare modules and old amplified weapons recycle into them too. Everything that isn't amplified still repairs the usual way: inventory, More Actions, Repair.
Dying is the real problem. Die with an amplified weapon and another Raider can take it, and a looted one sits at around 10% durability, so whoever picks it up has the same repair problem you do. I wouldn't take your only amplified gun on a Frigate run. (I'd tell you to leave it at home and then bring it anyway, so I'm not one to talk.)
That's the whole chain. Once it's done, the fun part is deciding which gun gets the first module, and the tier list has opinions on that. The rest of our ARC Raiders guides are on the ARC Raiders hub.
Something wrong or out of date? Tell us
Guide by
Josh
Josh plays a lot of Arc Raiders and yells “friendly!” into proximity chat more than he should. He gets shot anyway. He’s also a horror fan who has quit more games at the first jump scare than he’ll admit, and he runs a Supermarket Simulator shop he’s weirdly proud of.
Up next in ARC Raiders
Keep playing
-
GuidesEarly game
-
GuidesMidgame
-
GuidesMidgame
-
GuidesMidgame