
Planet Zoo 2 barriers and escapes: how to stop animals getting out
Barrier grades, which types climbers can scale, how null barriers and Staff Gates work and what to do when an animal escapes.

Quick answer
A habitat is a single closed ring of barrier plus one Staff Gate. Pick a barrier whose resistance grade matches the species (nothing in the base game asks for more than grade 4), choose a type climbers can’t scale or add climb-proofing, then open the Traversable Area heatmap before any animal goes in. Null barriers only mark where a habitat ends and stop nothing. Mechanics keep barriers in shape, and one that nobody repairs eventually fails.
Barriers are the part of a habitat nobody enjoys planning, and the only part that can empty your zoo of guests in a minute. Get them right once, early, and they mostly look after themselves. If you haven’t built your first habitat yet, the grades below are the bit to read twice.
The barrier types
Habitats have 16 barrier types, graded from 1 to 6. The grade decides which animals a barrier can hold. Whether it can be climbed and whether it holds water settle everything else.
- Grade 1: Fabric Netting and Hedge. Both can be climbed and neither holds water.
- Grade 2: 1-Way Glass and Corrugated hold water and can’t be climbed. Chain Link and Rope Netting can be climbed and don’t hold water.
- Grade 3: Glass holds water and can’t be climbed. Wire Netting and Wood Logs can be climbed and don’t hold water.
- Grade 4: Acrylic and Thick Glass hold water and can’t be climbed. Steel Mesh can be climbed and doesn’t hold water.
- Grade 5: Brick and Concrete hold water and can’t be climbed. Gabion can be climbed and doesn’t hold water.
- Grade 6: Electric. It can’t be climbed while it has power and it doesn’t hold water. Cut the power and it drops to grade 1.
A higher grade doesn’t mean climb-proof. Steel Mesh is grade 4 and Gabion is grade 5, and both can be scaled. Only watertight types can contain a pond, a lake or a moat. That column matters whenever the habitat holds water. For anything that might climb, I’d pick a type that can’t be climbed and save myself remembering the climb-proofing.
Match the barrier to the animal
Three numbers decide it, and the Zoopedia’s Natural Habitat tab for every species lists all of them: the grade, the minimum height, and whether the barrier has to be climb-proof. A few species want a moat on top.
In the base game nothing asks for more than grade 4. The Galápagos Giant Tortoise, Goodfellow’s Tree-Kangaroo, Meerkat and Mountain Hare get by on grade 1. At the other end sit both elephants, the Black Rhinoceros, the Common Hippopotamus, the Giant Panda and the Grizzly Bear (yes, the panda). Heights run from 0.50 m for the Nile Monitor up to 3.00 m for the big cats, elephants and apes.
Eighteen land animals need a climb-proof fence and seven also list a moat. The Mountain Hare, Red Panda and Ring-Tailed Lemur want one 3 m wide and 1 m deep, and the Siamang, Sumatran Orangutan, Western Chimpanzee and Western Lowland Gorilla want 6 m wide and 2 m deep. Every species’ numbers are in the habitat requirements table. I’d read the card before buying the animal, because rebuilding a wall around a resident is no fun.
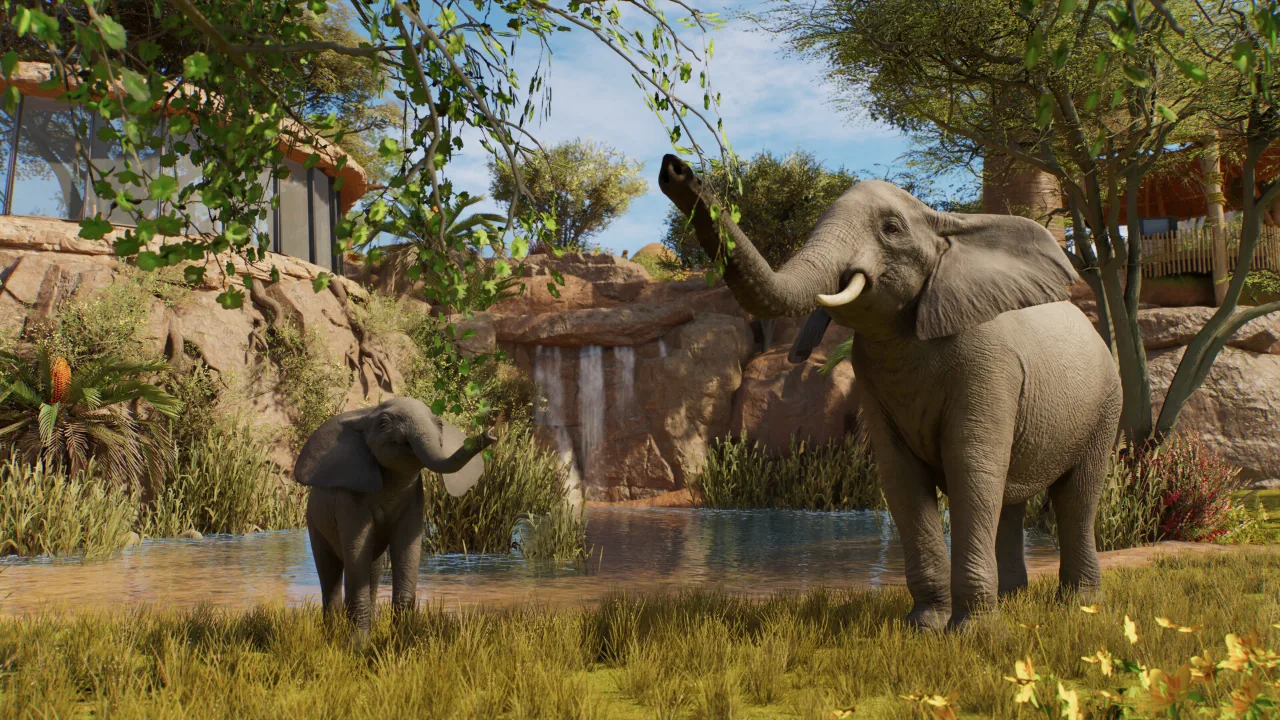
When you’re mixing species, the strictest value of each number wins. Pin Species does the sums for you: select the habitat, open the Animals tab on its Info Panel, choose Pin Species, add the animals you plan to keep and confirm. Their combined requirements show up before you’ve built a thing.
Climb-proofing and windows
A barrier that isn’t climb-proof or see-through can be fitted with both in the Customisation options of the Barrier Tool, either while you build or afterwards. Both add to the construction cost.
Climb-proofing can go on one side of a wall or on both, handy when a wall sits between two habitats. Windows give guests a clear view, and you can change their material and shape or flip a one-way window that’s facing the wrong way. A mostly solid wall with a few well-placed windows also steers guests towards the spots where you want them to gather.
The Staff Gate
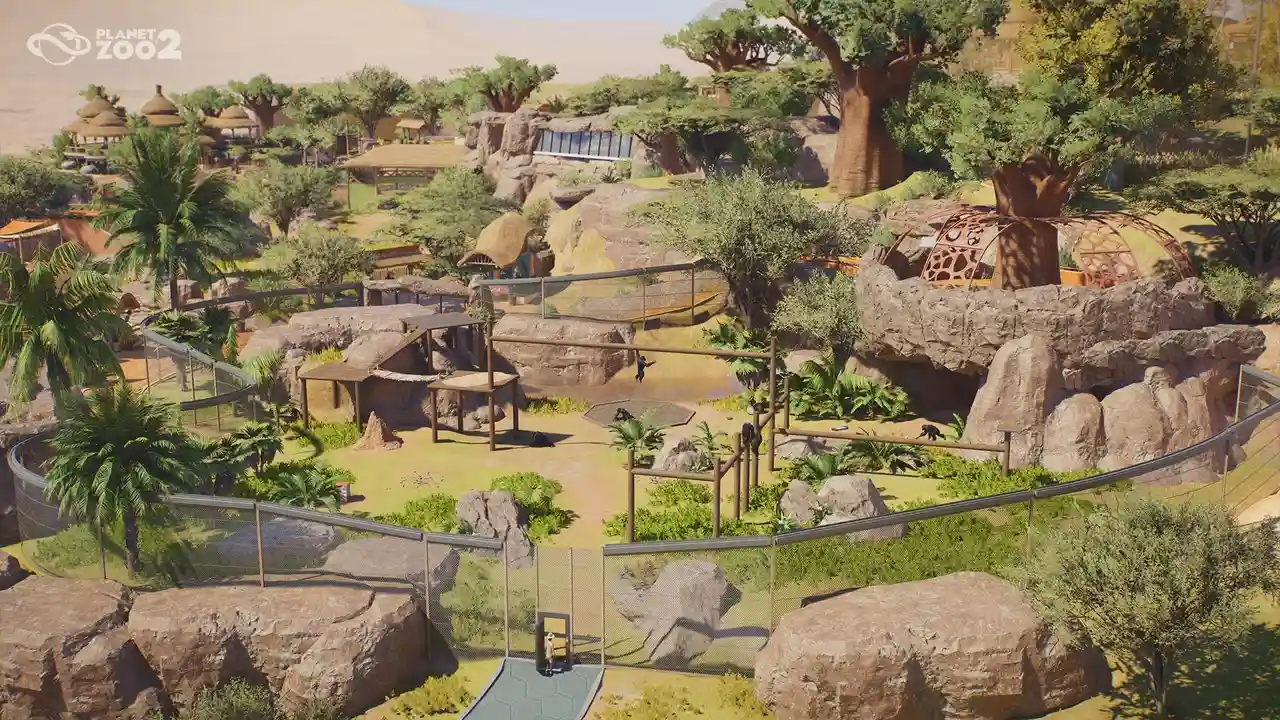
A loop of barrier becomes a usable habitat only after you add a Staff Gate, and animals can’t be released into it before that. A habitat gets exactly one gate. While you’re editing you can drag the gate to a different segment with the move handles. Merge two habitats and you may end up holding two gates, and the result stays invalid until you delete the extra one in the Barrier Tool.
Put the Keeper Hut close to the gate, because keepers fetch food from the hut and every metre between the two is a walk on every feeding run. Aquariums follow the same gate rule. Exhibits skip all of this, since they’re sealed vivariums with no gate at all.
Null barriers and decorative barriers
A habitat’s edge has to be a continuous loop even where cliffs, water or scenery already block the way. Null barriers fill that gap. They’re invisible segments that mark the boundary beneath natural barriers or scenery, and by themselves they stop nothing. An animal will walk straight over a null barrier unless something solid sits on top of it. Build the cliff, rock or wall first and treat the null barrier as the paperwork.
Decorative barriers work the other way round. Open Barrier Post Options in the Barrier Tool and untick Habitat Perimeter, and the walls you place stop counting as a boundary. That suits holding water or dressing a space. A segment placed with the perimeter switched off leaves any loop it belongs to incomplete, and the habitat shows as invalid.
Editing a barrier
Select the habitat, press Edit Barrier on its Info Panel, then pick a panel or a post and use the handles. The move handle repositions it, the height handle raises or lowers it, and the add handle inserts a new segment or post. You can also pull posts below ground, and that lets a single barrier close off several levels of terrain. Height Snap, a toggle in the tool’s settings, moves everything in fixed steps, and Snap to Adjacent Heights matches a post to its neighbours as you work.
Wear and repairs
Barriers wear out. Everything wears down over time apart from hedges, null barriers and electric fences, which you can see on the wall itself and in the exact figures on the habitat’s Info Panel. A weakened barrier can be broken by an animal, and a fully degraded one collapses and lets anything out. Water barriers never fully break, but they can degrade until they leak, and a leak distresses animals and guests.
Mechanics repair barriers on their routine rounds or when you call them to a habitat. Hire enough of them and let them reach a Staff Room.
Aviaries and roofs
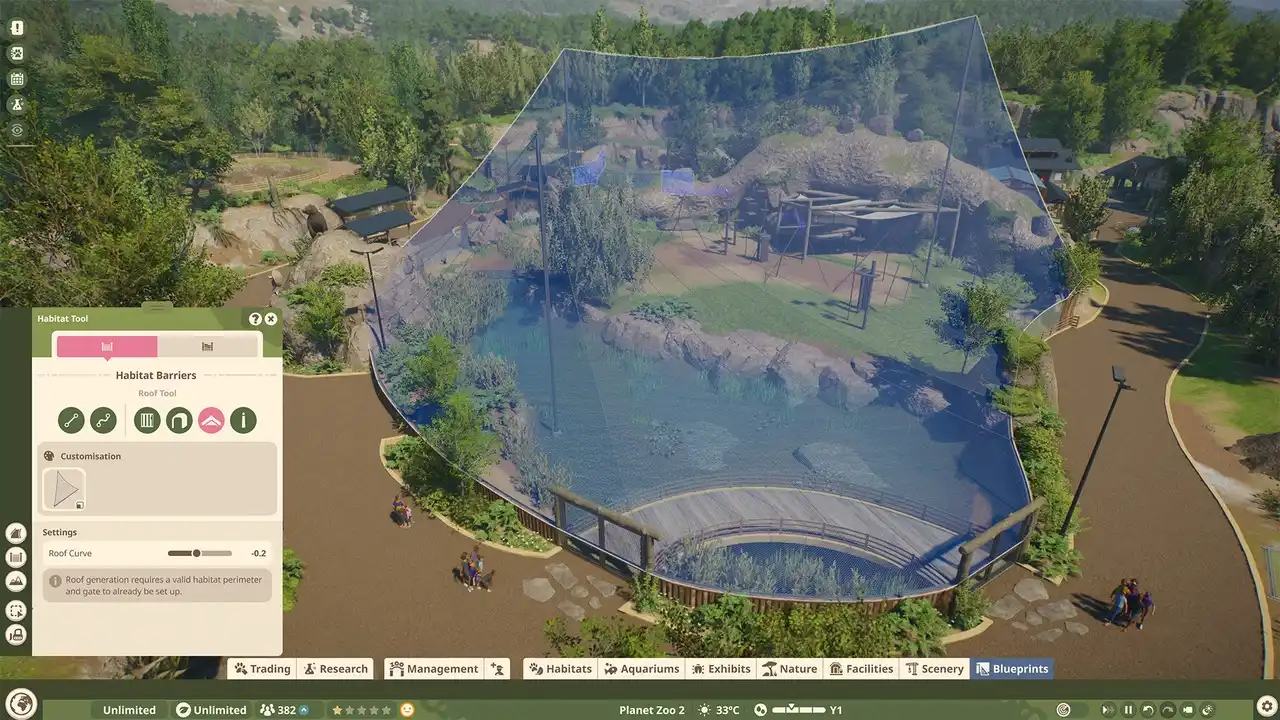
Flying birds are the exception to the wall rule, because they need a roof as well. Open the Habitat Barriers menu, pick the Roof Tool and click a finished habitat, and it generates one, then add Roof Supports to lift it, since height is what gives birds their flyable space. The Roof Options restyle it. Roof repairs used to cost a fortune, and Update 1.0.6 fixed that.
Checking a habitat before animals go in
- Pin the species to the habitat to see their combined requirements.
- Compare grade, height and climbing with the barrier you’ve used.
- Open the Traversable Area heatmap and look for routes that reach the barrier or cross a null segment.
- Check the staff side: one gate, joined to a path.
- Open the heatmap again after decorating, in case a rock or a tree changed the picture.
When an animal escapes
An animal can escape by scaling, leaping over or swimming across a barrier, or by walking over a null or broken segment. The Traversable Area heatmap shows the likely routes, so it’s the first thing I’d open when the alarm goes.
Vets treat escapes as top-priority jobs. They capture the animal and put it back if its habitat is still standing. If you can’t wait, you can pay to have an escapee caught instantly, which you order from its Info Panel. Dangerous species are the ones to worry about (a rhino on the main path empties the zoo fast), because guests who meet one flee and get their ticket price refunded.
Frontier also lists animals escaping during some behaviours as something it’s still working on, so now and then an escape isn’t your fault. If the barrier suits the species and the heatmap shows no route, it’s one of those. Otherwise, work down this list:
- Raise the barrier or swap to a higher grade.
- Add climb-proofing, or switch to a type that can’t be climbed.
- Put something solid on top of any null segment, or replace it with a real barrier.
- Clear climbable scenery and steep terrain away from the fence line, then check the heatmap again.
- If the habitat has water, make sure the barrier is tall enough there too, because animals can swim over it.
Did this guide help?
Up next in Planet Zoo 2
Something wrong or out of date? Tell us
Guide by
Sunny
Sunny’s favourite game is Stardew Valley, and she has told herself “one more day” about four thousand times. The rest of her time goes on dying in a basement in The Binding of Isaac and planning her whole week around who she’s hanging out with in Persona.
Popular right now
-
GuidesEarly game
-
GuidesEarly game
-
GuidesEarly game
-
GuidesEndgame



Squad chat
Be the firstStart the chat