
Planet Zoo 2 staff guide: roles, pay, training and work zones
What the six staff roles do, what they cost from trainee to Master, and how training, Staff Rooms and work zones keep your team from quitting.

Quick answer
Planet Zoo 2 has six staff types: keepers, mechanics, caretakers, educators, vendors and vets. Each one has an energy meter that a Staff Room refills and a happiness meter that runs on pay and scenery, and unhappy staff quit. I’d hire only for work that’s actually waiting, pay what the salary gauge calls fair, train people before adding more of them, and set up work zones once anyone starts spending their day walking.
Staff are the part of Planet Zoo 2 you only notice when they stop. A feeder runs dry, a barrier gives way or a shop stays shut, and the cause is very often a person who’s tired, underpaid or lost. Six roles, two meters and a pay scale cover nearly all of it, and the figures below are for Medium difficulty.
Staff roles
The six roles barely overlap. Skip one and you get a very specific gap in the zoo.
Keepers
Keepers handle the daily needs of your animals. Cleaning falls to them, whether it’s a habitat, an aquarium or an exhibit, and so does refilling food and enrichment. Food is prepared at a Keeper Hut, and every habitat needs one within a sensible walk, powered and joined to a path.
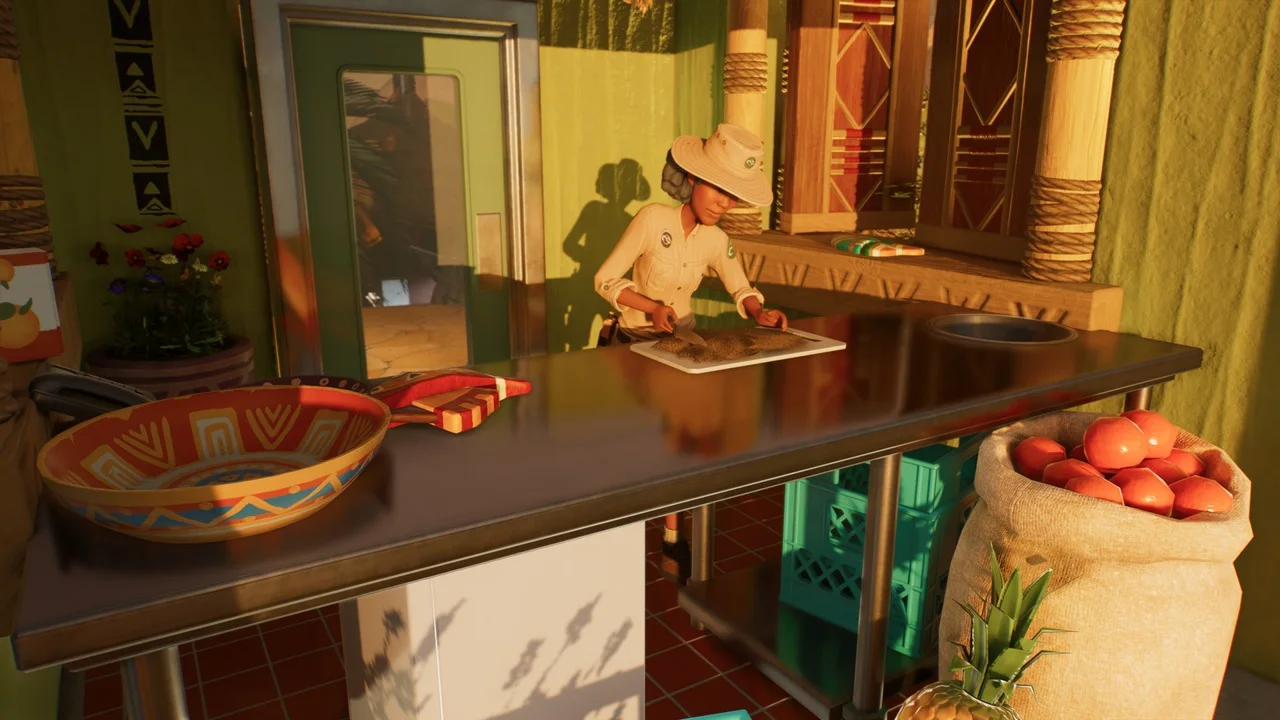
You decide what each keeper does. Open their Info Panel and untick the tasks you don’t want, and you’ve built a specialist, like a keeper who only cleans habitats. That’s handy when one group of animals needs a lot of attention and you’d rather not have anyone wandering off.
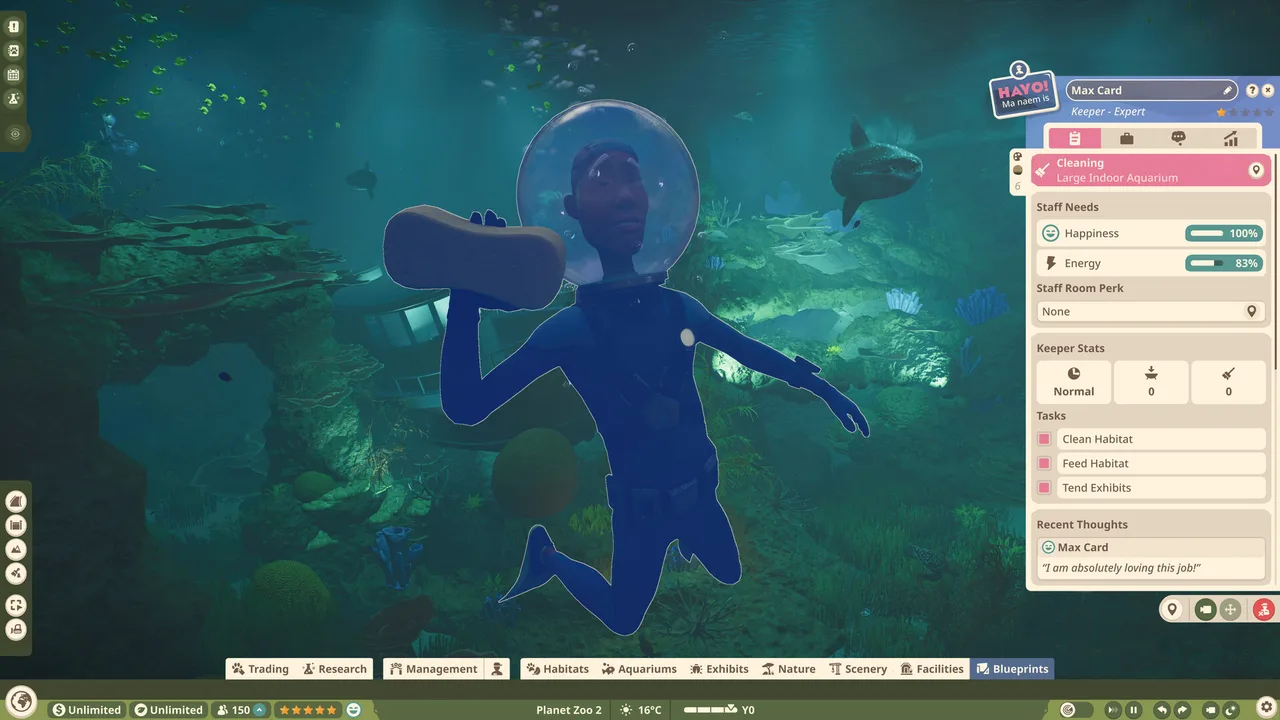
Aquariums add a wetter version of the work: keepers pull on diving gear and scrub the tank from the inside.
Mechanics
Mechanics are in charge of the zoo’s physical bones: they repair barriers on habitats and aquariums alike, and they also service vending machines, power buildings and water filters. A barrier nobody maintains wears down and can eventually fail, and a failed barrier is a danger to the animals behind it and the guests nearby.

Leave them spare time. A mechanic who never reaches a Staff Room runs out of energy, and a tired mechanic is the first one to fall behind on repairs. I’d rather pay for one extra mechanic than watch the barriers go thin.
Caretakers
Caretakers are the cheapest hire and the one you’ll notice most. They sweep litter off the paths, empty bins and clean dirty toilets, and they carry animals between Trade Centres, habitats, aquariums and other facilities. Guests drop their rubbish wherever they are when there’s no bin close by, and litter on a path pulls guest happiness down. Keep these people moving.

At trainee level a caretaker costs about a fifth of a keeper, which makes them the easy first hire.
Educators
Educators give Animal Talks. Each talk has one education topic, and everyone in the audience learns it. The educator heads to the Talk Point early and waits there. If they aren’t ready when the talk starts, it gets cancelled and the guests leave unhappy. Don’t schedule more talks than one person has the energy for.

Between scheduled talks they can wander the zoo and give short roaming talks about whichever species they’re standing near, on whatever topics they’ve been given.
Vendors
Vendors work the shops and restaurants. A shop with no vendor can’t serve anyone, and placing a shop that’s connected to a path hires one for you automatically. When a vendor goes to rest, the shop is left unattended unless another vendor is free to step in. That’s why I’d keep one spare for every couple of shops.

Vets
Vets are the animal health experts. They treat injuries and diseases, as long as there’s a Vet Surgery to take the patient to. They also inspect habitats from time to time to catch ailments early, round up escaped animals, move animals when nobody else is free and clear away corpses.

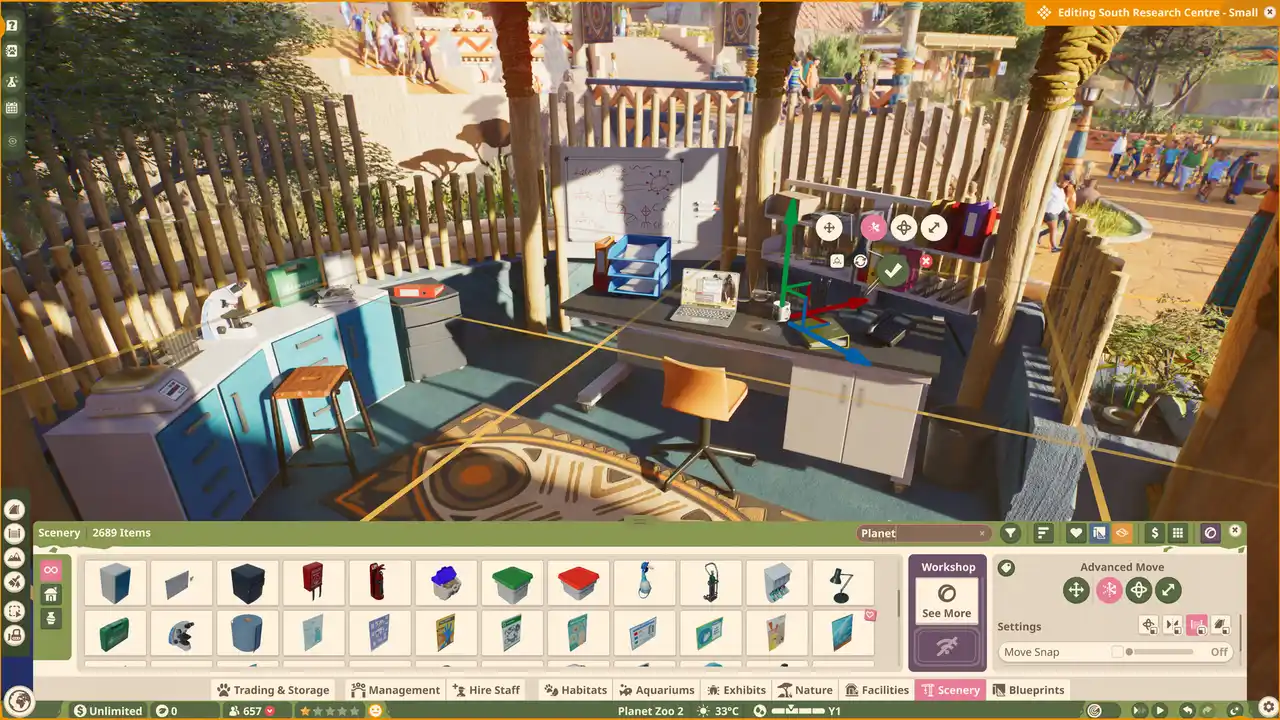
When they have nothing else to do, a vet can be given Research. That needs a Research Centre, and the vet splits their time between the building and the animals in the habitats until the topic is finished.
Hiring and the Staff screen
Hiring happens in the Browser, and it works even when your funds are in the red. That can be a lifeline when money is tight, though nobody works for free for long.
- Go to Hire Staff in the Browser.
- Pick a staff type from the list.
- Drop them onto any path and they get to work straight away.
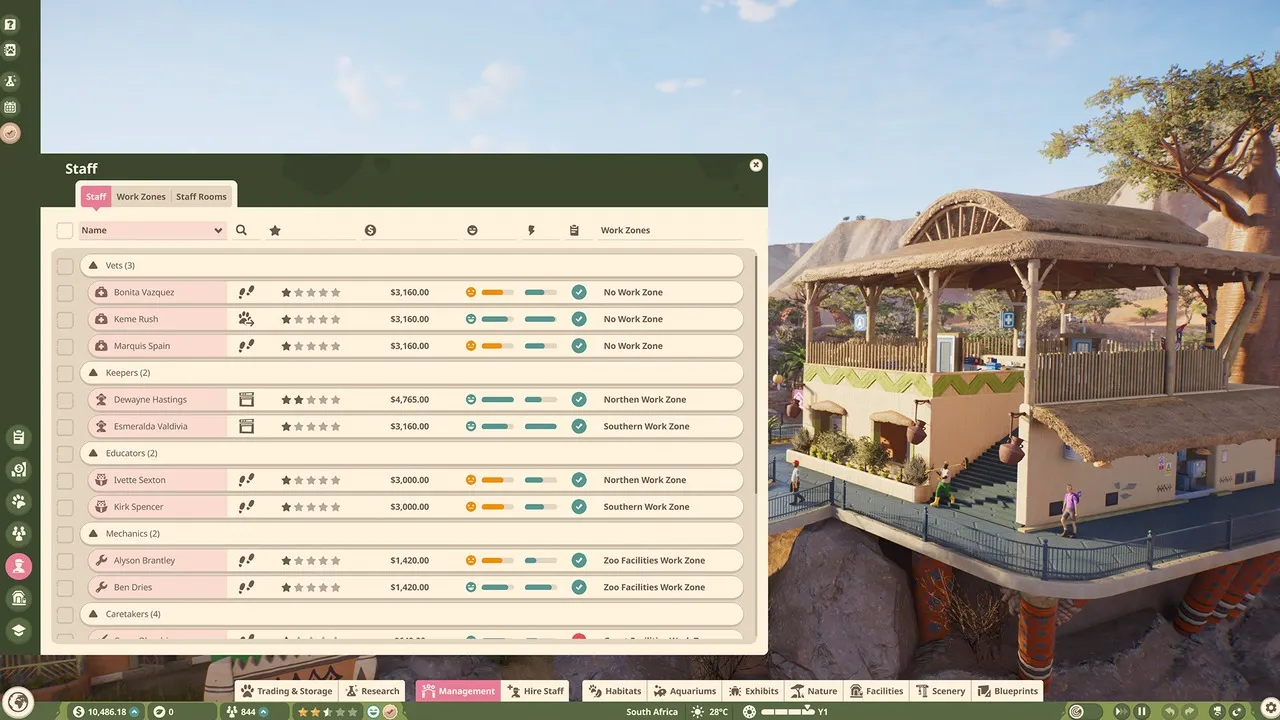
Management, then Staff, lists everyone you’ve hired with their tasks, pay, happiness, energy and workload. Click a name to open their Info Panel, where you can adjust their jobs, pay, zone and training, and see how their time splits between travelling, working, resting and standing around. A face that has gone orange or red in the list means their conditions need a look, and the panel shows what’s bothering them.
Firing is just as quick. Pick Fire Staff beside their name in the list, or at the bottom of their Info Panel, and they head for the exit at once. Until they’ve left the zoo you can still rehire them, for a fee.
You can change uniform colours for one person or for a whole role, using the palette icon on the left of the Info Panel.
Staff pay
Everyone starts at one star on a trainee salary, and each role has its own scale. Salary sits inside a range that depends on their training level.
| Role | Trainee salary | Master salary | Training to Master |
|---|---|---|---|
| Keeper | $2,700 to $3,300 | $8,100 to $9,900 | $2,700 |
| Vet | $2,700 to $3,300 | $8,100 to $9,900 | $2,700 |
| Educator | $2,700 to $3,300 | $8,100 to $9,900 | $2,700 |
| Mechanic | $1,215 to $1,485 | $2,835 to $3,465 | $990 |
| Caretaker | $540 to $660 | $1,080 to $1,320 | $390 |
| Vendor | $540 to $660 | $1,080 to $1,320 | $390 |
A Master keeper, vet or educator costs three times a trainee, a Master mechanic a bit over twice, and a Master caretaker or vendor exactly twice.
You set pay from the Staff screen or the Employment tab in someone’s Info Panel, and a gauge shows where they’d be happy or unhappy. Every training level raises what they expect, and it’s worth checking after each promotion. Dropping someone below what they think is fair is the quickest way to lose them, and getting a quitter back costs a year of their pay.
Wages quietly drain a new zoo, which is why making money early matters more than an extra pair of hands.
Staff training
Every hire can climb from one star to five: Trainee, Capable, Skilled, Expert and Master. Trained staff work faster, cope with pressure better and are happier, and they’ll want a bigger salary for it.
To book training, open the Training tab on someone’s Info Panel, or use the main Staff page. You pay once per level and the money doesn’t come back. It kicks in on their next rest in a Staff Room. Taking someone all the way to Master costs $2,700 for a keeper, vet or educator, $990 for a mechanic and $390 for a caretaker or vendor.
Tip: I’d train before I hire. A new person adds a whole extra salary, while a training level is a one-off fee and a pay rise. Start with whoever does the heaviest work, usually the keepers and the vet who’s researching.
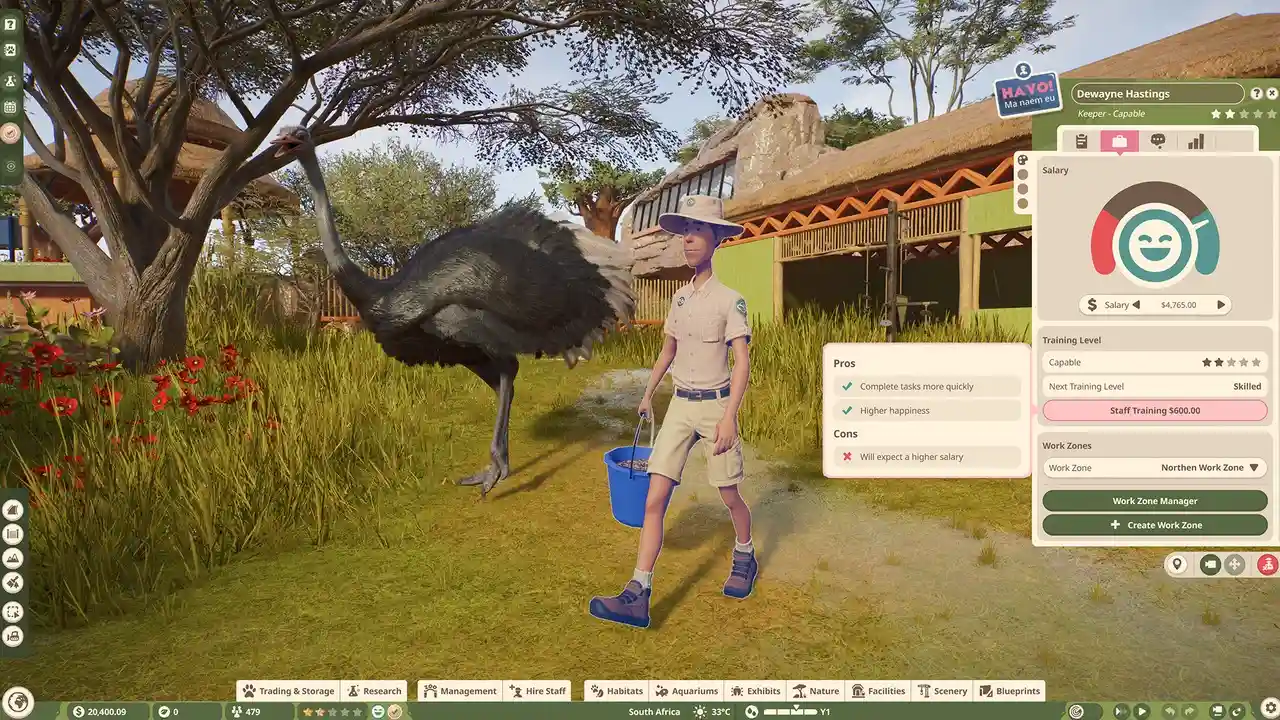
Staff happiness and Staff Rooms
Every staff member has two meters. Energy is how much work they have left in them: it drains as time passes, quicker when the workload is heavy, and comes back when they rest in a Staff Room. With none left they can’t finish jobs at all. Happiness is how they feel about the work, and it depends on their pay and the scenery around where they work. Unhappy staff quit.
Scenery placed around or inside staff buildings lifts happiness, and those buildings deserve the same care as a habitat view.
A Staff Room only helps if people can reach it before they run flat. In a small zoo one big room is fine. Once the zoo spreads out, I’d add a few smaller rooms near each cluster so nobody trudges across the map for a break.
Each Staff Room can carry a perk. Perks cost money to run and affect everyone resting there.
- Staff Healthcare makes staff more resilient to being overworked.
- Social Club lets happiness climb faster.
- Learning Resources teaches staff on their break, which brings their next training forward.
- Staff PR Course sends vendors back out to leave the guests they serve even happier.
- Rec Room restores energy slightly faster.
Staff Healthcare for the keepers and Staff PR Course for the vendors are the two I’d pick first.
Staff buildings
Six buildings support your staff: Keeper Huts, Vet Surgeries, Staff Rooms, Trade Centres, Quarantines and Research Centres. Every one needs power and a path to reach it, and an unpowered or cut-off building quietly stops doing its job. Keeper Huts and Staff Rooms decide how far people walk, so put those close to the work.
Work zones
Think of a work zone as a bundle of facilities you give to chosen staff. They stay inside it unless they need something it doesn’t have. A zone can take in shops, staff buildings, exhibits, habitats, aquariums, transport stations, power and water facilities, ATMs and toilets. Done well, it cuts walking time and stops one overworked person covering the whole map.
- Open Management, then Staff, then Work Zones.
- Start a zone with New Work Zone, or tick some staff first and hit Create new and assign.
- Click the habitats, aquariums, exhibits and facilities you want in it, then close the menu.
- Assign the staff from the same screen, or via the Employment tab in their Info Panel.
Put in what each role needs. A keeper’s zone wants the habitat, its Keeper Hut and a Staff Room. If someone can’t find a building inside their zone they’ll go and use one outside it, which is how an incomplete zone still makes for long walks.
Work Zones View colours everything you can add. Green is in the selected zone, orange is in a different zone, blue is in the selected zone and another one (harmless, but a sign the split could be tidier) and red is in no zone at all. Red matters once every staff member has a zone, because then nobody is looking after it.
I’d leave vets and mechanics out of zones to begin with and add them once their workload screen shows them spending the day travelling.
How many staff to hire
Hire for the work that’s waiting, not for the zoo you plan to build. For a first zoo that usually means a Keeper and a Caretaker, and the rest follows the zoo.
- Keepers: add one when the habitats they cover show a heavy workload and feeders keep running low. Check the path to the Keeper Hut before you spend the money.
- Caretakers: add one when litter builds up on the paths faster than they clear it.
- Vets: hire one when an animal falls ill or when you want research going.
- Mechanics: hire one once barriers start to wear, and another if yours never reach a break.
- Vendors: one per shop, plus a spare for every couple of shops.
- Educators: one for each talk schedule you actually run.
The time split in the Info Panel is the quickest check. Lots of idle time means too many hands, lots of travelling means a work zone, and a high workload with little idling means it’s time to hire.
When staff stop working
- Empty feeders: check that the Keeper Hut has power and a path, that the keeper’s work zone holds both the hut and the habitat, and that the keeper has energy left.
- Closed shop: the vendor is on a break and nobody is free to cover. Add a spare.
- Cancelled talk: the educator was tired or late. Trim the schedule.
- Barrier trouble or breakdowns: your mechanics are behind or out of energy. Add one.
- People quitting: check the pay gauge, the scenery around their buildings and how far they walk to a Staff Room.
Did this guide help?
Up next in Planet Zoo 2
Something wrong or out of date? Tell us
Guide by
Sunny
Sunny’s favourite game is Stardew Valley, and she has told herself “one more day” about four thousand times. The rest of her time goes on dying in a basement in The Binding of Isaac and planning her whole week around who she’s hanging out with in Persona.
Popular right now
-
GuidesEarly game
-
GuidesEarly game
-
GuidesEarly game
-
GuidesEndgame




Squad chat
Be the firstStart the chat