Castlevania Belmont’s Curse endings: how to get the bad, normal and true ending
All three endings in Castlevania: Belmont's Curse, what triggers each, and the full checklist for the true ending: four virtue trials, the shadow boss and Absolution.

Spoiler warning. This guide names bosses, areas or story moments. Bigger reveals stay hidden in spoiler blocks until you open them.
Quick answer
Castlevania: Belmont’s Curse has three endings: bad, normal and true. The bad ending is a trap at the Cursed Horologium in the Clock Tower. The normal ending comes from disarming that clock with Soul Harvest and beating Dracula. The true ending needs the four virtue trials in Notre-Dame, the shadow boss for The Self, and a cast of Absolution within about 12 seconds after the closing dialogue of the Dracula fight. One save can show all three.
Only the true ending lifts Rose’s curse, and it asks for the most. The game explains none of it.
All 3 endings at a glance
| Ending | Trophy | How you get it | Extra reward |
|---|---|---|---|
| Bad | Belmont’s Fall | Walk past the warnings at the Cursed Horologium without disarming it | Cursed Outfit |
| Normal | The Hunt Goes On | Disarm the clock with Soul Harvest, then beat both Dracula forms without Absolution | None |
| True | Curse Lifted | Four virtue trials, the shadow boss, then Absolution on Dracula | Shadow Work trophy and Doppelganger outfit from the shadow fight |
Choose Resume after any of the credits and you keep your save, so one playthrough covers all three.
Bad ending
The trap is on the Clock Tower Bridge, next to the Cursed Horologium. When you get near it the screen starts to warp and your companions warn you off. Go left anyway and you end up in a false throne room. Death’s trap is set there, Dracula beats Rose and the credits roll.
You can skip it, but it is the only place the Cursed Outfit comes from. Choose Resume afterwards and you are put back near the clock.
Normal ending
Soul Harvest is what disarms the clock. You get it from Death in Notre-Dame, and to reach Notre-Dame you need The Builder, The Occultist and The Artist cards from Talos, Carmilla and Brauner. That is four boss fights before the clock can be touched.
- Beat Death in Notre-Dame and take The Shadow card.
- Equip The Shadow with Soul Harvest active and interact with the Cursed Horologium once.
- Go through the Clock Tower and beat Isaac at the top.
- Carry on to the Master’s Quarters, then through the Grand Staircase, the Throne Room Antechamber and the Throne Room.
Dracula fights in two stages. He starts as a man in the Throne Room, then grows wings and moves the fight to the Castle Rooftops. Win both stages and the normal ending plays. Choosing Resume afterwards drops you by a Mirror of Life with everything you own.
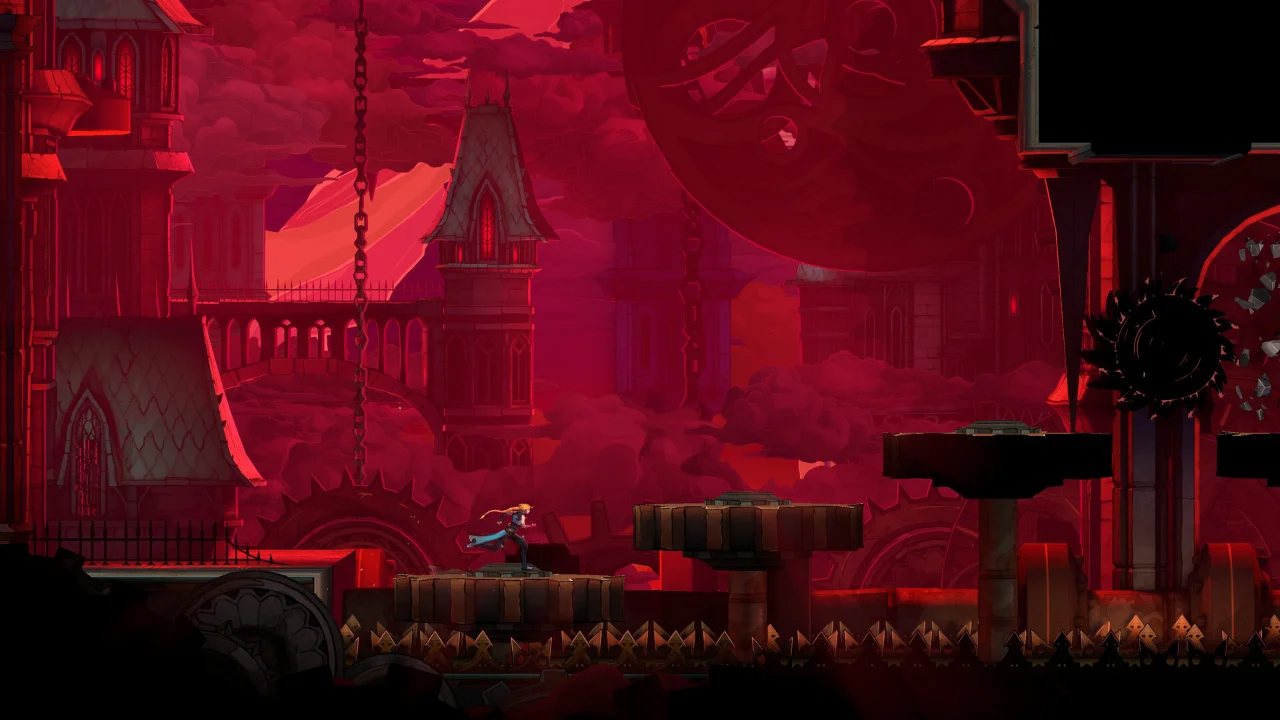
Leave the clock alone once it is disarmed. Using it again sets the trap and puts you back on the bad ending path.
True ending
The true ending needs four things on top of beating Dracula:
- Four cards: The Warrior, The Sage, The Judge and The Whisperer.
- All four virtue trials, with each bell rung.
- The shadow boss, which gives you The Self and Absolution.
- The Self equipped and Absolution cast at the end of the Dracula fight.
You can do the trials before your first Dracula fight, but most players come back for them after the normal ending.
Getting the four cards
| Card | Spell | Where it comes from |
|---|---|---|
| The Warrior | Infernal Pyre | Beat Joan of Arc on the Prison Tower roof |
| The Whisperer | Freezing Path | Beat Mammon, take the Ferryman’s Obol from his lair and hand it to the Ferryman. Opening Mammon’s door needs the Thrilling, Trembling and Oozing Eyes equipped together |
| The Judge | Chains of Justice | Pass the Scales of Justice trial at the Palace of Justice |
| The Sage | Mirror Walk | Break the four mirror seals, free Eleanor in the Hall of Mirrors, beat the Succubus, then speak to Eleanor at her tomb in Holy Innocents’ Cemetery |
Gallery of the Four Virtues
The gallery is in Notre-Dame, in the top left of the cathedral. It has four stained-glass windows in a row and an altar in the middle. From left to right the windows belong to the Warrior, the Whisperer, the Judge and the Sage. A window only opens if its card is equipped, so owning the card is not enough. Ring the bell at the end of each trial. When the fourth rings, the rose window lights up.
| Virtue | Card and spell | What the trial is |
|---|---|---|
| Courage | The Warrior, Infernal Pyre | A rematch against Joan |
| Temperance | The Whisperer, Freezing Path | A climb up a chamber while the floor turns to souls |
| Justice | The Judge, Chains of Justice | Waves of enemies in a bell tower full of spikes and saw blades |
| Prudence | The Sage, Mirror Walk | A saw blade obstacle course that tests your movement and your spells. Needs Holy Light as well |
- Courage: Joan has more health than before and one extra thrust. Get behind her when she jumps for her crash, stay out of the fire pillars her orbs set off, and dash away when she shouts ahead of a ground cleave.
- Temperance: The easiest of the four. It is a platforming climb with no enemies to worry about, and Chronomantic Dive can slow things down if the jumps trip you up.
- Justice: Several arena fights in a row. Skeletons, harpies and floating swords come first, and a golem and a werewolf turn up later. A whip hits the fliers well, and it helps to keep a flask for the late fights.
- Prudence: The hardest of the four, split into four sections full of saw blades. Learn each section at your own pace before you commit to a run.
The shadow boss
Once all four bells are rung, interact with the altar below the rose window. It sends Rose to a chapel where an enemy listed as ??? waits. It is Rose’s shadow, it uses her full moveset, and its health shows 8,778 once the fight starts. Go in with upgraded gear.
The reward is The Self, Absolution, the Shadow Work trophy and the Doppelganger outfit. A golden sphere drops afterwards. Take it, go back to the altar and Sypha’s spirit speaks with Rose.
Absolution costs 50 MP and is cast by holding the spell button. Every enemy around Rose takes damage, and each one hit heals her.
Final fight and the cast
Equip The Self and set Absolution as your active spell at a Mirror of Life, before you enter the Master’s Quarters. Beat both Dracula forms in the same way as for the normal ending.
When the second form falls, a conversation plays. Once it wraps up you have about 12 seconds to hold the spell button, so do not wait around. Make the cast and Dracula’s curse breaks, which gives you the true ending and Curse Lifted. Let the time run out and you get the normal ending, then Resume and fight him again. Keep your mana topped up for the last hit, since the spell costs 50 MP.
The Self has three Works of Mercy: kill four enemies with one cast five times, explore 85 percent of the map, and heal to full with it ten times. They unlock extra effects such as more damage at full health, and they make Absolution stronger, but they are not part of the requirements.
If something does not work
- A trial window will not open: equip the card for that trial. If you do not own it yet, finish its quest first.
- The wrong ending played: you either left Absolution off, forgot to equip The Self, or missed the 12 seconds. Resume and try again.
- The bad ending appeared again: you used the clock again and set the trap.
Trophies
| Trophy | Ending |
|---|---|
| Belmont’s Fall | Bad |
| The Hunt Goes On | Normal |
| Curse Lifted | True |
| Shadow Work | Beating the shadow boss |
Did this guide help?
Up next in Castlevania: Belmont's Curse
Something wrong or out of date? Tell us
Guide by
George
George grew up on Dark Souls and Call of Duty, and he still has strong opinions about both. He also plays Arma, where he walks a very long way to get shot by someone he never saw. He says it’s part of the experience.
Popular right now
-
GuidesEarly game
-
GuidesEarly game
-
GuidesEarly game
-
GuidesEndgame



Squad chat
Be the firstStart the chat