Castlevania Belmont’s Curse movement abilities: how to unlock all 5
How to unlock every movement ability in Castlevania: Belmont's Curse: the boss, the route, the buttons and the first places to use each one.

Spoiler warning. This guide names bosses, areas or story moments. Bigger reveals stay hidden in spoiler blocks until you open them.
Quick answer
Rose learns five movement abilities in Castlevania: Belmont’s Curse, and every one comes from a boss. In story order they are Arcane Whip (The Fallen), Holy Light (Joan of Arc), Smash (Talos), Aerial Rush (Carmilla) and Double Jump (Death). Nothing is hidden in a chest. Win the fight, follow the prompt and the ability is yours.
If a ledge, a block or a gap is stopping you and you are not sure why, the answer is almost always one of these five abilities. Every one of them comes from a boss.
All 5 movement abilities
| # | Ability | Boss | Where you get it |
|---|---|---|---|
| 1 | Arcane Whip | The Fallen | Abandoned Sewers, in the room after the fight |
| 2 | Holy Light | Joan of Arc | Prison Tower roof, Paris Streets |
| 3 | Smash | Talos | Clock Tower, right after the Talos fight |
| 4 | Aerial Rush | Carmilla | Library, in the hallway left of her hall |
| 5 | Double Jump | Death | Choir, Notre-Dame |
Controls
| Ability | PC | PS5 |
|---|---|---|
| Arcane Whip | Aim with W, A, S, D and press right mouse button | Aim with right stick and press R2 |
| Holy Light | Hold C | Hold L2 |
| Smash | S + Space while airborne | Down + Cross while airborne |
| Aerial Rush | Shift while airborne | Circle while airborne |
| Double Jump | Jump again in mid-air | Cross again in mid-air |
Aerial Rush goes forward by default. Hold a direction as you press it to go sideways. The Journey tab in the menu lists every ability with its button prompt, so check it if you forget one after a break.
Starting moves
Rose has three moves from the first room at the Bank of the River Seine, and you never unlock them.
- Held jump: hold the jump button to travel further.
- Wall jump: jump into a wall to cling, then jump again to push off.
- Slide: a direction plus dodge. It gets Rose through low gaps and straight through enemies.
Arcane Whip
The Fallen is the first boss and you cannot miss him. After the fight you talk to him through Rose’s cards, walk into the next room in the Abandoned Sewers and the Whip is yours. A short tutorial then shows what it can do.
- Hook onto a glowing anchor to reach a ledge that is too high to jump.
- Hold the button while hanging from a round anchor to lengthen the swing and gain height.
- Pull yourself toward a sharpened anchor.
- Launch at an enemy you cannot reach, then press again in flight to hit it.
It opens the map straight away. You use it to climb out through the Court of Miracles in Holy Innocents’ Cemetery, up the outside of the Prison Tower, through the shaft in the Court of Justice and across the broken sections of the Notre-Dame Bridge. It comes back in the Notre-Dame Narthex, where you climb to the Nave.
Holy Light
Joan waits on the roof of the Prison Tower in Paris Streets. Getting up there means solving the Carpenter’s Crane puzzle first. Beat her and Holy Light comes with the way down the tower stairs.
Hold the button and Rose projects a halo. Chaos Shards, the glowing rocky growths that block certain stairs and drops, break apart inside it. Holy Light is also a parry. Tap it a moment before an attack lands and you take no damage. Holding it down early only gives you the halo, so time the tap instead.
Your first shard is on the stairs inside the tower. From there you go through the Torture Level and the Guard Level, leave by the Burned District, then cross the Bridge of the Millers, the Court of Miracles and the Path of the Rat to the Gate to the Catacombs.
Smash
Talos sits in the Throne of the Builder in the Clock Tower. From the Upper Gallery, take the Way of the Fist to the Builder’s Secret Elevator and ride it up to Foundry Apex. A cage lift there takes you down to the Final Trap, and the Path of the Builder leads to him. Stay out of the hallway past the Clock Tower Bridge, because it ends in a trap that locks the bad ending. Smash arrives straight after the fight.
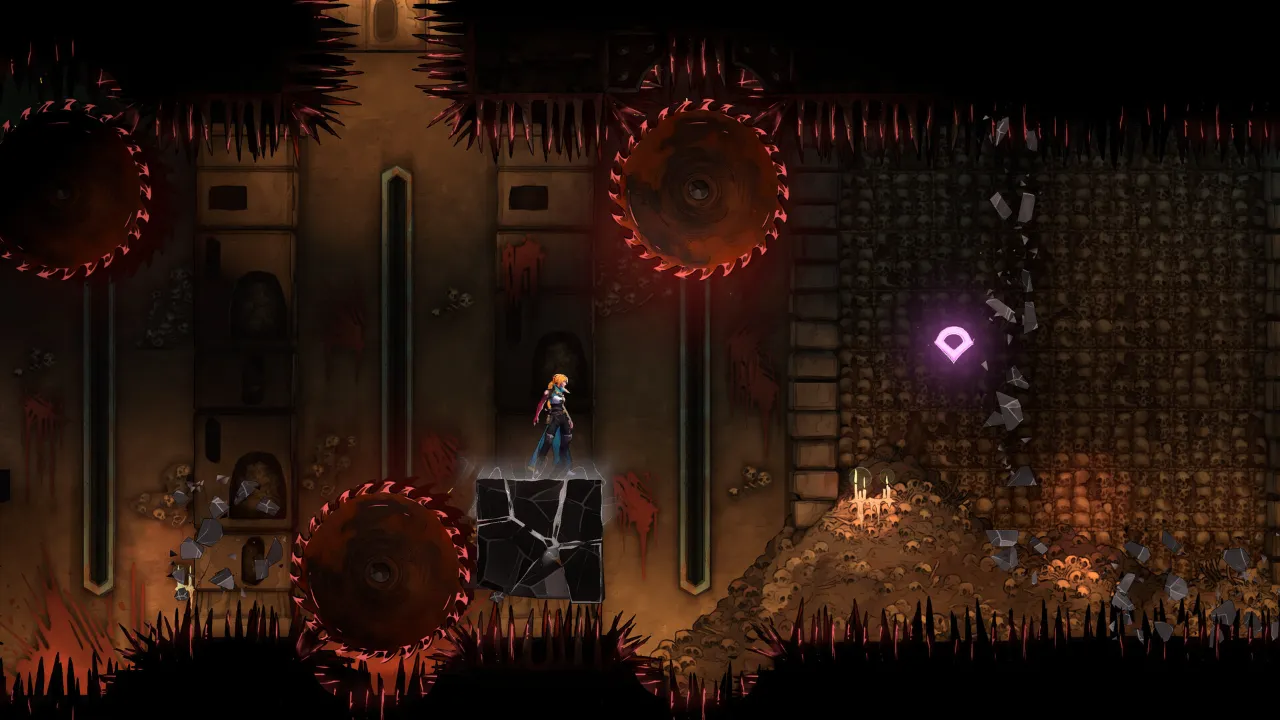
Press down and jump in mid-air and Rose stomps. Anything marked with golden cracks can be broken this way. The stomp gets stronger the further Rose falls, so a thick block needs a long drop and a short hop will not scratch it.
The cracked golden floor next to the Talos arena is your first target. Break it and you drop into the Builder’s Bureau, where a chest holds the Fists of Talos, a weapon with 75 attack. Smash is also how you trigger the Brauner scene in the Main Hall, because you grapple above his sculpture and stomp it. That is the first step toward Notre-Dame.
Aerial Rush
Carmilla is at the top of the Library, above the Planetarium. To reach her you solve the star pattern for each of the three globes. The last one opens the climb up the Observation Tower, where you line up the rings to match the constellation. After the fight you can pick up Brauner’s Paintbrush, which you need later.
After the fight, leave her hall by the left exit. In the next hallway Rose stops at a ledge with a gap she cannot jump and nothing to hook onto, and Aerial Rush is given to you there.
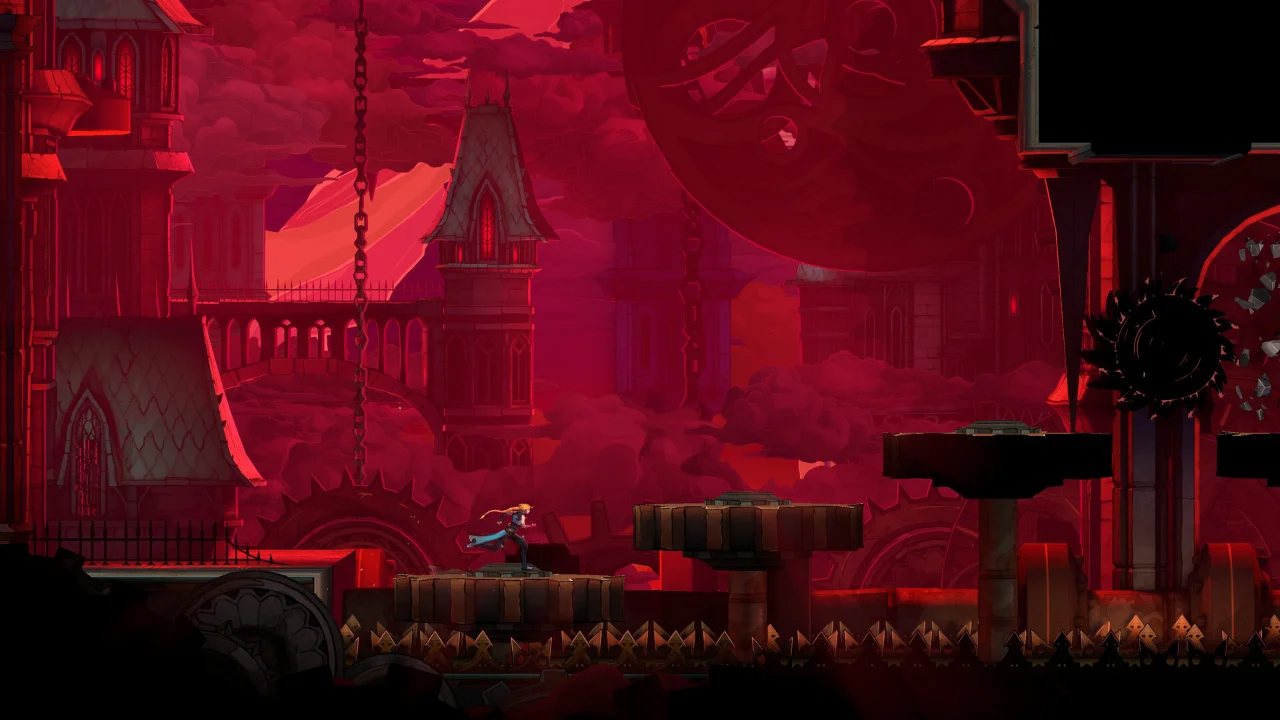
Aerial Rush is a dash in mid-air. It covers horizontal gaps that a normal jump cannot, and the gap in that same hallway is the first place you use it, and the spiked shafts in the Library come next. Hold a direction while you press it to dash sideways instead of straight ahead.
Double Jump
This one is the longest to reach, because it sits behind Notre-Dame. Go through the steps in order.
- Finish the Artist card quest, which needs Smash.
- Defeat Carmilla and pick up Brauner’s Paintbrush.
- Go to the Gallery of Eternal Night in the Main Hall, equip The Artist and inspect the painting of Notre-Dame. This opens Notre-Dame.
- Clear the corruption on the Great Organ by playing the three melodies.
- Beat Death in the Transept.
Afterwards you reach the Choir. Rose stands at a wide gap with a high ledge and a spike pit on the far side, and she says she cannot make it. Close the tutorial box and Double Jump unlocks, so there is nothing to collect. Press jump again at the top of the first jump to get the extra height.
The Choir tests it at once. The rooms after it, the Transept, the Nave and the West Gallery, chain jumps and anchors together.
Which ability gets past which obstacle
| What is in the way | Use |
|---|---|
| High ledge with a glowing anchor above it | Arcane Whip |
| Gap between round anchors | Arcane Whip, swinging |
| Glowing rocky formation on stairs or a drop | Holy Light |
| Block or floor with golden cracks | Smash |
| Wide horizontal gap with nothing to grab | Aerial Rush |
| High ledge above a spike pit | Double Jump |
| Low gap or tight corridor | Slide |
Tips
- Smash strength depends on the fall, so if a block does not break, find more height before you stomp.
- Holy Light blocks attacks only if you tap it early. Practice on a boss with a clear wind-up.
- The Whip and Holy Light matter in fights too. The Whip pulls Rose to enemies out of reach and Holy Light is a parry.
- Each ability comes from one boss and nothing else grants it. If you are stuck, check whether you have beaten the next boss on the list.
Did this guide help?
Up next in Castlevania: Belmont's Curse
Something wrong or out of date? Tell us
Guide by
George
George grew up on Dark Souls and Call of Duty, and he still has strong opinions about both. He also plays Arma, where he walks a very long way to get shot by someone he never saw. He says it’s part of the experience.
Popular right now
-
GuidesEarly game
-
GuidesEarly game
-
GuidesEarly game
-
GuidesEndgame




Squad chat
Be the firstStart the chat