
How to beat The Hunt in Phantom Blade Zero
Every attack in both phases of The Hunt, what to parry and dodge, and where the Chain Sickle takes you next.
Quick answer
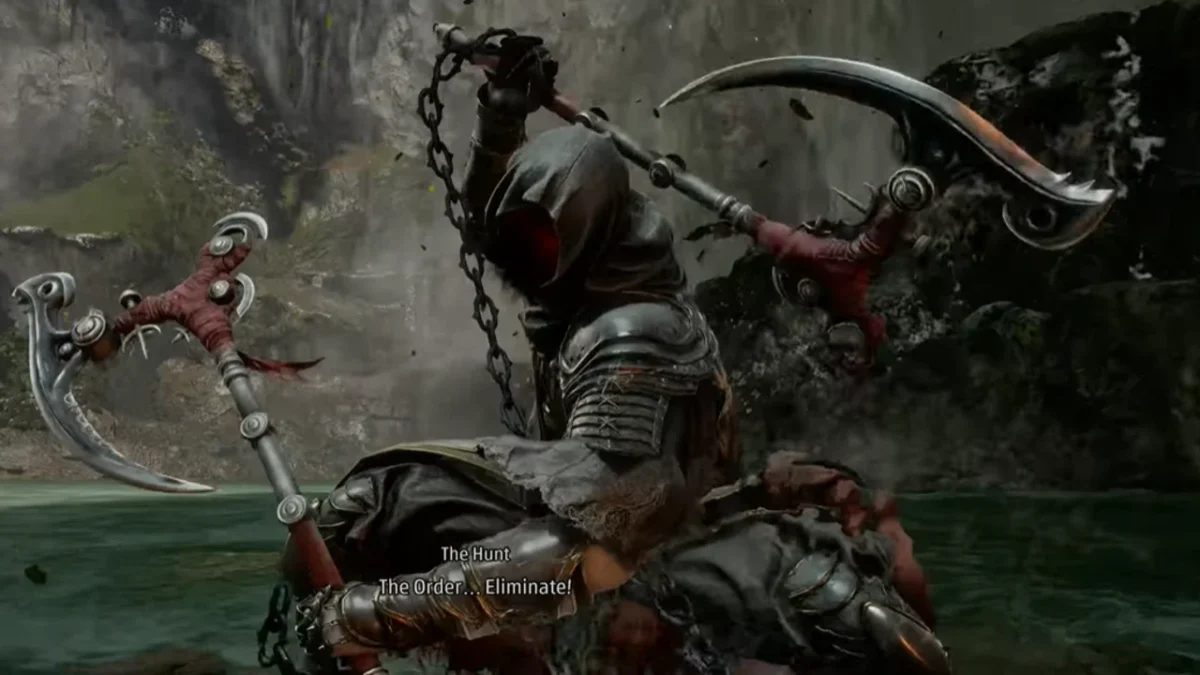
The Hunt has two phases. Die in the second and you go straight back to it. Parry the blue flashes, dodge the red ones and walk away from the tornado and the chains. Do not chase him when he backs off, because that is when the sickle throws come. At about half health in phase two he calls up pillars. Get clear of them and dodge the dive instead of parrying it. A win pays 20,000 Remnant Dust and the Hunter’s Chain Sickle.
You already fought The Hunt once, on the cart. This is the rematch, and it is a different kind of fight. You get a pool of shallow water, plenty of room and a boss who uses every metre of it. He also has two full health bars and a checkpoint between them.
Where to find The Hunt
Finish the Sha-Chi tower first. Leave through the back, cross the wooden bridge and take the cave path down to the Great Waterfall bell. Touch it before anything else. The arena is the pool ahead of you, and the fight begins when you wade in.
| Detail | The Hunt |
|---|---|
| Where | Weeping Creek Valley, in the pool under the Great Waterfall |
| Fight | Two bars: Hunter of the Order, then Sixfold Scythe |
| Health | 18,720 in phase one, 20,640 in phase two |
| Respawn | Great Waterfall bell. A death in phase two puts you back at the start of phase two |
| Reward | Hunter’s Chain Sickle and 20,000 Remnant Dust |
Before the fight
Beat Hua, Deadly Betrothed first if you skipped her. The Scarlet Wraithblade she drops lays red spider lilies whenever you use a Power Surge or a Sha-Chi combo, and The Hunt loses health for as long as he stands in one. That is free damage, so carry it in.
Put your upgrades into the weapons you plan to use. Weapon levels up to 10 refund in full, so nothing is wasted if you change your mind later. Bring two weapons, because swapping is how you refill Sha-Chi when blocking has drained it. If the blue and red flash system still feels shaky, practise it on the earlier bosses first.
Phase 1: Hunter of the Order
The first bar rewards patience. Most of what he does is easy to read after two or three tries. Greed is what kills you here. Land your hit, back off and wait for his recovery before the next swing.
| Move | What you see | What to do |
|---|---|---|
| Sickle slashes | Ordinary swings from both sickles | Parry, block or dodge. Blocking drains your Sha-Chi |
| Leap | He jumps in, sickles first, flashing blue | Parry while he is still airborne, then mash the prompt |
| Swinging attack | One sickle swings from above while the other slashes sideways | Parry the swing, or just back out of range |
| Red grab | A sickle flies at you from mid distance, flashing red | Dodge as it arrives, then hit the button prompt |
| Wide swipes | Big swings around his body that end in a blue flash | Parry the last swipe |
| Pull-in | The screen darkens and he drags himself toward you | Parry the moment he arrives |
| Tornado | His sickles spin and wind gathers around him | Back away from it |

The aerial strings are where most of the damage comes from. Aim for the first impact. Miss it and the whole string hits you, and the damage stacks quickly. If you do not trust your timing, dodge out of the string rather than trying to recover halfway through.
His red attacks in this phase are harder to spot than the ones earlier in the game. The flash can sit behind his arms or the chain. Watch his body and react to the wind-up. By the time the flash is clear you are late.
After the red grab, the button prompt still matters. Fail it and the grab connects even though you dodged the throw.
The last habit to break is chasing. When he suddenly retreats, hold your ground. He often follows the gap with a thrown sickle. Deal with the throw first, then walk in.
Phase 2: Sixfold Scythe
When the first bar empties he heals to full and grows two more arms. The fight restarts from here if you die, so use the retries to learn the second half without replaying the first.
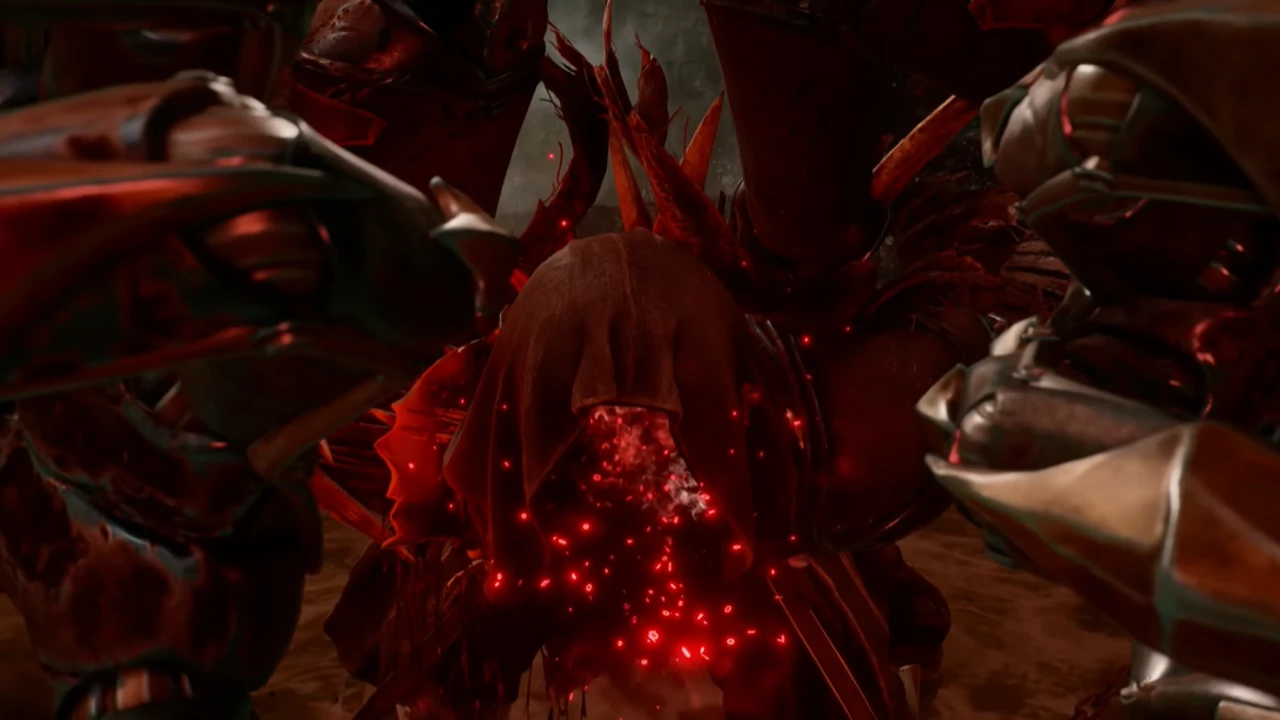
His combos are longer now, and a short pause does not mean the string is over. Wait until you see him recover. Grabs are easier than before because he mostly uses them to end a combo, so once you know which strings lead to one you can get ready for it.
Parry these. The aerial strings finish with a blue marker. Survive the string, parry that last hit and he is open. His leap-and-spin attack ends with a long blue swipe, and it can also start on the ground, so a wide spinning wind-up is your cue. When he leaps back to the waterfall and drops giant chains across the arena, run clear of them. He returns with a blue flash, and that is the one to parry.
Dodge these. The red grab starts with him spinning his sickles at his sides. Dodge as soon as you see the spin. The ground slam sends a small shockwave in front of him, so step left, right or back.
Slow ones. His sickle projectiles move slowly and curve after you for a few steps, and each one hits several times. Any defence works on them. Walking out of range works too.
The double throw needs the most care. He sends two sickles at once and sometimes follows with a third throw and sometimes stops. Reacting early gets you hit by the late one. He can also do it from melee range, and if both sickles connect you lose about half your health on Hellwalker.
The pillar dive at half health
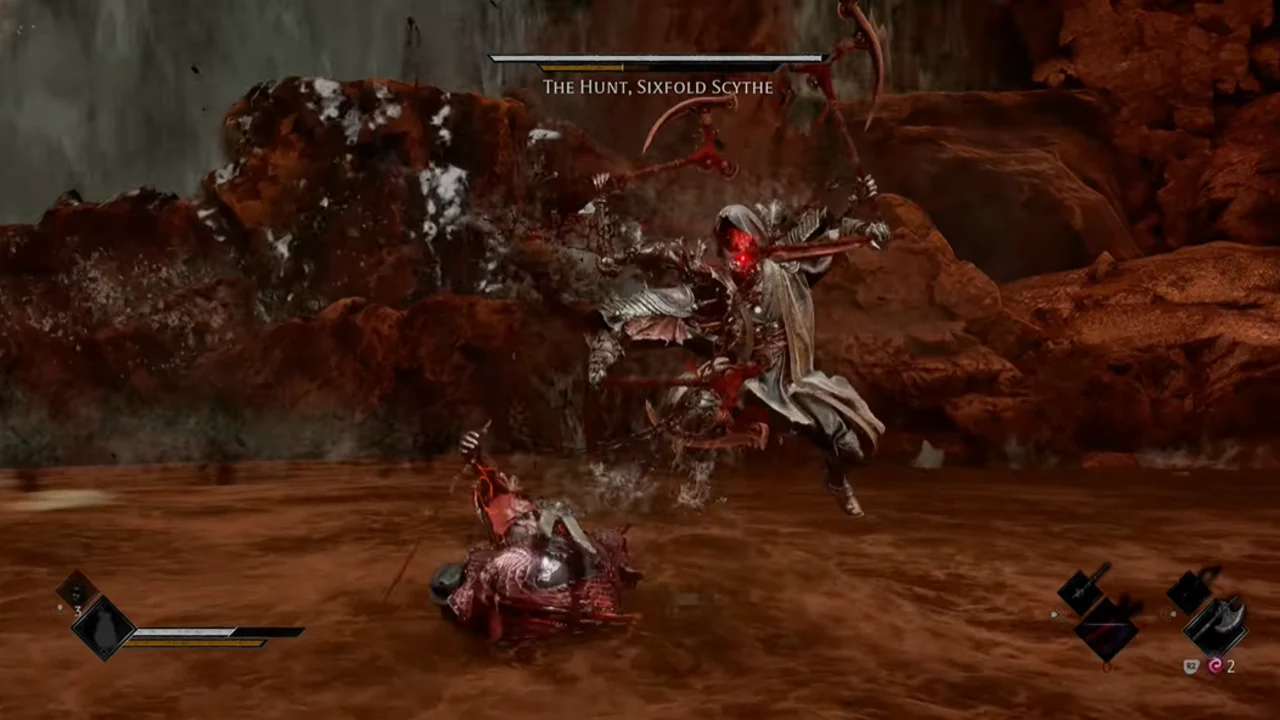
Around half health he raises pillars across the arena and winds up a heavy dive. Get away from the pillars as soon as they appear and look for open space. When he dives, dodge. Do not try to parry it. The hit is huge and a missed parry is not worth the risk. If the opening afterwards is safe, take a hit or two and reset.
Do not try to interrupt a long combo. Let it run and work out how it ends. A grab, a blue marker, a throw and a plain recovery each need a different answer. Most deaths in phase two come from deciding a string is over too soon.
Hellwalker
On Hellwalker, red attacks come in clusters when you keep missing them. One miss leads straight into another red attack before you settle. Do not hammer block or dodge after a mistake. Wait for the next wind-up and react to that one.
Rewards and what to do next
The Hunter’s Chain Sickle is a Phantom Edge. In a fight it gives you long-range combos. Outside one, it lets Soul grapple up to high points that were out of reach until now.
Use it straight away. Traverse back to the top of the Sha-Chi tower and climb the wall beside the connecting tube. The Sha-Chi Tower Base Camp Gate Key is up there on a ledge you can now grapple to. It opens a large part of the valley and moves the Deep in the Valley quest along. That is the first of the purple quests the perfect ending needs.
Did this guide help?
Something wrong or out of date? Tell us
Guide by
George
George grew up on Dark Souls and Call of Duty, and he still has strong opinions about both. He also plays Arma, where he walks a very long way to get shot by someone he never saw. He says it’s part of the experience.
Up next in Phantom Blade Zero
Popular right now
-
GuidesMidgame
-
GuidesEarly game
-
GuidesMidgame
-
GuidesMidgame




Squad chat
Be the first