
Phantom Blade Zero tips and tricks for beginners
The combat rules, upgrade habits and exploration tips that make the first hours of Phantom Blade Zero much easier.

Quick answer
Parry blue flashes and dodge red ones. Red attacks cannot be blocked. When Sha-Chi runs low, swap to your other main weapon to refill the bar. Weapon upgrades refund in full up to level 10, so experiment freely. Enemies stay dead and Remnant Dust is finite, which makes a thorough first pass through each area worth the time. Rest at bells often. Each rest heals you, refills your medicine and recharges your Phantom Edges.
Phantom Blade Zero goes easier on you than it looks. Dying costs nothing, bosses save their progress between phases and defeated enemies stay down. What it punishes is a wasted Sha-Chi bar and a wrong guess about which attack is coming.
Parry blue, dodge red
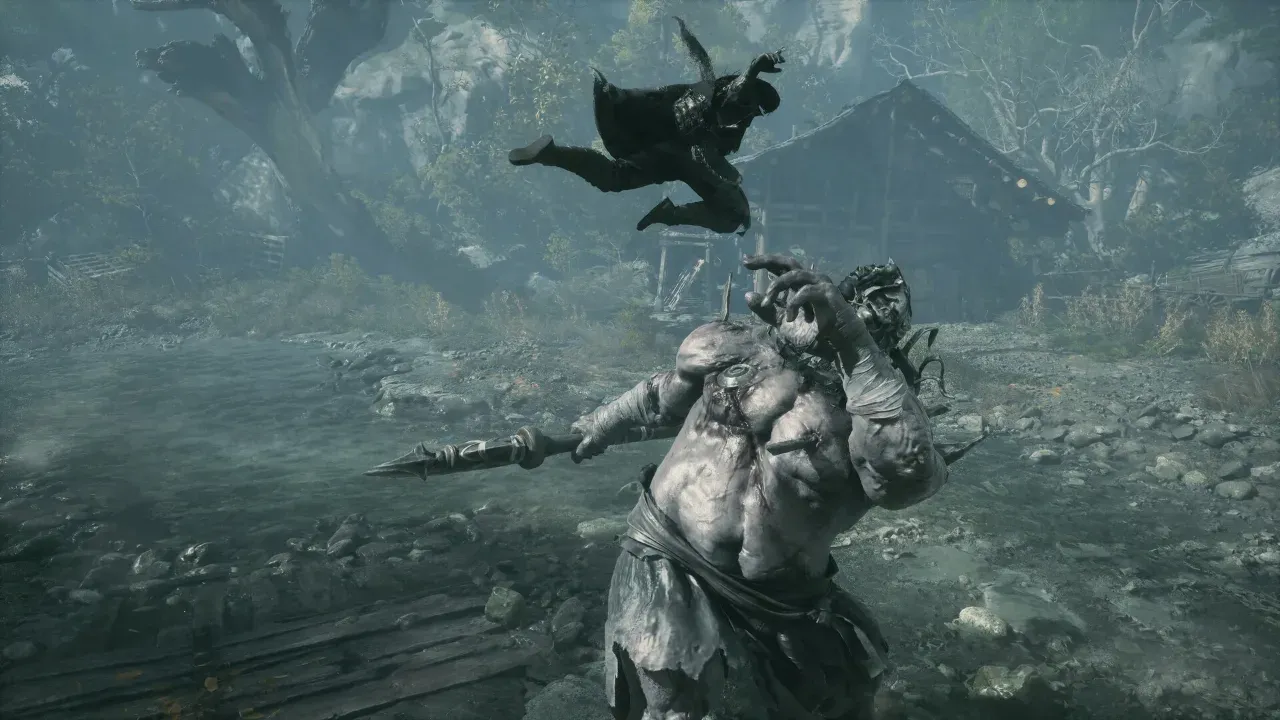
Enemy attacks flash just before they land. Blue means you can block or parry. Red means a block will not stop it, and the only answer is a dodge. Learn that pair first, because most fights lean on it.
A clean parry costs no Sha-Chi, knocks the enemy’s posture down and can trigger a Ghoststep that drops you behind them for a free hit. Blocking works as well, but every blocked hit drains the bar. Keep it for moments when you cannot read the timing.
You can also cancel out of your own combo into a parry or a dodge. If a red flash appears halfway through a string, bail out of the string.
Sha-Chi and weapon swapping
Basic attacks are free. Heavy Sha-Chi attacks and blocking eat the bar, and an empty bar leaves you guard-broken and wide open. Enemies have a Sha-Chi bar of their own, and sustained pressure on it opens them up.
Take two main weapons into every fight. Switching to the second one refills your bar at once, then the swap goes on cooldown. Save the swap for when the bar is nearly gone.
Bells, respawns and clearing areas
A bell is a checkpoint and a lot more. Resting at one heals you, refills your medicine and recharges every Phantom Edge, and the same menu gives you fast travel, the skill tree and upgrades. There is no minimap. When you are lost, a red thread points to the nearest bell.
Enemies you have beaten do not return when you rest, and a death takes nothing from you. That rules out grinding. Remnant Dust is limited as well. A careful first pass through each area beats sprinting to the next boss.
Upgrades and trying every weapon
The game wants you to experiment, and the refund system covers the cost. A weapon at level 10 or lower resets for nothing, and everything you spent on it, dust and materials alike, comes back. Beyond that a reset needs a Reforge Talisman, which is worth knowing before you dig into weapon upgrades and refunds in detail.
Levels belong to each weapon individually, with perks unlocking at level 5, level 10, level 15 and level 25. A sword only shows its real character once the first perk lands. The game has 30 main weapons, plus 25 Phantom Edges, and none of them are sorted by rarity. The numbers on the comparison screen are what to go by. Forge’s weapon rack gives away Sanguine Reach for free, and it is the early two-handed option.
Do not sit on upgrade materials. Most weapons use materials of their own, and spending on one rarely costs you another. The one upgrade that never refunds is Soul Temper, and that is the only one worth saving for a weapon you have settled on.
Phantom Edges
A Phantom Edge is a backup weapon that only works a few times between bells. You can equip two. Several double as exploration tools. The Dread Axe is the one that severs chains, while the Flaming Mane burns thorns, and the map tells you which tool a blocked area wants. Note the spot and come back instead of forcing it.
Some are built for specific enemies. Axes, hammers and iron fists are the answer to heavy shields.
Healing and medicine
Healing Gourds restore health and nothing else. Other medicines also touch your Sha-Chi. Choose the one that fixes the problem you actually have. A drink in the middle of an enemy flurry just gets you hit. Wait for the string to finish.
Boss fights
Multi-phase bosses save after each phase. Die in the second one and you restart there, with the boss still in its changed form. That makes phase one the place to spend your medicine and abilities, since it stays beaten.
When a boss walls you, change something before the next attempt. Swap a weapon, try another accessory, or go and polish one. Large groups are often a bigger threat than a single boss, and backing away to split them up is fair play. Some optional fights are also far too hard when you first meet them. The Long Pillar fights, beginning with the Gold-Masked One in Weeping Creek Valley, are among the toughest in the game, and nothing forces you to take them early.
Accessories
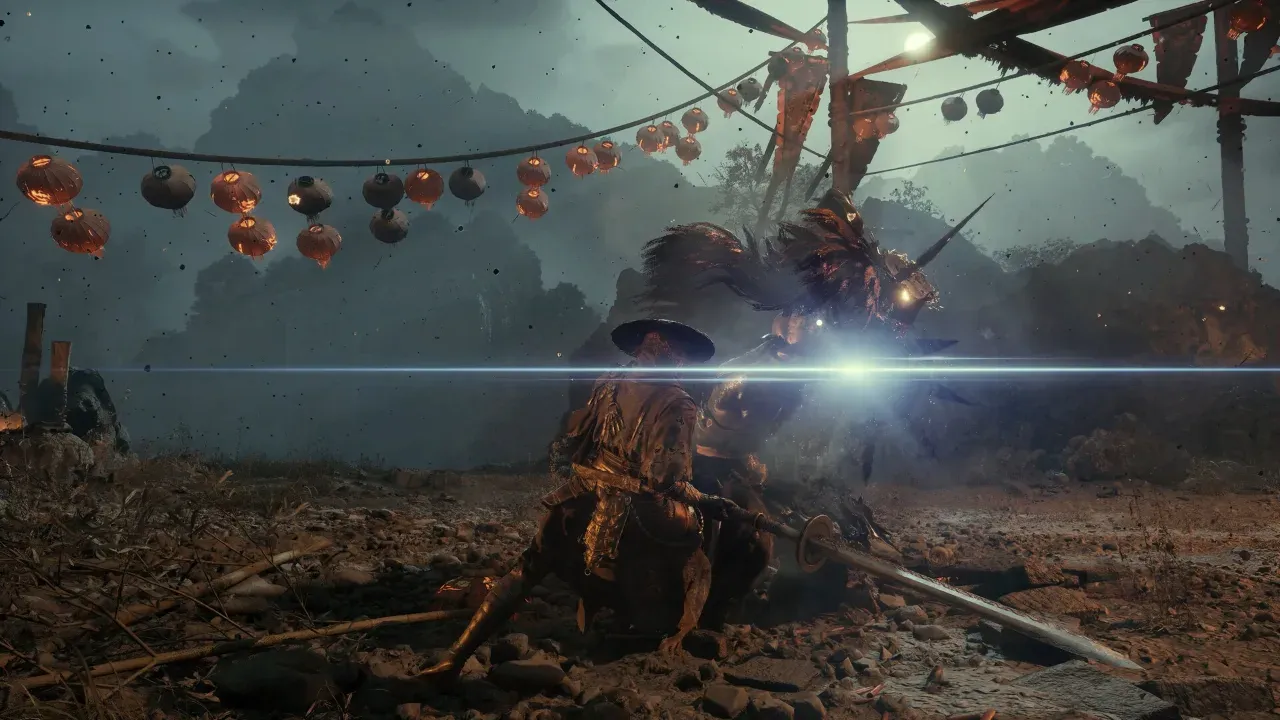
Most players put everything into weapons and forget accessories. Once Jewel in the Village of Lu has taught you to polish, Tainted Crystal Shards make a piece noticeably stronger. Battle Wraps climb from 5% extra damage to 10%, and Reflex Device ends up giving you parry and dodge windows 25% wider. Polishing accessories uses crystals that never come back. Pick pieces you plan to keep wearing.
Explore off the gold route
Gold markers are the main story. Purple quests look optional but they shape the ending, which is what the Perfect ending checklist is built from. White markers are other side content. A lot of the good stuff has no marker at all, so take the side paths, alleys and caves.
Memory Flowers are one tall glowing blue flower inside a ring of smaller ones. Finish a set and your maximum HP goes up. Listen for jingling coins too. They mean the treasure collector Quick Hand Zhang is close, and he sets a three-chest hunt in each region, with the chests glowing green.
Just before the finale a message warns that this is the final opportunity to tidy up side content. Take that warning at face value.
Difficulty settings
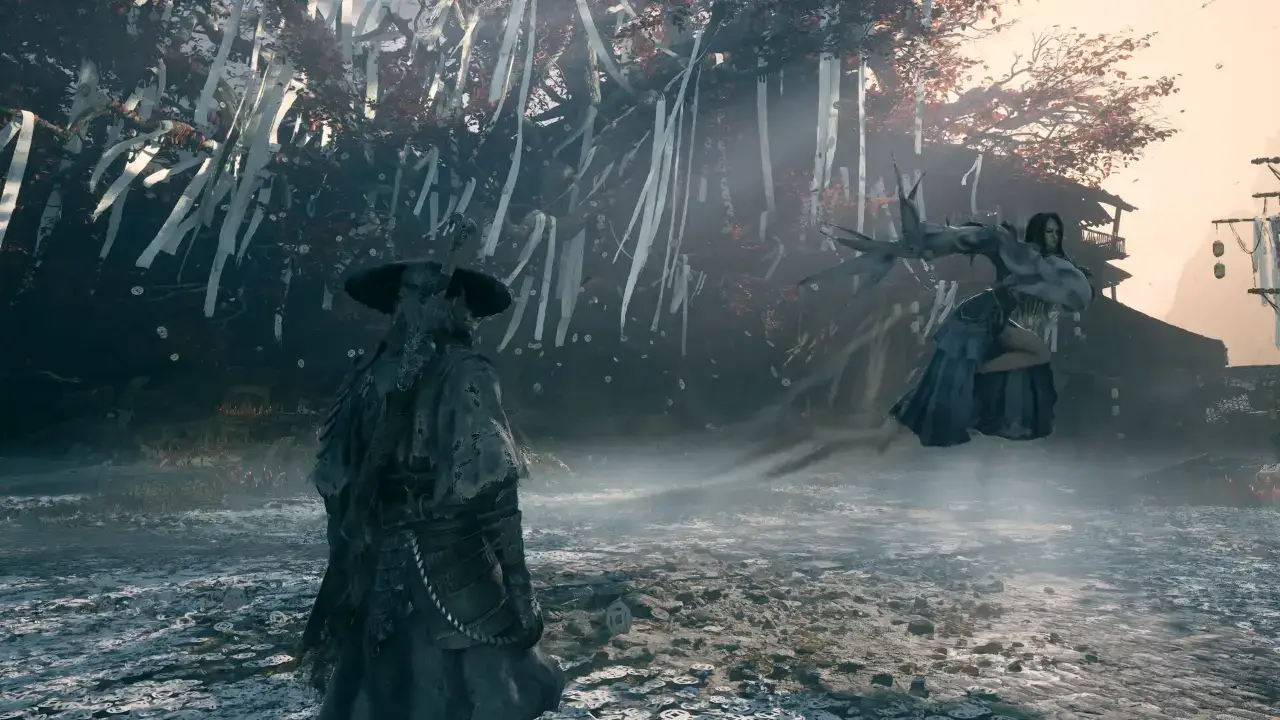
There are three. Wayfarer lowers enemy aggression and damage, and guard breaks come sooner. Pathbreaker is the standard setting. Hellwalker turns the aggression up and leans on your parries. If you are unsure, start on Pathbreaker. Sixty-Six Days mode becomes available once you have finished the game, and every death in it costs a day until all 66 are gone.
Stealth
Crouching in tall grass or dropping from a rooftop sets up stealth kills. It thins a group before the real fight starts, but a backstab will not empty the health bar of a tougher enemy, so do not plan around it.
Did this guide help?
Something wrong or out of date? Tell us
Guide by
George
George grew up on Dark Souls and Call of Duty, and he still has strong opinions about both. He also plays Arma, where he walks a very long way to get shot by someone he never saw. He says it’s part of the experience.
Up next in Phantom Blade Zero
Popular right now
-
GuidesMidgame
-
GuidesEarly game
-
GuidesMidgame
-
GuidesMidgame




Squad chat
Be the first